Last updated November 18, 2026








Free written scope consultation - allowances, timeline, and change-order rules on paper before a single trade is scheduled
Bathroom Remodeling Troubleshooting: Common Problems and How to Fix Them
Grout cracking at the floor-to-wall transition isn’t a grout problem. It’s almost always a substrate or waterproofing failure, which means the tile work was the last thing done wrong and patching the joint will cost you twice. In our experience across Westchester remodels, the failures that surface six to eighteen months after the last check clears trace back to decisions made in the first week of demo, long before any tile was set. This guide hands you the diagnostic framework to identify what actually went wrong, separate cosmetic issues you can fix from structural problems you can’t, and speak the language that gets the right party to stand behind the work.
Quick Answer
Most post-remodel bathroom problems fall into two buckets: cosmetic failures you can service yourself (recaulking a tub surround, re-seating a loose toilet) and hidden failures from waterproofing, substrate, or rough-in mistakes that require a licensed contractor to correct. Diagnose by location and timing first. Cracks, slow drains, or moisture returning within 12 months of a Westchester remodel point to installation error, not material defect, and that distinction decides who pays.
Styles & brands we work with
- Kitchen remodeling
- Bathroom remodeling
- Home additions & ADU
- Roofing
- Windows & doors
- Driveway & pavers
- Fence
Table of Contents
- Why Is Grout Cracking at the Floor-to-Wall Transition?
- Slow Drains After a Remodel: What Changed?
- Exhaust Fan Condensation and Mold: The Ventilation Failure
- Caulk Separation at the Tub Surround
- Cold Floors Over Unconditioned Space
- Toilet Rocking and Wax Ring Failure: A Diagnostic Sequence
- The Warranty Gray Zone: Contractor vs. Manufacturer
- What to Document the Moment a Problem Surfaces
Why Is Grout Cracking at the Floor-to-Wall Transition?
Grout cracking along the floor-to-wall joint is a movement problem, and grinding out the old grout to replace it treats a symptom. The joint between the tile floor and the tiled wall is a change-of-plane, meaning the two surfaces don’t move together. In a properly built shower, that joint is filled with flexible sealant, not rigid grout. When we open up a failed joint in a Westchester bathroom, we usually find one of three things: rigid grout where flexible caulk belongs, a missing or thin waterproofing membrane behind the tile, or a subfloor that flexes because the installer skipped a layer of underlayment.
The diagnostic is simple. Press firmly on the tile on either side of the crack. If it moves or sounds hollow, the tile is debonding from a failed substrate and the grout crack is just the visible edge of a bigger problem. If the tile is solid and the crack is a clean hairline that returns after you’ve recaulked once, the joint is probably fine and the failure is minor movement you can manage with a quality silicone caulk rated for wet areas.
Here’s what separates a homeowner fix from a contractor call:
- Homeowner-serviceable: A single hairline crack at the change-of-plane, solid tile underneath, no moisture staining, no soft drywall on the other side of the wall.
- Contractor required: Multiple cracks radiating from corners, hollow-sounding tile, soft or stained substrate visible at the shower curb, or the same crack returning within weeks of a repair.
In older Westchester homes, particularly in the pre-war stock around White Plains and New Rochelle, we regularly see cracking tied to original framing that has moved seasonally for decades. The tile setter didn’t create the movement, but a proper install with an uncoupling membrane absorbs it. If the original job skipped that step, you’re looking at a redo of the pan and lower wall, not a grout refresh. That’s the kind of decision worth getting a Groundwork Construction Co. of Westchester home estimate on before you start tearing out tile yourself.
Slow Drains After a Remodel: What Changed?
A drain that ran fine before the remodel and slows down after is a remodel problem, not a plumbing problem that coincidentally showed up. The change of fixture is the tell. New shower valves, new drain assemblies, and new tile all sit in the same rough-in footprint, and any one of them can cause the slowdown. The most common cause we diagnose in Westchester bathrooms is construction debris lodged in the trap or the branch line: grout slurry, thinset, tile spacers, or a rag the plumber used to block the drain during tile work and never pulled.
Work through this sequence before you call anyone:
- Pull the drain strainer and inspect with a flashlight. Hair and soap scum are easy to rule out. Grout grit or a spacer is a construction residual.
- Check the trap arm under the floor if accessible through a ceiling below. A trap that holds water fine but drains slow suggests a partial blockage downstream.
- Test the sink and tub separately if the slowdown affects the whole bathroom. Multiple slow fixtures point to a shared branch line, often a venting issue introduced when new fixtures were tied in.
- Snake the trap, not the line, first. A hand auger handles most debris. A power snake can damage older cast iron and PVC joints.
If a snake comes back clean and the drain is still slow, the slope or the vent is wrong. That’s a rough-in failure and it’s the contractor’s problem. In Westchester, older homes with cast iron drain lines and the occasional repitched floor joist add risk here: a new low-profile shower pan sometimes gets set into framing that was already out of level, and the installer compensates by flattening the drain slope. That fixes the tile line and breaks the drain. Document it and call the contractor before you let anyone cut into the subfloor.
Exhaust Fan Condensation and Mold: The Ventilation Failure
Condensation on the mirror that never clears, mold blooming at the ceiling corners, and that faint mildewed smell in the bathroom are almost never the fan’s fault. They’re a ducting failure. In our experience, the fan was sized and installed correctly and the duct was run wrong: vented into the attic instead of through the roof, terminated in a soffit that recirculates the exhaust right back into the bathroom, or crushed into a flexible accordion duct so badly that airflow drops to a trickle.
These are the four failure modes we find in Westchester bathrooms, in order of frequency:
- Ducted to nowhere. The exhaust terminates in the attic or a crawlspace. Moisture condenses on cold framing in winter, and you get mold in the attic, not the bathroom. This is the most damaging of the four and the most common.
- Soffit termination. The exhaust exits under the eave and the warm moist air gets pulled right back in through the soffit intake vents. It’s technically vented and functionally useless.
- Crushed flex duct. A 4-inch fan with a run of flexible duct pinched through a joist bay can lose more than half its rated CFM. The fan runs, nothing moves.
- Undersized fan or no timer. A fan rated for a small powder room in a large primary bath won’t clear moisture from a long shower, and a fan on a switch instead of a timer gets turned off at the worst moment.
The fix depends on the failure. A crushed duct gets rerouted in rigid metal duct with a smooth interior and insulated where it passes through unconditioned space. A soffit termination gets extended to the roof or a gable wall. An undersized fan gets swapped for one rated to the room’s cubic footage.
Here’s the safety caveat that matters: if the diagnosis points to moisture in the attic, do not climb up there to investigate on your own. Attic framing, insulation, electrical runs, and the underside of your roof deck are hazardous, especially when wet. A trained professional inspects and corrects attic ventilation safely, and in Westchester that inspection is also where you find the second problem the fan failure caused: compromised insulation or a wet roof deck that needs attention before it becomes a roofing call.
Caulk Separation at the Tub Surround
Caulk pulling away from the tub where it meets the wall tile is one of the easiest failures to misdiagnose. Homeowners recaulk it, and it separates again within a season. The repeat failure is the clue. Caulk adhesion fails for three reasons: the joint was wet or dirty when it was applied, the wrong caulk was used, or the tub is moving. Two of those are cosmetic. The third isn’t.
Start with the check that costs nothing. Fill the tub with water and stand in it, then look at the caulk joint. A tub that drops under load will pull the caulk away from the wall every time you use it, no matter how well you prep the joint. That movement is a framing or subfloor issue under the tub, and it’s the contractor’s responsibility, not the caulk’s. If the joint holds through a fill test and the caulk simply peeled, the fix is proper preparation and the right material: 100% silicone in a wet area, applied to a surgically clean and bone-dry joint, with a full 24 to 48 hours before the shower gets used.
What to check when caulk separates:
- Tub movement. Fill test as above. Movement means the caulk is a symptom.
- Soft substrate. Press the drywall or cement board just above the tub edge. Soft or crumbling material means water has been getting behind the tile.
- Bubbled or discolored paint on the wall behind the tub. This is the same diagnosis, seen from the other side.
- Recurring separation at the same point. A joint that fails in the same spot twice is telling you the surface is moving.
If the substrate is soft, stop. Recaulking over wet backer board traps the moisture and grows the problem. That’s a shower rebuild, and in Westchester’s older housing stock it’s often where we discover the original install had no waterproofing membrane at all, just greenboard and thinset.
Cold Floors Over Unconditioned Space
A bathroom floor that’s cold underfoot in a Westchester winter is a floor problem, not a heating problem, unless you installed radiant heat and it stopped working. The most common cause is an uninsulated floor over a crawlspace, a garage, or a cantilevered section of the house. The second most common is insulation that got removed during the remodel and not replaced. The third is air infiltration at the rim joist or the band, where cold outside air slips in under the floor and defeats the insulation entirely.
Diagnose it by geography. Where is the cold spot when you walk the floor barefoot? A whole-floor coldness points to missing insulation. A cold band along one wall points to air infiltration or a rim joist gap. A single cold patch points to a duct run, a plumbing chase, or a hole in the insulation where the plumber ran a line.
From underneath, look for these:
- Bare joist bays under the bathroom, with no insulation batts or spray foam.
- Compressed or fallen batts that pulled away from the subfloor. A batt that’s compressed to half its thickness has lost most of its R-value.
- Open penetrations around plumbing, electrical, and HVAC runs that pass through the floor and leave gaps in the thermal envelope.
- A cantilevered floor with no insulation at the exposed underside. Common in two-story Westchester homes with a bathroom bump-out over a porch or garage roof.
Fixing it correctly means air-sealing the penetrations first, then insulating to the depth the cavity allows, then addressing the subfloor. Skipping the air seal and stuffing in insulation is the wrong order and keeps the floor cold. This is the point in a repair where we recommend pulling a permit even for a small job, because the inspection catches mistakes before the drywall goes back up. And if the diagnosis turns into a bigger floor or structural repair, our team covers that scope under Home Additions & ADU in Westchester work, where floors and framing get reassessed as part of the build.
Toilet Rocking and Wax Ring Failure: A Diagnostic Sequence
A rocking toilet is rarely a toilet problem. The wax ring leaks, the toilet gets pulled and reset with a new ring, it leaks again six months later, and the homeowner concludes the flange is bad. In our experience the real issue is almost always underneath: the subfloor has rotted or swelled from a previous leak, the flange sits below the finished floor level because a new tile floor was installed without adjusting the flange, or the closet bolts were set into a soft or broken flange that no longer holds the toilet steady.
Work the sequence. Each step tells you whether you’re looking at a fix or a rebuild:
- Grab the bowl at the sides and rock it. Side-to-side or front-to-back movement at the base means the fasteners or flange have failed, or the toilet isn’t sitting flat.
- Check for water staining at the base and on the ceiling below if the bathroom is upstairs. A failed wax ring often shows as a rusty or dark ring on the ceiling drywall below within a week or two of the leak starting.
- Pull the toilet and inspect the flange. A plastic or cast iron flange that’s cracked, bolted through rotted wood, or sitting proud of or flush with the finished tile floor tells you what the last install missed.
- Probe the subfloor around the flange with a screwdriver. Soft wood means rot. Rot means the previous leak damaged the subfloor and no one addressed it, which is a contractor-level repair.
The diagnostic value of the rocking toilet is that it surfaces a subfloor problem the contractor left behind. A properly set toilet on a new floor shouldn’t rock at all. If yours does, the sequence above tells you whether you’re calling the contractor to reset it or calling them to cut out and rebuild the subfloor around the drain. Both are legitimate warranty conversations. Both are also the reason we document the flange and subfloor condition with photos before the floor goes down on every bathroom we build in Westchester.
The Warranty Gray Zone: Contractor vs. Manufacturer
The most frustrating post-remodel problem isn’t the failure itself. It’s the standoff where the contractor blames the tile manufacturer and the manufacturer blames the installer. This is where homeowners get stuck, and it’s where a documented timeline and a clear written position on who’s responsible after the job ends decides whether you get a fix or a runaround. A bathroom remodel warranty covers workmanship, and a product warranty covers materials. A failure that could be either one requires documentation that pins the responsibility to the party who actually owns it.
Warranty coverage is a story with two parts. The contractor warrants that the installation will perform as designed. The manufacturer warrants that the material is defect-free when installed per the manufacturer’s written instructions. That instruction manual matters enormously. Tile mortar, waterproofing membranes, and setting materials each carry an ANSI or TCNA standard for how they must be applied, and a manufacturer will deny a claim if the installation didn’t follow the spec. The contractor will push back if the failure looks like a genuine material defect.
What breaks the deadlock is the paperwork. Here’s what we mean:
- The contractor’s written warranty, which should state what’s covered, for how long, and what’s excluded.
- The product datasheets and installation requirements, which name the standards the installer was required to meet.
- Your project file: contract, change orders, invoices, the schedule, and photos taken during the build.
- A written notice of the problem that clearly states what failed, when you noticed it, and what you’re asking the contractor to do about it.
In our experience, most manufacturer warranty claims fail for the same reason: no photos of the installation at the critical stages, no proof the installer followed the spec, no record of the failed joint before it was repaired. If you’re in a Westchester home and the contractor is unwilling to honor their end, that documentation is what carries the conversation. If you’re choosing a contractor for the next bathroom, ask what their written warranty says about workmanship, and whether it matches what they promise verbally.
What to Document the Moment a Problem Surfaces
Do this before you touch the problem, before you call the contractor, and absolutely before anyone repairs anything. Once someone opens the wall or pulls the tile, the scene is altered and you’ve lost your best evidence. This is the single most useful habit a homeowner can build in the first year after a bathroom remodel, and it’s the one thing missing from almost every failed warranty call we’ve seen.
Number these steps and follow them in order:
- Photograph the problem from at least three angles, including wide shots that show the room context and a close-up that shows the failure itself. Shoot with the lights on and the flash off.
- Log the timeline. Date you noticed it, what you observed, weather conditions if relevant, and whether the problem is getting worse. A photo from one day and a photo from a week later is worth more than a page of description.
- Send written notice to the contractor. Email or a text message is fine, and it should state what you found, when, and a request to inspect. Keep a copy. Verbal notice is not documentation.
- Do not repair anything until the contractor has inspected, or has given you written authorization to proceed with a specific repair.
- Photograph the opened condition if you do get authorization, before the repair goes in. The opened substrate is the evidence that shows the root cause.
This is also the moment to check what your contract says about the warranty period and what triggers it. Ours is the 730-Day Done Right Promise: if the workmanship fails, we make it right. We put that in writing because the standard two-step between contractor and manufacturer is exactly the problem we’re trying to eliminate. If you’re comparing contractors for a Westchester bathroom, the written warranty term is the thing to ask about before you sign.
Common Mistakes to Avoid
- Repairing the symptom before the root cause. Recaulking a tub surround that’s separating because the tub is moving, or repointing a grout joint that’s cracking because the tile is debonding, kicks the real problem down the road and cost you a second repair on the same failure.
- Assuming the contractor’s handy friend can fix it. A waterproofing failure requires a licensed and insured contractor who will pull the permit and warranty the repair. Handyman work on a failed shower pan voids the original warranty and, in Westchester, often voids the homeowner’s insurance coverage for the resulting water damage.
- Assuming a new material will fix an old problem. A slower-draining, more expensive shower valve won’t fix a branch line that was vented wrong. The material is rarely the failure. The installation spec is.
- Not reading the warranty before you need it. Check the workmanship warranty term, what’s excluded, and whether it transfers if you sell the house. A vague promise isn’t a warranty. Ask for it in writing.
- Skipping permits to save a little time. A bathroom remodel that involves moving plumbing, electrical, or structural framing requires inspection in Westchester County. Work done without a permit is a problem at resale and a problem when the warranty claim shows up.
- Fixing without documenting. The contractor can’t inspect a failure someone else already opened and repaired. Call, document, and wait for the inspection before anyone touches the damage.
- Choosing on the low bid alone. A bid that’s meaningfully below the others is often missing waterproofing, skipping the membrane, or omitting the permit. The cheapest bathroom remodel is the one you only have to do once.
See the difference
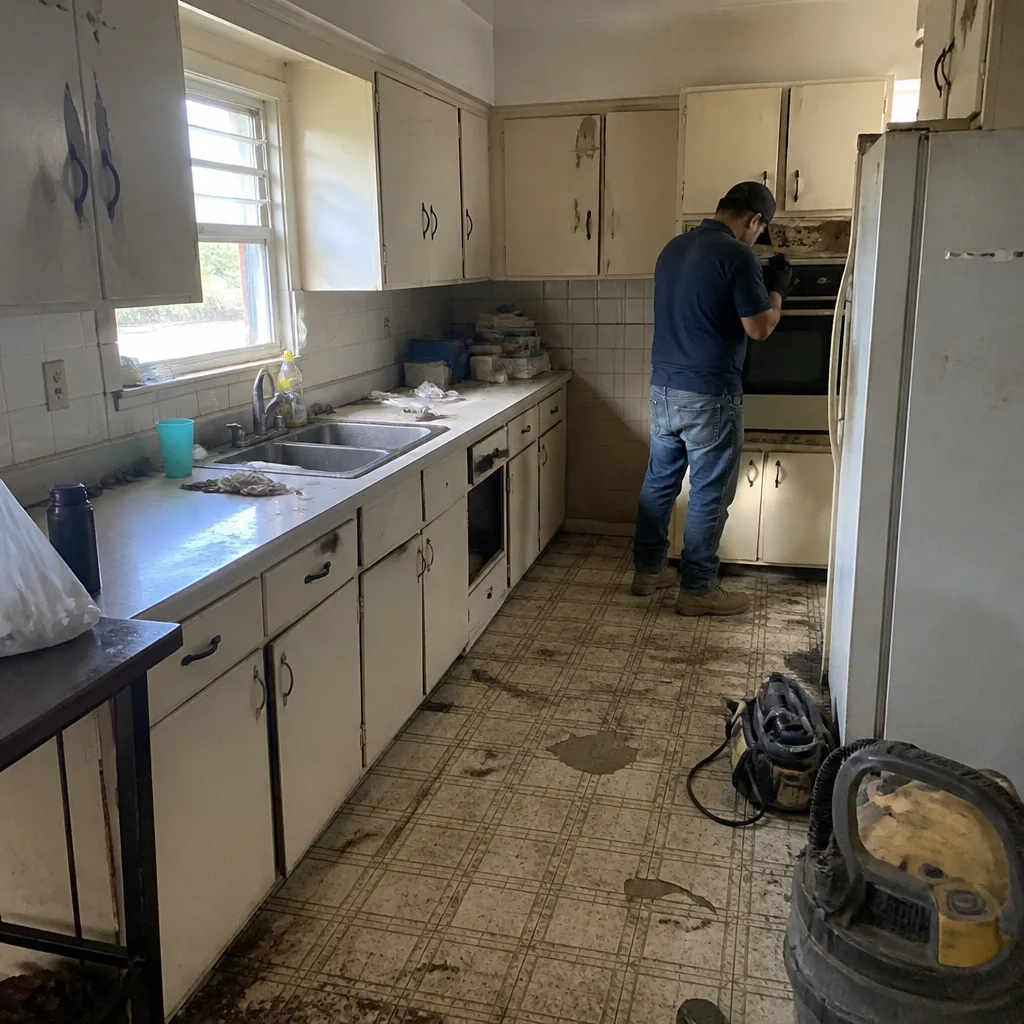 Before
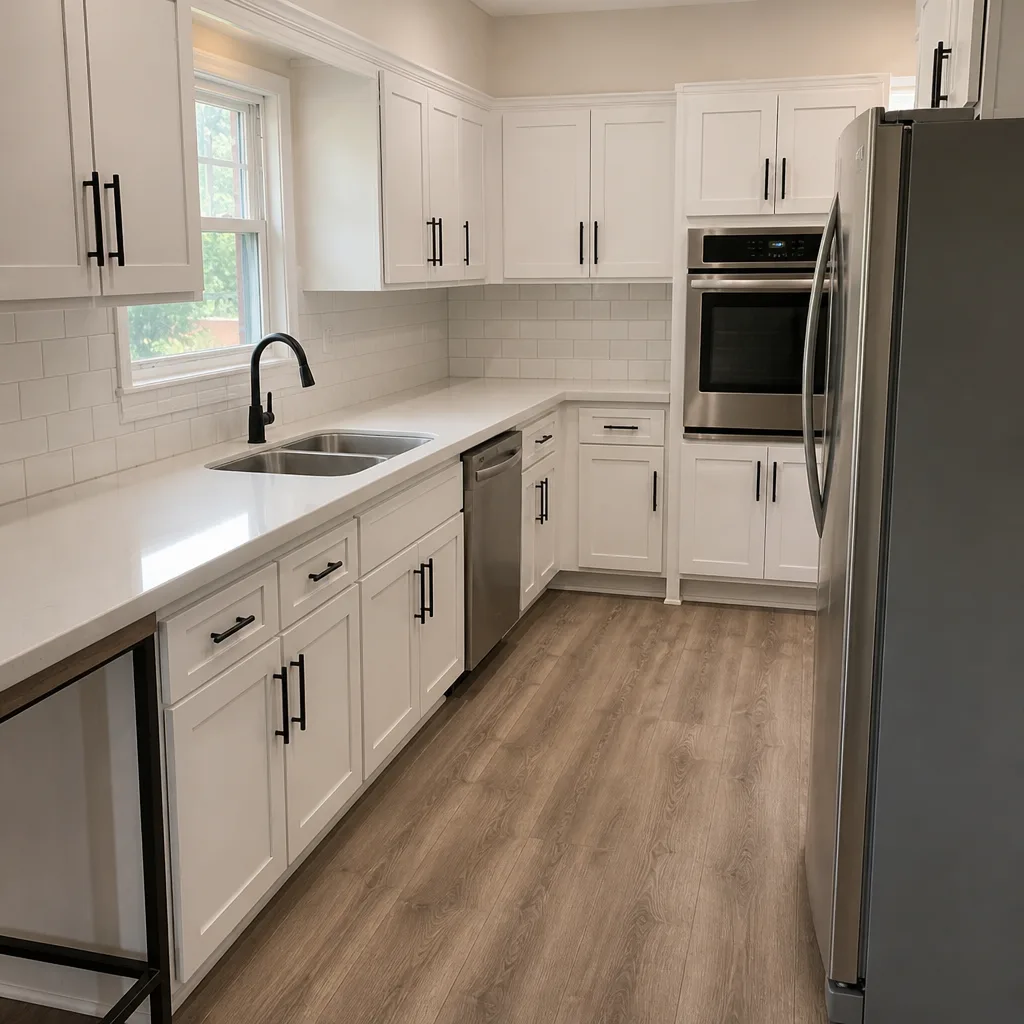 After
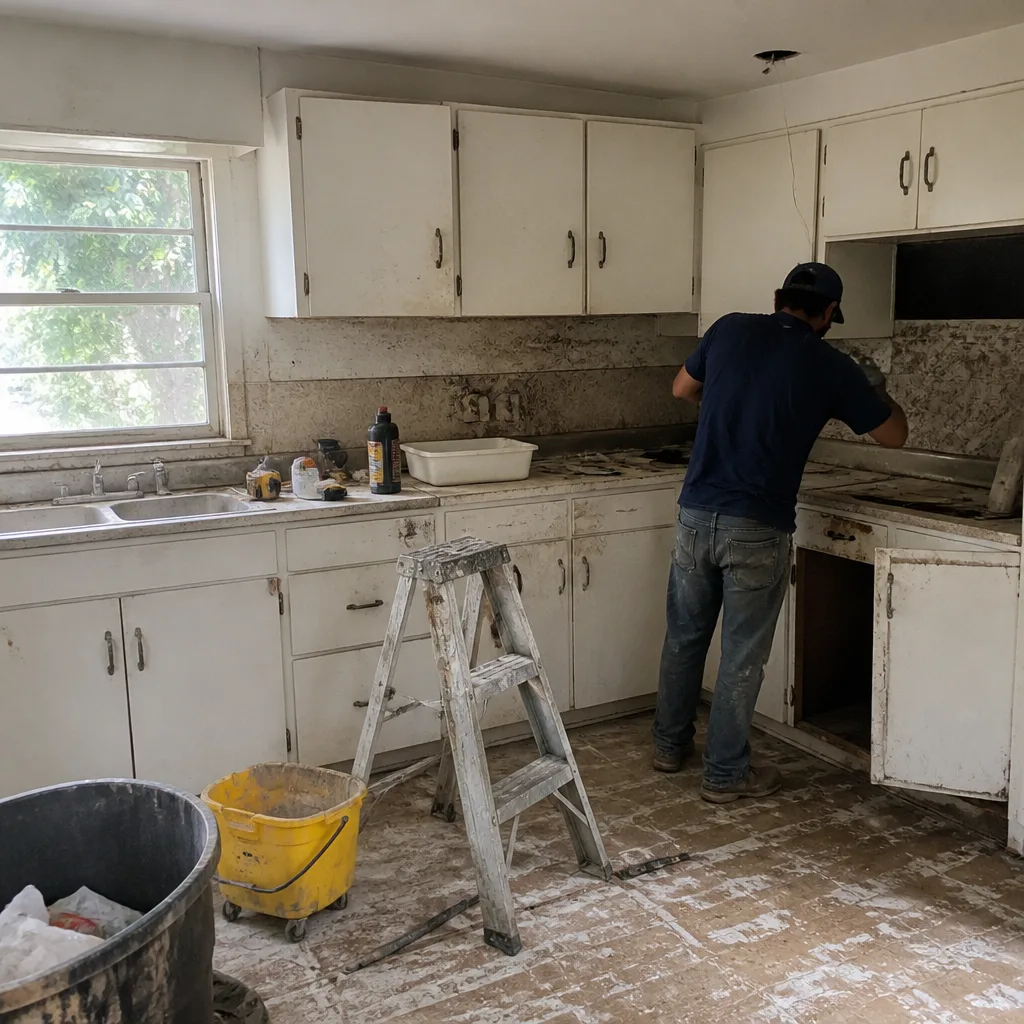 Before
 After
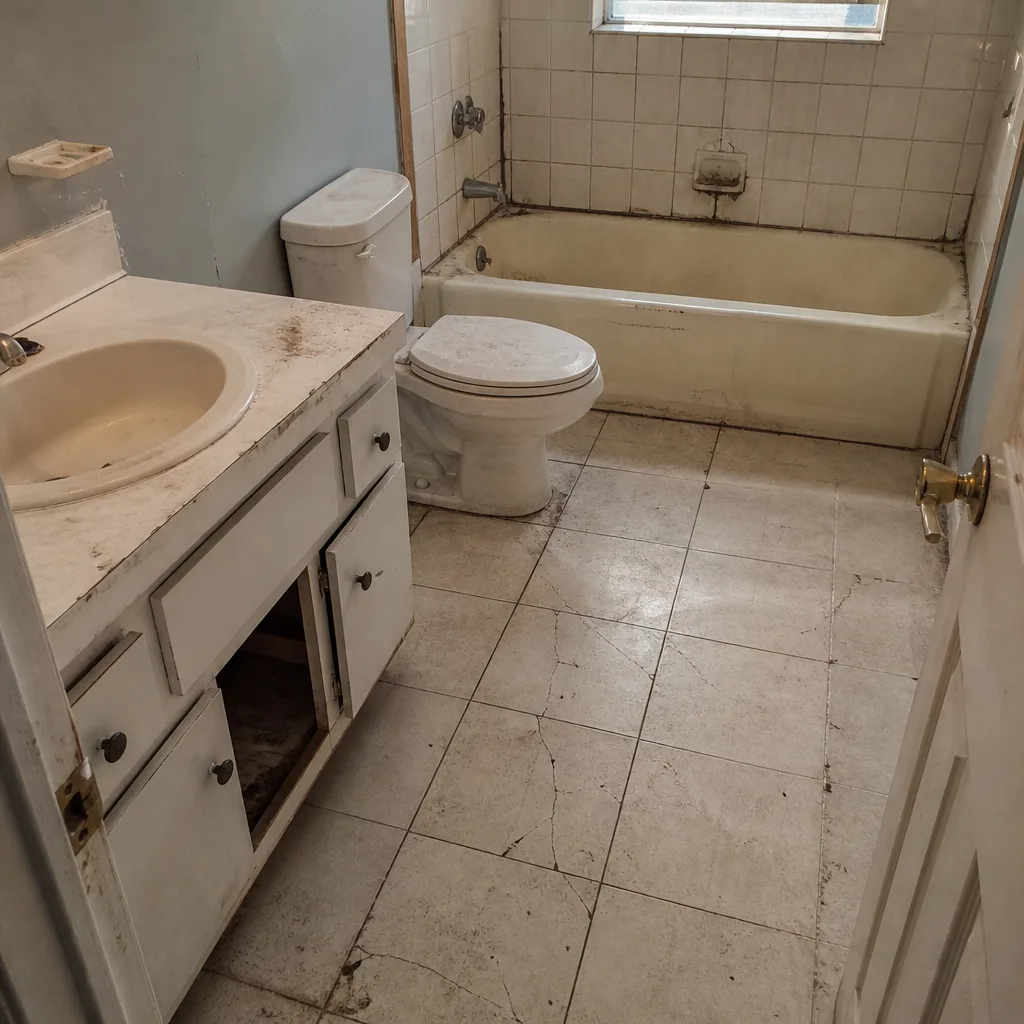 Before
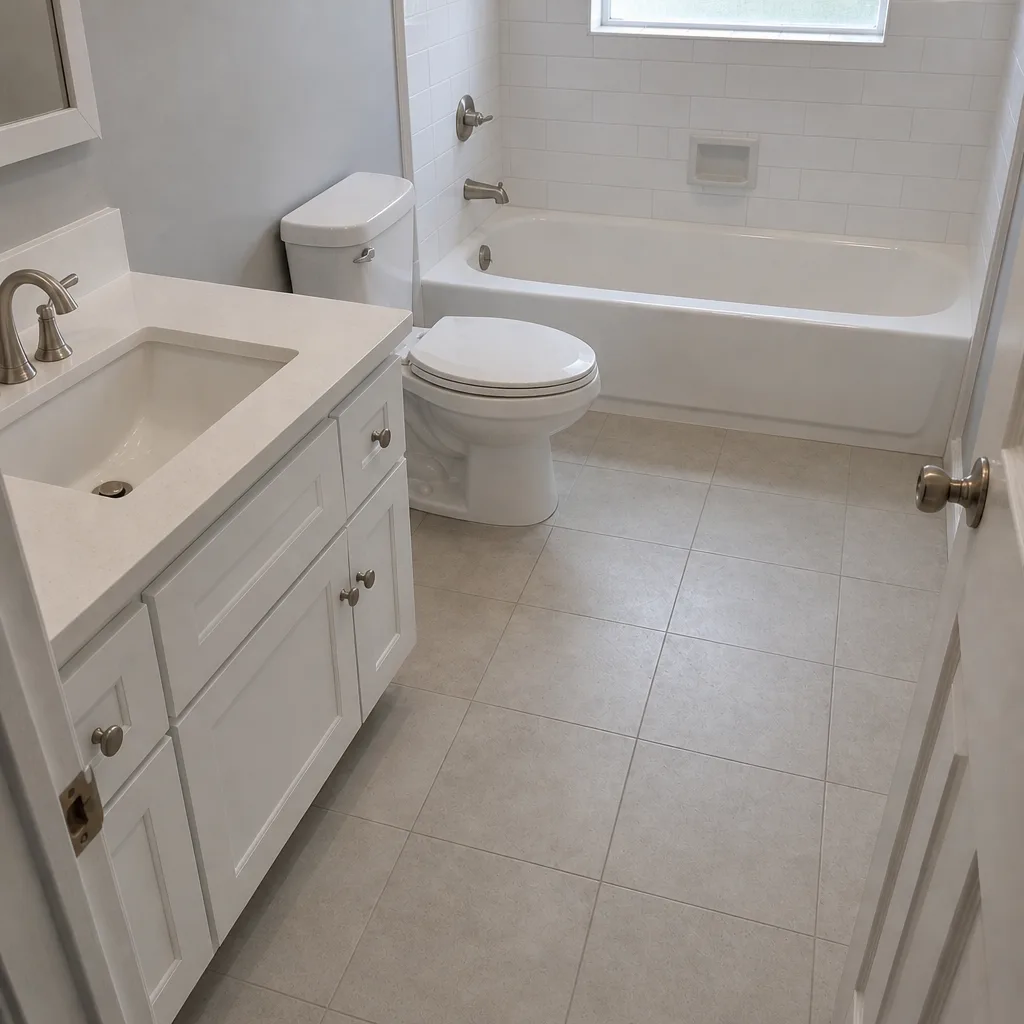 After
When to Call a Professional
Call a licensed contractor when the failure involves moisture behind tile or under the floor, when the toilet rocks or leaves a stain below, when a slow drain doesn’t clear with a hand snake, or when the exhaust duct run is wrong. All of those failures point to hidden work and a potentially active leak. Cosmetic caulk and grout failures at a single joint you can handle yourself. Anything that comes back after one repair is a signal to escalate, not to repair again.
Before you call, do the documentation steps above and take photos of everything you see. Then pick up the phone and describe the failure. A good contractor will tell you on the call whether it’s a warranty issue they own or a problem they need to inspect. Groundwork Construction Co. of Westchester offers free estimates in Westchester and backs its bathroom work with the 730-Day Done Right Promise. Call (833) 630-4214 to schedule an inspection. Our team can also look at the whole home while we’re there, including a Fence Installation in Westchester or Driveway & Pavers in Westchester quote if you’ve been holding off on those.
Frequently Asked Questions
Expect $1,800 to $4,500 for a shower pan and lower wall rebuild in Westchester, with the higher end tied to curb-and-membrane replacement and new tile. The variable is what’s underneath: a pan that failed on a membrane and a pan that failed because the framing rotted are two different jobs. Call (833) 630-4214 for an exact quote. Estimates are free.
Grout cracking at a change-of-plane is a failed joint, not normal, and it’s a workmanship issue if the failure recurs in the first year. Cracks at the flat field of the tile usually come from movement, and if the tile presses hollow underneath you’re looking at debonding, not grout. Either way, don’t repair it a second time before someone inspects it.
The party at fault pays, and documentation is what decides which party that is. Your written warranty, the product installation instructions, and photos of the failure and any opened substrate are the evidence. If the contractor’s written warranty is clear, they own the workmanship question and settle it with their supplier. That’s the point of a written warranty.
Call the day you notice it. The problem is getting worse while you wait, and the contractor’s warranty clock may require timely notice. Send written notice the same day with photos, then schedule the inspection. Calling immediately does not trigger a repair. It preserves your options.
Often, yes. A hand snake in the trap clears construction debris and hair in most cases. If a snake comes back clean and the drain is still slow, the rough-in slope or vent is wrong and the floor has to come up. In Westchester, older cast iron drain lines add a complication the contractor should diagnose before the floor opens.
Repair if the failure is isolated to a joint or the pan and the tile field is sound. Replace the shower if more than one area is failing or the substrate is soft in multiple spots. Patching a wet shower backer board traps moisture and grows the repair. Get an inspection before you decide between the two.
Yes, when the work involves plumbing, electrical, or framing changes. Permit requirements vary by jurisdiction within Westchester County, and a repair that moves a shower valve, relocates a drain, or touches structural framing typically needs one. We pull the permit and coordinate the inspection as part of the job.
The Bottom Line
Most bathroom remodel failures that surface months after the job signals a decision made in the first week of the build: a missing membrane, a crushed exhaust duct, a subfloor that wasn’t repaired before tile went down, a flange that was never adjusted for the new floor height. Your job as the homeowner is to diagnose correctly, distinguish cosmetic from structural, and document everything before anyone repairs anything. Get the warranty in writing, know what it covers, and call the contractor the day you notice a failure. Groundwork Construction Co. of Westchester backs its bathroom work with the 730-Day Done Right Promise and upfront pricing, no surprises: call (833) 630-4214 for a free estimate.
Written by the team at Groundwork Construction Co. of Westchester.