Last updated November 18, 2026




Free written scope consultation - allowances, timeline, and change-order rules on paper before a single trade is scheduled
DIY vs Professional Bathroom Remodeling: What’s Safe to Do Yourself
Most bathroom remodels that go wrong don’t fail at the moment of construction. They fail months later, quietly, under a tile floor that looked perfect for 14 months. Then the soft spot shows up. Then the baseboard swells. Then a plumber opens the ceiling below and finds rotted subfloor, mold behind the cement board, and a repair bill that dwarfs the original project. We’ve walked into that exact scene more than once here in Westchester, and it almost always traces back to one decision: which tasks a homeowner did themselves. This guide draws the line clearly. You’ll learn which bathroom jobs are genuinely safe to take on, which ones have a failure mode that costs five figures instead of a handshake, and how Florida permitting reshapes the whole calculation.
Quick Answer
Painting, swapping fixtures, replacing a vanity, and changing hardware are safe for most homeowners to do themselves. Waterproofing, shower pan installation, drain rough-in, and any electrical work inside the wall are not – they carry failure modes that can cost thousands in hidden damage and often require a licensed contractor under Florida law. The real question isn’t whether you can physically do the work, it’s whether a mistake in that specific task stays an $80 problem or becomes an $8,000 one.
Styles & brands we work with
- Kitchen remodeling
- Bathroom remodeling
- Home additions & ADU
- Roofing
- Windows & doors
- Driveway & pavers
- Fence
Table of Contents
- The Task-by-Task Risk Matrix
- What’s Genuinely Safe to Do Yourself
- The Three Tasks With the Worst Failure Modes
- Florida Permits: What You’re Not Legally Allowed to DIY
- The Hidden Cost of Partial DIY
- Three Questions to Test Your Own Skill Level Honestly
- What to Tell a Contractor When You Want to DIY the Prep
- Common Mistakes to Avoid
The Task-by-Task Risk Matrix
Not all bathroom work carries the same weight. Some tasks are forgiving – screw it up and you fix it in an afternoon. Others are unforgiving, where the mistake hides behind finished surfaces and compounds for months. We sort them three ways: genuinely safe, proceed-with-caution, and hire a pro. The difference between the middle and bottom tiers is rarely about how hard the task is physically. It’s about what the underside of a mistake looks like six months out.
The Three Tiers
- Genuinely safe: Interior painting, caulking, swapping a toilet seat, replacing a vanity light that connects to an existing junction box, changing cabinet hardware, installing a new mirror or towel bars, regrouting non-shower floor tile.
- Proceed with caution (you can sometimes do these): Replacing a toilet where the flange is intact, swapping a faucet on existing supply lines, installing a pre-built vanity where the plumbing stub-out is already positioned, laying tile on an already-flat floor with proper substrate.
- Hire a pro: Shower pan construction, waterproofing of any wet area, moving a drain or supply line, all electrical inside the wall, all gas work if there’s a gas water heater or radiator, structural changes, anything requiring a permit that names a licensed trade.
Here in Westchester, the weather adds a wrinkle. Our summers push relative humidity into the 80s and our bathrooms get humid fast. That makes waterproofing decisions less forgiving than they’d be in a drier climate. A shower pan that would leak slowly in Arizona might show mold in one season here. If you’re weighing bigger changes beyond the bathroom – adding square footage, bumping out a wall – our Home Additions & ADU in Westchester team can walk you through what’s structurally feasible before you commit.
What’s Genuinely Safe to Do Yourself
This is the good news. A meaningful share of bathroom remodels is accessible to a careful homeowner with a weekend, patience, and a couple of trips to the hardware store. The trick is understanding why these tasks are safe: they’re reversible, they don’t hide behind finished surfaces, and a mistake shows up immediately rather than six months later.
Painting the Bathroom
Nothing about painting hides a failure unless you count poor prep. Use a bathroom-rated paint with mildew resistance, prime over any bare drywall or patched areas, and give it two coats with proper dry time. The one thing to watch in a Westchester bathroom is ventilation – cracks around the exhaust fan where moisture collects are exactly where fresh paint fails first. Sand those areas and use a bonding primer.
Replacing a Vanity
A straight-swap vanity – same footprint, existing plumbing stub-out, existing drain location – is a friendly DIY project. Shut off the water at the supply valves, disconnect the P-trap and supply lines, pull the old vanity, drop the new one in, reconnect. Budget three to five hours for your first one. What’s not safe for most homeowners is moving the supply or drain to a new location, because that requires opening the wall and re-sweating copper or joining PEX.
Swapping Fixtures and Hardware
Cabinet pulls, towel bars, mirrors, the showerhead, the toilet seat, a vanity light on an existing box – all reversible, all inexpensive to correct. If you can follow a YouTube tutorial to completion without skipping a step, you can handle these. Our advice is to photograph every connection before you disconnect it. You’ll thank yourself later.
Regrouting and Recaulking
Fresh caulk around a tub or shower base does more visual work than almost anything else on this list. Scrape the old caulk thoroughly (no shortcuts here – caulk over caulk fails fast), clean with a mildew remover, dry fully, and apply 100% silicone rated for wet areas. Regrouting floor tile in a dry area is also fair game. Shower wall grout is not – get that wrong and you’re looking at a bigger problem.
Toilet Replacement (With a Caveat)
Replacing a toilet is genuinely DIY-safe if the flange is intact and the new toilet matches the rough-in dimension. If the flange is cracked or the subfloor around it is soft, stop. That’s the moment to call a pro, because it usually signals a slow leak that’s been running for a while. Our Groundwork Construction Co. of Westchester home page gives you the full scope of what we handle when a project starts to widen.
The Three Tasks With the Worst Failure Modes
This is where the guide earns its keep. Most of the “should I DIY this?” advice online frames risk around difficulty. Difficulty is not the real variable. The real variable is what happens when the task fails – and specifically, how long it takes to notice. Here are the three tasks where failure has the steepest cost curve.
1. Shower Pan Installation and Waterproofing
A shower pan is a pre-slope, a liner, a weep-protective layer, mud, thinset, and tile, all of which have to work as one unit. Get the pre-slope wrong and water pools under the liner. Skip the weep-protection and the drain weeps slowly into the subfloor instead of the drain. Leave a single nail puncture in the liner and you’ve created a leak that won’t show up until the ceiling below is stained. We’ve seen failure timelines of 8 to 14 months in Westchester homes, which is exactly what makes it so dangerous – you’ve already paid yourself the savings and moved on. The correct fix is tear-out: tile, substrate, liner, mud bed, sometimes subfloor. Our bathroom remodeling team handles this work as a baseline, and this is the one task we strongly discourage homeowners from attempting even with good tutorials.
2. Drain and Supply Rough-In
Moving a drain isn’t hard to do with the right tools; it’s hard to do correctly. Slope, venting, and trap arm length all have to line up to code. Get the slope too shallow and the drain clogs. Skip the vent and the toilet gurgles. The failure shows up as a callback that costs more than the original job would have. This is also a permitting issue – see the Florida section below.
3. Electrical Inside the Wall
This one carries a safety cost, not just a financial one. Wet areas require GFCI protection, specific box fill calculations, and dedicated circuits. An incorrectly wired bathroom exhaust fan, a shower light on the wrong circuit, or a receptacle missing GFCI protection are all hazards. We’ll say it plainly: electrical work in a wet room is a place where a licensed electrician’s invoice is the cheapest part of the job.
Florida Permits: What You’re Not Legally Allowed to DIY
Florida is a permitting state, and it’s stricter about who can pull certain permits than many homeowners realize. Westchester, like most of the state, requires permits for anything involving a change to a wet-zone plumbing system, any electrical work behind the finished surface, and any structural change. You, as the homeowner, can usually pull a permit for your own owner-occupied home – but the work itself has to be inspected and, for several trades, has to be done by a licensed contractor.
What Needs a Permit in a Westchester Bathroom Remodel
- Moving or adding a drain or supply line: Plumbing permit required; licensed plumber required to do and certify the work.
- Adding, moving, or rewiring an outlet, switch, or light inside the wall: Electrical permit required; licensed electrician required.
- Changing the location of a shower or tub: Permit required; inspection covers the waterproofing and the plumbing rough-in.
- Cutting into a load-bearing wall or widening a doorway: Building permit required, and the work requires a licensed contractor and engineering where applicable.
- Adding a new exhaust fan or changing its venting: Electrical permit, and often a mechanical inspection for the vent path.
The permit piece is where partial DIY gets expensive. We’ve seen Westchester homeowners install a shower themselves, then get held up at inspection because the waterproofing didn’t meet ASTM standards for materials specified by the local building department – meaning tear-out and redo. That’s a scenario where saving $2,000 in labor costs $7,000 in re-work. If you’re unsure whether your scope requires a permit, call the local building department before you pick up a hammer. It’s a free phone call.
The Hidden Cost of Partial DIY
Here’s the scenario we see most often, and it’s the one that eats the most savings: a homeowner decides to do the demo and waterproofing themselves, but hires a pro to install the tile and fixtures. It sounds like a smart split. In practice, it creates two problems.
Problem 1: The Warranty Gap
Any workmanship warranty from a contractor – ours included – covers work we performed. If the tile fails because the waterproofing underneath is wrong, and we didn’t install the waterproofing, we can’t fully back the failure. That’s not a small-print dodge. It’s a real limitation, because we can’t stand behind work we can’t inspect through all its stages. The same applied to the 730-Day Done Right Promise – it’s meaningful because it covers our full scope of work. When you split the job, you split the warranty. Most homeowner-level warranty issues come down to exactly this scenario: which piece of the job failed, and did we do it.
Problem 2: Inspection Failures
Florida inspectors care about sequence. The rough-in has to be inspected before the waterproofing. The waterproofing has to be inspected before the tile. If a homeowner self-performs a step and the inspector calls back something missing, the pro on the second half of the job is now on the hook for re-opening finish work that isn’t theirs. Reputable contractors either say no to a split-scope job, or they price in the risk. Either way, you’re not getting the deal you thought you were.
The Cleaner Split: DIY the Finish, Not the Structure
If you want the savings of honest self-performed work, focus on the surface layer: paint, caulk, hardware, vanity, mirrors, accessories, and the final punch list. Schedule the pro work for waterproofing, plumbing, electrical, and structural, and let us hand you the keys with the wet areas fully buttoned up. That’s a working split, and reputable contractors will usually agree to it in writing.
If you’re weighing the bathroom against other projects on the list, our guides on Driveway & Pavers in Westchester and Fence Installation in Westchester walk through the same DIY-risk question for exterior work, where the failure modes are very different from a bathroom.
Three Questions to Test Your Own Skill Level Honestly
Before you pick up a tool, ask yourself three questions. Answer them honestly, in writing if that helps. Most expensive DIY failures come from skipping this step.
- Have I completed a similar task before – not watched a video of it, actually completed it? Watching a 20-minute shower pan tutorial is not the same as having built one. If your honest answer is “no, but I’m a fast learner,” that’s a signal to start with a lower-stakes task first and build up. Pull tile on a floor and lay a small patterned tile. Then tackle a bigger job.
- If this task fails in six months, what does the repair cost? Add up the tear-out, the materials, and the labor to fix a failure. If that number is under $500, you can self-perform with confidence. If it’s between $500 and $2,000, self-perform only with a pro inspecting at the rough-in stage. If it’s above $2,000, hire out – no exceptions for waterproofing, drain rough-in, or electrical inside the wall.
- Am I willing to call a pro the moment I’m in over my head? This is the honest one. The best DIYers we’ve worked with respect the line when they hit it. The worst ones push through. If you can commit to stopping and calling at the first sign of a rough-in problem, you can safely attempt more than someone who can’t.
These three questions flatten the decision almost completely. Most of the “should I DIY _____” questions about bathroom work resolve in under two minutes once you’ve assessed them honestly.
What to Tell a Contractor When You Want to DIY the Prep
If you want to save money by doing usable portions of the prep yourself, the way to make it work is to be upfront with your contractor from the first conversation and to establish clear boundaries in writing. Here’s how to structure that conversation, and what reputable contractors will and won’t agree to.
What Reputable Contractors Will Usually Agree To
- You doing the demo (with clear direction about what to leave intact, and where to stop at the studs)
- You painting (after full cure of drywall or any plaster repair)
- You installing finish hardware, mirrors, towel bars, and accessories
- You purchasing certain finish materials yourself and having them on site by a specific date
- You doing the final punch list and cleanup
What Reputable Contractors Will Usually Decline
- You self-performing waterproofing when they’re installing the tile over it
- You self-performing plumbing rough-in when they’re building the shower or setting the fixture
- You self-performing electrical behind the finished wall when they’re finishing the room
- You self-performing any step that has a code inspection attached to it
Ask specifically: “Which parts of this job can I do myself without affecting your warranty?” A contractor with transparent pricing and a clear scope will answer that question directly. If they can’t give you a straight answer, that’s worth noting. Our team writes line-item quotes that spell out the scope and note any homeowner-performed work, so there’s no gray area about what’s covered by the 730-Day Done Right Promise and what isn’t.
If you’re ready to talk through a split-scope bathroom project in Westchester, call us at (833) 630-4214. Estimates are free, and a live person answers around the clock. We also offer 0% financing for 18 months and $1,000 off projects over $10,000, which changes the math on any project where partial DIY was a way to manage cost.
Common Mistakes to Avoid
- Caulking over old caulk: It looks fine for a few weeks, then peels. In Westchester’s humid summers, fresh caulk laid over a failing bead is one of the first things to mold. Scrape completely before applying new silicone.
- Installing tile directly on drywall in a wet area: Cement board or a topical waterproofing membrane is required. Drywall in a shower is a leak-in-waiting that shows up in the adjacent closet or ceiling below, not in the shower itself.
- Skipping the permit because “it’s a small job”: Small jobs still get caught at inspection, and Westchester building departments don’t look favorably at unpermitted work when you sell. Pull the permit.
- Assuming “the flange looks fine” without testing it: A cracked toilet flange often passes the eye test but fails the water test. Run a rag around the base after flushing a few times; if you get moisture, stop and call a pro.
- Buying finish materials before confirming rough-in dimensions: Vanity backup up against a misaligned drain, tile grout lines that don’t line up with a shower niche, a door swing that hits the new vanity – all avoidable with a tape measure and a 10-minute planning session.
- Cutting the exhaust fan corner: Replacing a loud bathroom fan with a quieter one is a genuinely good DIY project, but only if you vent it to the exterior. Venting into the attic creates a mold problem that’s expensive to fix in a Westchester summer.
- Believing “It’s just a shower, how hard can it be?”: This is the sentence that starts the $12,000 repair. A shower pan is the highest-skill, lowest-forgiveness assembly in a residential bathroom. If you want to learn a task, learn it on a patio slab first.
See the difference
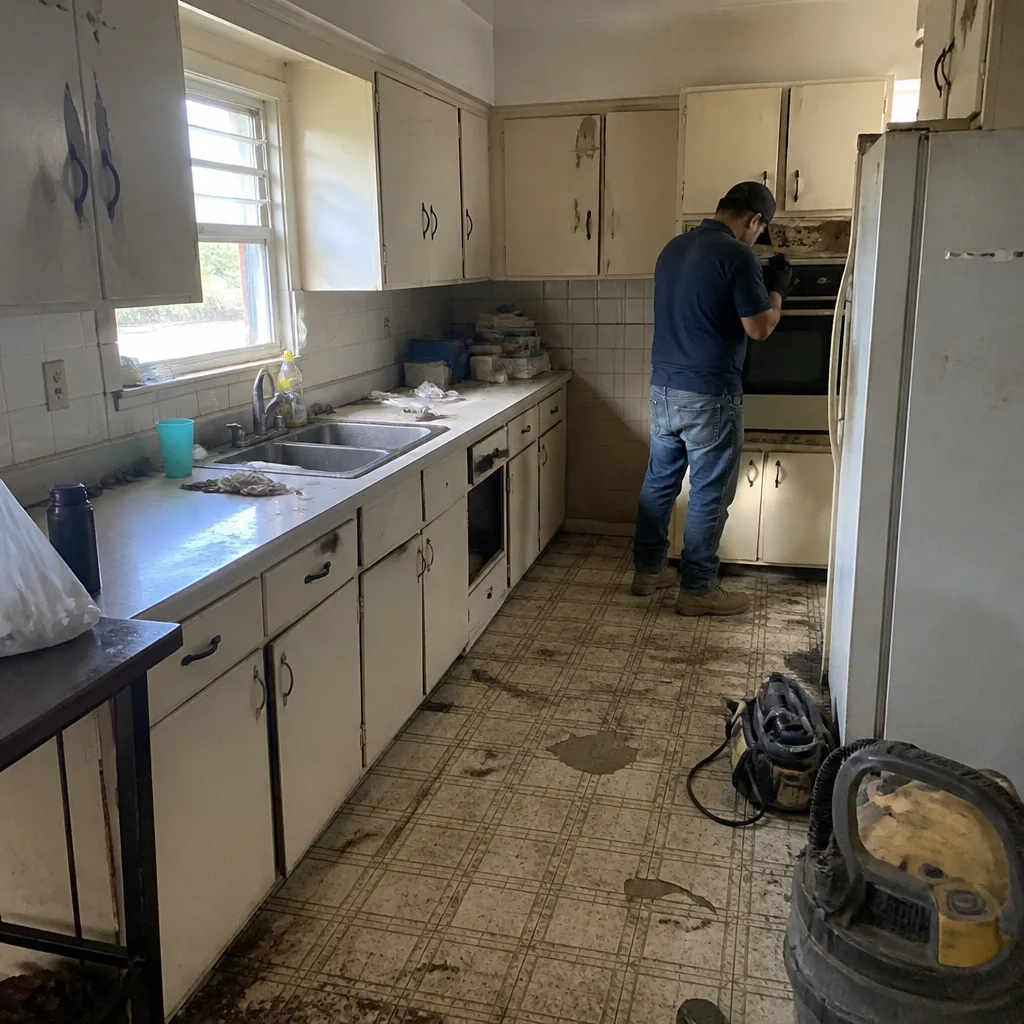 Before
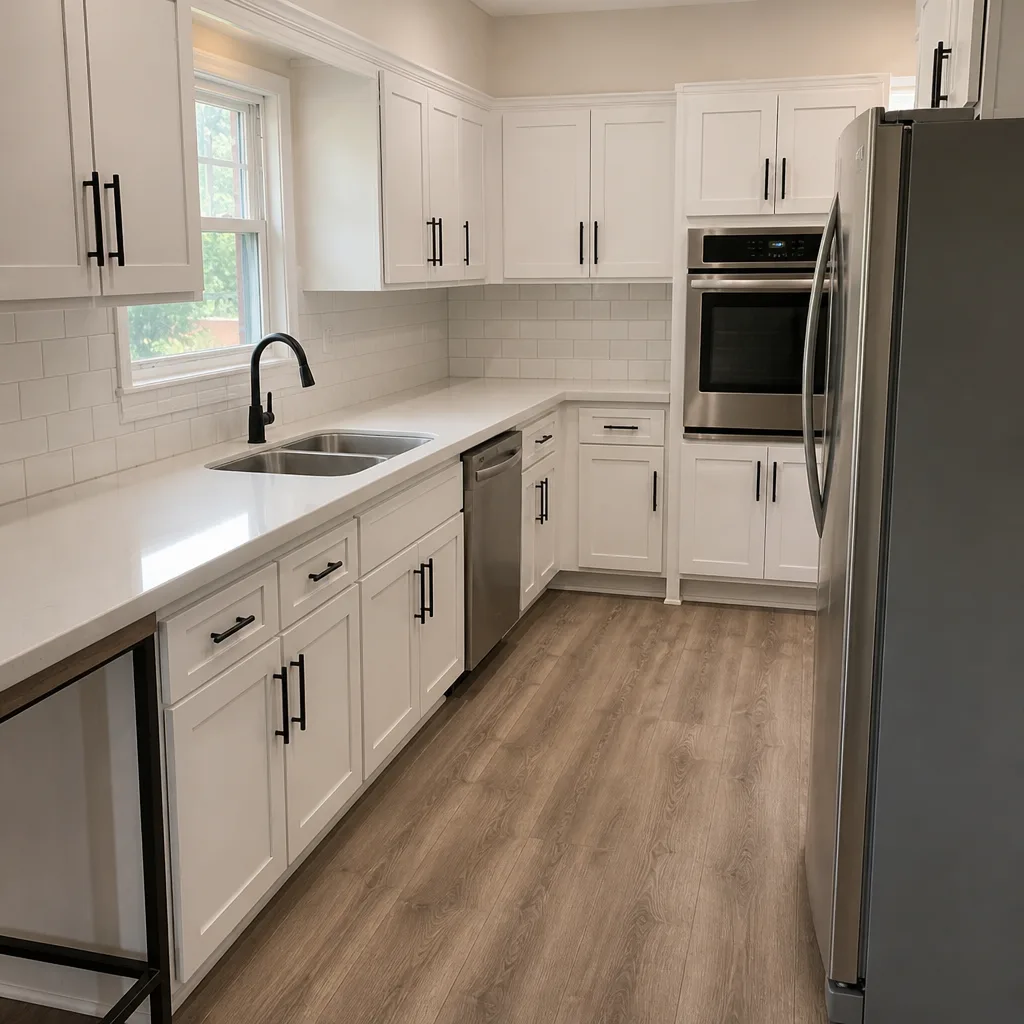 After
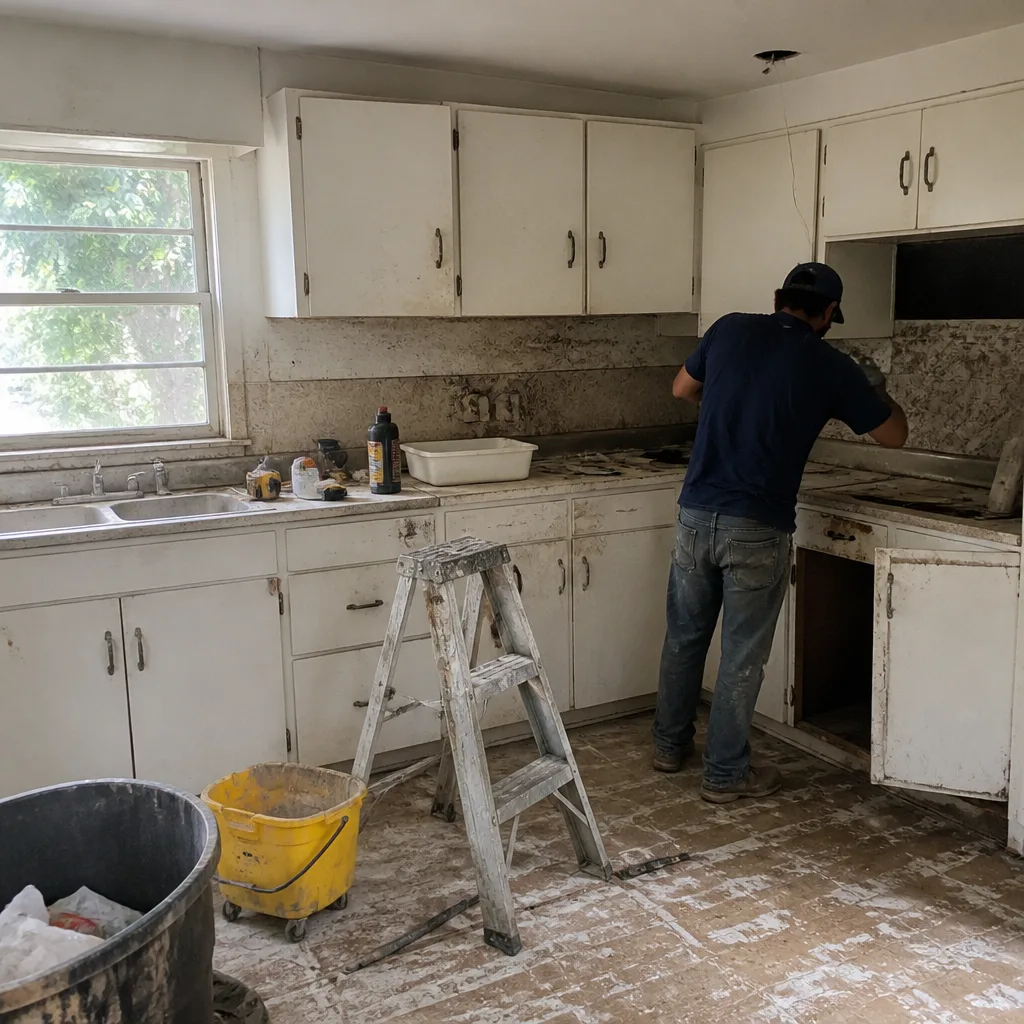 Before
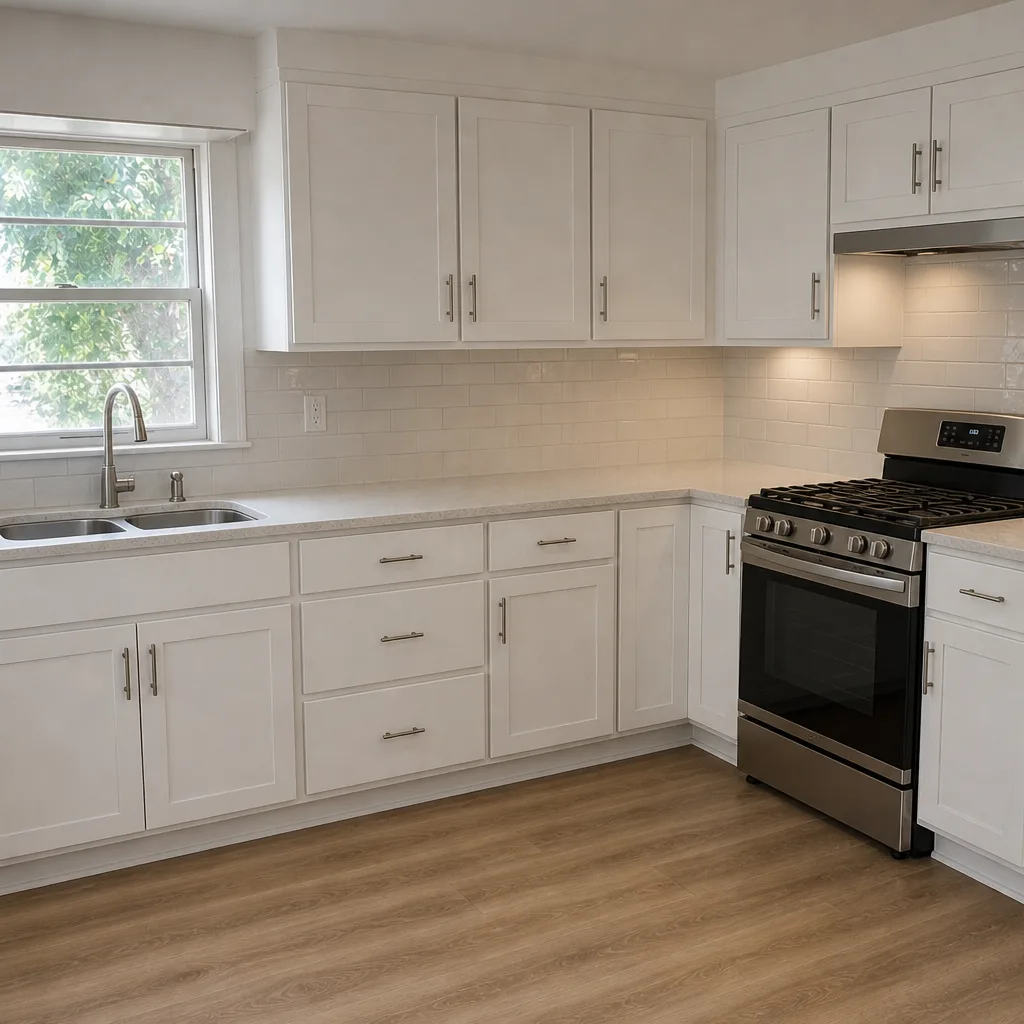 After
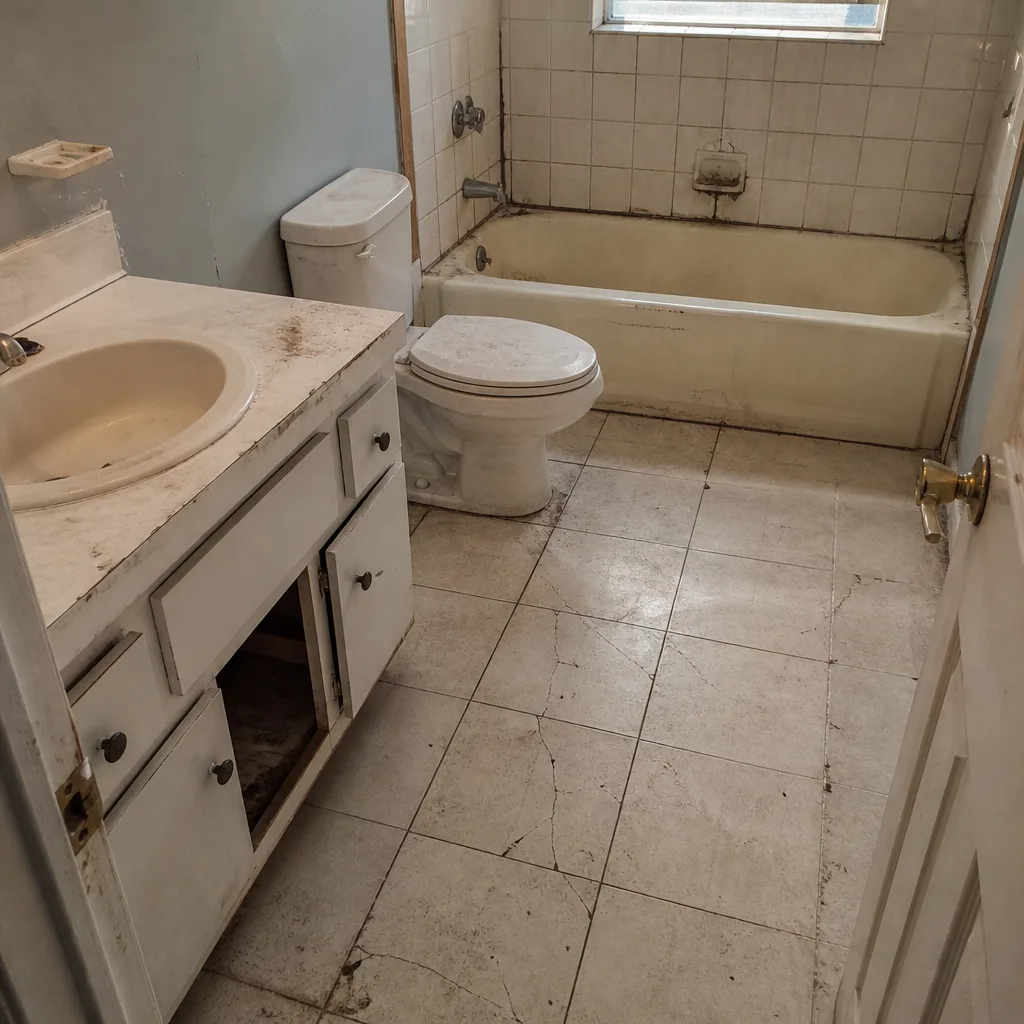 Before
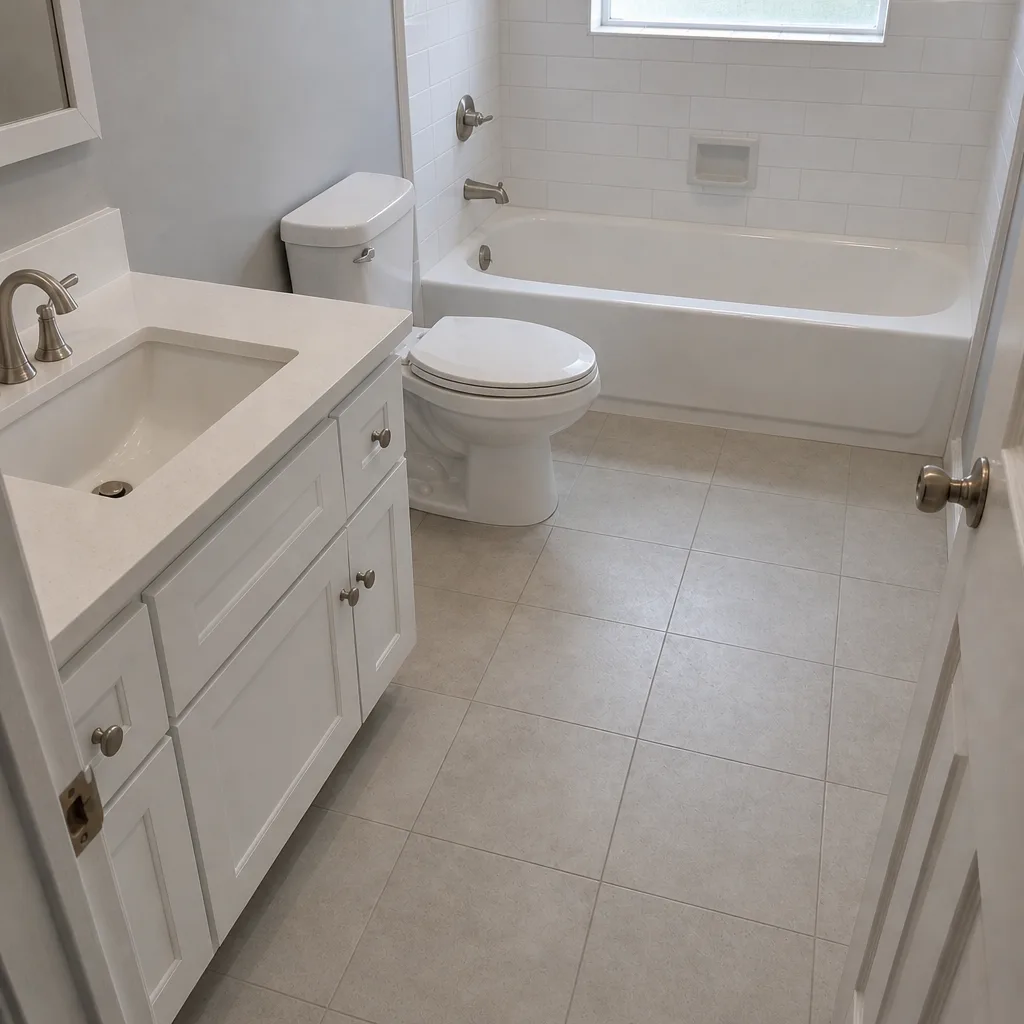 After
When to Call a Professional
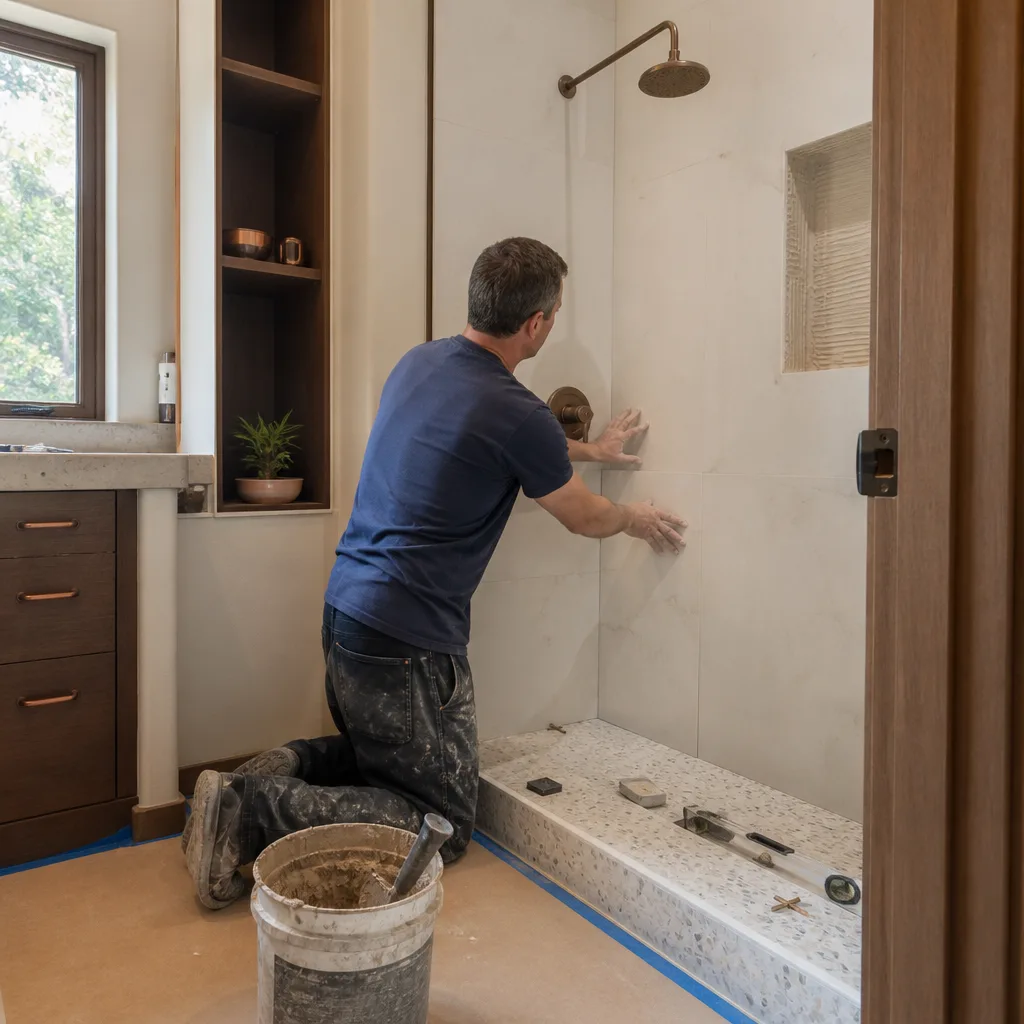
Call a pro when the task touches waterproofing, plumbing rough-in, electrical inside the wall, or any structural work. Call a pro if the toilet flange is questionable, if you’re changing a shower footprint, or if you’re working with a permit – the inspection sequence alone usually justifies the cost. Call a pro if the scope is a full bathroom replacement rather than a facelift; the coordination cost of mixing trades is where DIY savings disappear. And call a pro if you’re weighing the bathroom against a larger project, because sequencing across trades affects timeline and price.
Groundwork Construction Co. of Westchester offers free estimates in Westchester – call (833) 630-4214. We write line-item quotes so you can see exactly what you’re paying for, and every job is covered by the 730-Day Done Right Promise. Our technicians have up to 12 years of experience and work with material partners like Kohler and KraftMaid, so the finish quality matches the rough-in quality.
Frequently Asked Questions
We strongly advise against it. Shower pan installation fails silently and typically takes 8 to 14 months to show up as rot or mold in Westchester’s humid climate. The failure mode runs $8,000 to $12,000 once tear-out and remediation are included, which dwarfs the labor savings. Call (833) 630-4214 if you want to talk through a shower replacement – the estimate is free, and the workmanship is covered by our 730-Day Done Right Promise.
Anything that moves or adds plumbing, any electrical work inside the wall, any structural change, and any change to the shower or tub footprint requires a permit. Several of those trades must also be performed by a licensed contractor – not just inspected. Call the local building department to confirm your specific scope; it’s a free call and it’s the fastest way to avoid a tear-out later.
It shouldn’t. We provide upfront, line-item pricing, and the number on the quote is the number you pay unless you request a scope change. If a contractor can’t give you a written, itemized estimate before work starts, that’s a warning sign worth taking seriously. Call (833) 630-4214 for a free estimate with itemized pricing.
Most homeowners save $1,500 to $4,000 on a mid-range bathroom by doing paint, hardware, vanity installation, and finish fixtures themselves – without touching waterproofing, rough-in, or electrical. Anything beyond that range and you’re usually trading savings for warranty coverage. Estimates are free; we’re happy to walk through which pieces of your scope are truly safe to self-perform.
Yes, in most Westchester bathroom remodels, electrical work inside the wall needs a licensed electrician and an inspection. Bathrooms are wet rooms, which means GFCI protection and specific box and circuit rules apply. This is one place where the invoice for licensed work is by far the cheapest part of doing it right.
Yes, demo is usually a safe DIY task, but only with direction. Confirm with your contractor what to leave in place (typically the tub, supply stub-outs, and any structural elements) and where to stop. A well-run demo saves real money; an overzealous one requires additional repair work before the reinstall can start. Call (833) 630-4214 to talk through a demo scope before you pick up a sledgehammer.
Often, yes, and bundling them can reduce overhead costs. If you’re considering exterior upgrades at the same time, our Driveway & Pavers in Westchester team uses Tremron and Techo-Bloc materials that pair well with a bathroom project in the same season, and our Fence Installation in Westchester team can handle fencing work in the same timeframe. We’re also a good fit if you’re planning a larger structural project, which you can explore through Home Additions & ADU in Westchester.
The Bottom Line

The honest answer to “what can I do myself” comes down to failure modes, not difficulty. Paint the walls, swap the hardware, install the vanity, hang the mirror, and take the punch list. Hire out the waterproofing, the drain rough-in, the electrical inside the wall, and anything that needs a permit naming a licensed trade. In Westchester’s humid climate and strict permitting environment, a shower pan error you “save” $2,000 on can cost $10,000 to fix – and you’ll be doing it 14 months after you’ve forgotten the savings. That trade is a bad one. Call the flat-rate quote, get the itemized estimate, see where the numbers land, and use the savings on a genuinely safe project – like the paint and fixtures you can truly do yourself.
If you’d like a straight read on your specific project, Groundwork Construction Co. of Westchester offers free estimates, itemized pricing, 0% financing for 18 months, and $1,000 off projects over $10,000. Call (833) 630-4214. Live person, 24/7. Every project carries the 730-Day Done Right Promise – if it’s not done right, we make it right.
Written by the team at Groundwork Construction Co. of Westchester.