Last updated November 18, 2026



Free written scope consultation - allowances, timeline, and change-order rules on paper before a single trade is scheduled
Driveway & Pavers Troubleshooting: Common Problems and How to Fix Them
Most driveway paver problems get misdiagnosed before anyone picks up a shovel. Sinking pavers look like a paver problem. White chalky stains look like a sealer problem. Pavers creeping into the grass look like a layout problem. In our experience across Westchester, nine out of ten of these issues trace back to something happening underneath – the base, the water, or the edge. If you reseal sinking pavers without fixing the base, you’ve just paid to slow down a problem that’s still accelerating. This guide walks you through diagnosing the actual failure point before you spend money on the wrong fix.
Quick Answer
Sinking and cracking pavers are almost always caused by a failed base layer, poor drainage, or broken edge restraint – not by the pavers themselves. Efflorescence is a mineral deposit drawn up through the surface, not mold and not a sealer failure. Fix the cause (base, water, edge) before you touch the surface, or the problem returns within a season.
Styles & brands we work with
- Kitchen remodeling
- Bathroom remodeling
- Home additions & ADU
- Roofing
- Windows & doors
- Driveway & pavers
- Fence
Table of Contents
- How to Tell a Surface Problem From a Base Failure
- Why Paver Joints Wash Out (and Why Polymeric Sand Often Isn’t the Fix)
- The Edge-Creep Problem: When Pavers Migrate Outward
- Efflorescence vs. Mold vs. Mineral Staining
- Why Pavers Crack and Heave
- What You Can Legitimately Fix Yourself (and What You Can’t)
- Westchester-Specific Pressure Points
- A Maintenance Calendar That Prevents Most Failures
How to Tell a Surface Problem From a Base Failure
You can diagnose the difference between a cosmetic issue and a structural one with two things you already own: a garden hose and a flashlight. We’ve watched homeowners spend hundreds resealing and re-sanding a driveway that needed base work, then wonder why the dip came back six months later. The hose test tells you what you’re actually dealing with.
Here’s the sequence we recommend, and it’s the same one our crews use on a first walkthrough:
- Set the hose on a slow trickle at the highest point of the driveway and let it run for five to ten minutes. Don’t flood it – you want water behaving the way rain would.
- Watch where the water pools. Standing water that lasts more than ten or fifteen minutes after the hose is off marks a low spot. A low spot means either the base settled or the slope was never right to begin with.
- Shine the flashlight along the surface at a low angle. Raking light shows the true geometry. Dips and humps you can’t see in daylight jump out when the light grazes the surface.
- Check the joints. If the joints near the low spot are empty or the sand is gone, water is running into the base through them. That’s how a small dip becomes a big one.
- Look at the farthest downhill edge. If water sits against the edge instead of running off, you’ve got a drainage problem, not a paver problem.
A dip of a quarter inch or less over an eight-foot straightedge is usually cosmetic and will ride out another season. Three-quarters of an inch or more in a single area, especially with loose or rocking pavers, means the bedding layer or the compacted base underneath has failed. In Westchester, that pattern shows up most often near the driveway apron where it meets the street, because that’s where water concentrates and where the subgrade carries the most load.
One more check worth doing: stand on a flexible paver near the dip and rock it gently with your weight. A paver that rocks is sitting on an uneven or slumped bed. That’s a base problem. A paver that stays put but sits a little low can sometimes be brought back up with bedding correction in a small area, but only after you find out why it sank in the first place.
Why Paver Joints Wash Out (and Why Polymeric Sand Often Isn’t the Fix)
Paver joints wash out because water is moving across the surface and into the sand at a rate the joint can’t handle, or because the joint sand was never installed and compacted correctly. Polymeric sand hardens once it’s activated with water, and it handles normal rain well. What it can’t do is hold back a channel of concentrated flow. If your gutters dump onto the driveway, or your neighbors’ runoff crosses your property, polymeric sand will fail along that path every time. It’s not a bad product. It’s being asked to do a job that belongs to grading and drainage.
In Westchester, the joint wash-out pattern has a lot to do with the local climate and soil. The rainy season brings intense bursts that overwhelm a driveway with no outlet, and the sandy, low-lying subgrade in parts of the area doesn’t absorb water the way a well-drained slope would. We regularly see wash-out concentrated in two places:
- Under downspout discharge points. A single downspout dumping onto pavers during a heavy rain acts like a pressure washer on the joint.
- Along the lowest edge of the driveway, where water exits the surface and takes sand with it as it goes.
If you’re getting wash-out, the order of fixes matters:
- Redirect the water source first. Extend downspouts, add a splash block, cut a shallow swale, or install a channel drain at the low edge.
- Remove the remaining loose joint sand and inspect the joint width. Joints wider than about three-eighths of an inch won’t hold polymeric sand reliably.
- Reinstall joint sand in the correct grade for the joint width and your climate, compact it, then activate it according to the manufacturer’s instructions – Quikrete and Sakrete both publish joint-specific guidance worth reading before you buy a bag.
- Check the edge restraint. If the edge is loose, the sand has nowhere to lock against, and it will wash out again.
Here’s the thing most homeowners miss: refilling joints without addressing the water rarely lasts more than one rainy season in Westchester. Nail the drainage first and the joint issue mostly solves itself.
The Edge-Creep Problem: When Pavers Migrate Outward
Edge creep is the slow outward migration of pavers toward the lawn, the street, or the garage. It’s a mechanical failure, not a wear issue, and it almost always traces back to edge restraint. You can see it early if you know what you’re looking at:
- A widening gap along the driveway’s outer line. Pavers shift outward a quarter inch, then half, and pretty soon the driveway “grows” toward the lawn.
- Loose or tilted restraint. The metal or plastic edge restraint that holds the field in place either pulled its stakes, cracked, or was set on soil that has since settled.
- Pavers tilting on the outer course. The first row loses its interlock with the field, and the whole outer band starts to lift and drift.
- Grass creeping into the joints along the edge. Weeds are following the gap.
Edge creep has a clear cause chain, and understanding it tells you how to fix it:
- The edge restraint was staked into uncompacted soil or landscaping mix instead of compacted base.
- Water ran along the edge and softened that soil.
- The restraint loosened and the outer pavers started to move.
- The joint sand loosened as the pavers moved, letting in more water.
- The cycle accelerates until the edge course is visibly out of line.
The correct fix is to pull the outer course, reset the restraint on a proper compacted base with driven spikes at the manufacturer’s spacing, and reinstall the pavers bedded against the corrected edge. Caulking the gap or adding a paver saver is a stopgap, not a repair. And the reason we don’t recommend the stopgap for anything more than a temporary hold: once a driveway edge loses its restraint, the field pavers behind it are also losing their interlock, and that load path is what protects the whole surface.
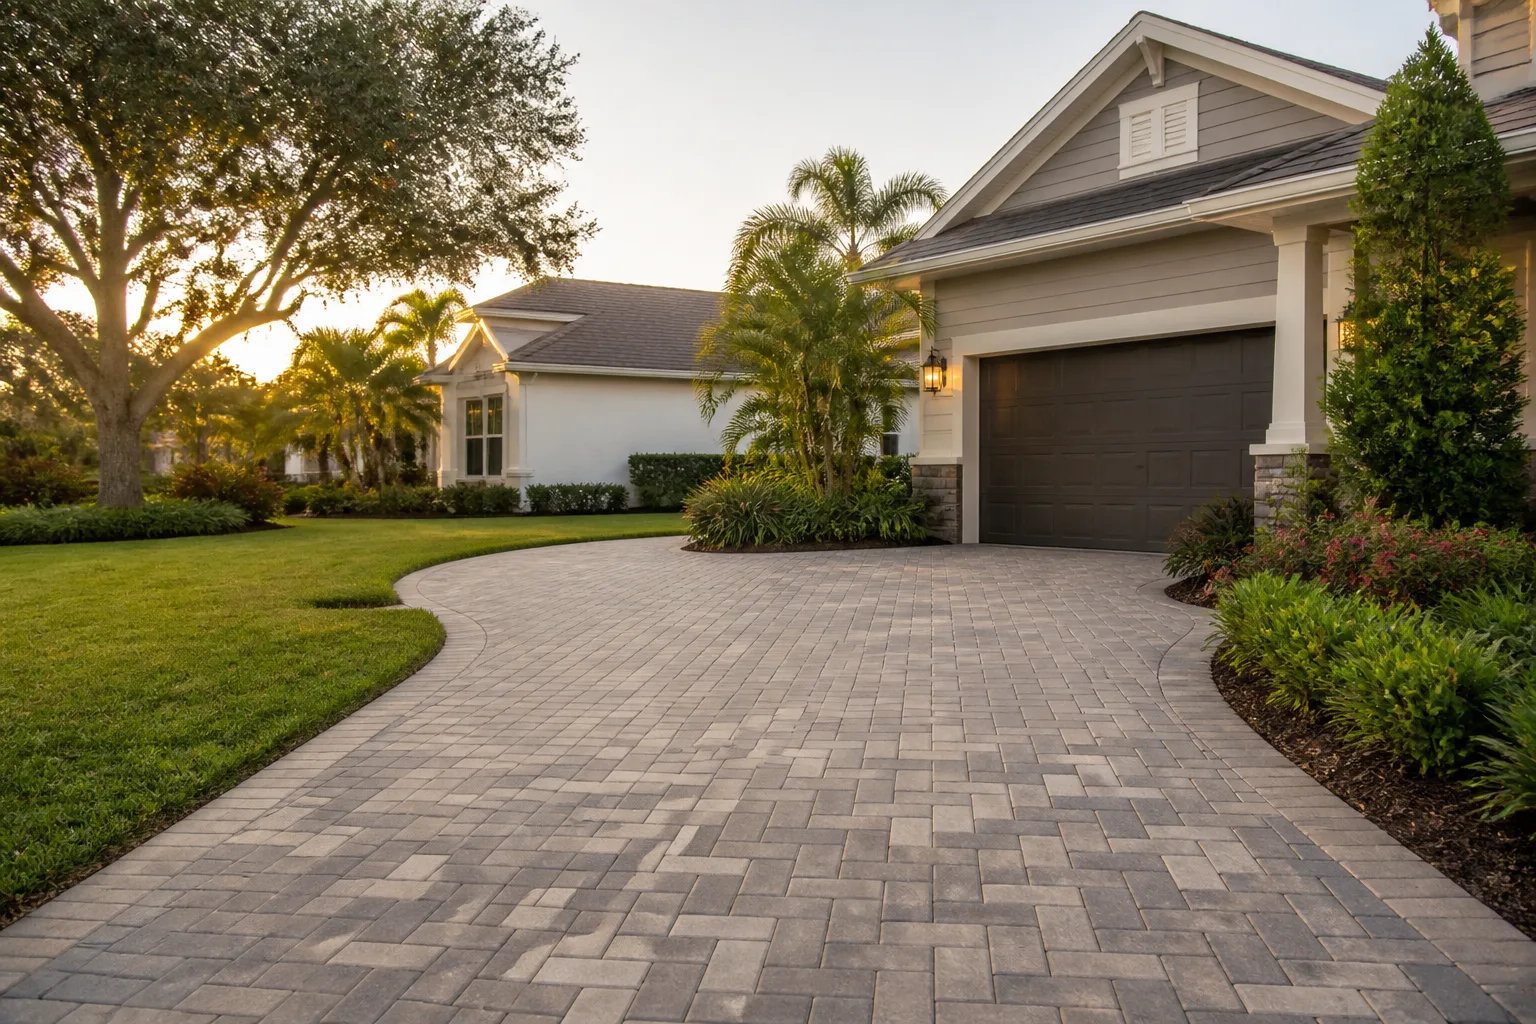
When we install with brands like Cambridge Pavers or Oldcastle edge restraint systems, we set the restraint on compacted base with the manufacturer’s spike pattern, and we run the driveway through the property’s grading plan so runoff exits cleanly instead of running along the edge. That’s one reason our Driveway & Pavers in Westchester projects get built to hold their line as well as their surface.
Efflorescence vs. Mold vs. Mineral Staining
Three things that look like “white or dark stains on pavers” get confused constantly, and each one has a completely different treatment. Get the diagnosis wrong and you’ll either waste a weekend or damage the surface trying to remove a stain that wasn’t there in the first place.
Efflorescence
Efflorescence is a white, chalky, powdery bloom that appears on the surface of pavers, most visibly in the first weeks after installation or after a wet stretch. It’s salt from the cement in the pavers, drawn to the surface by moisture and left behind as the water evaporates. It’s cosmetic, it’s not mold, and it’s not a sealer failure. The right response is usually patience – a dry spell clears most of it – or a light scrub with a manufacturer-approved efflorescence cleaner. Sealing too early traps moisture inside and makes it worse. Don’t seal new pavers until the bloom has settled down, and don’t seal a driveway with a moisture problem at all.
Mold and mildew
Mold and mildew show up as dark green, black, or gray fuzzy growth, usually in shaded edges, low spots that stay damp, or under trees. It’s a moisture and organic-matter problem, not a paver chemistry problem. Fixing it means scrubbing with a mold-appropriate cleaner, then fixing the shade or drainage condition that lets moisture sit. If the same corner goes green every summer, the answer isn’t more scrubbing – it’s airflow and drainage.
Mineral staining
Mineral staining from irrigation water, rust from a nearby metal grate or lawn furniture, or runoff from a landscaped bed shows up as brown, orange, or rust-colored discoloration. It’s flat and doesn’t scrub off the way organic growth does. Different sources need different treatments: iron rust from lawn equipment needs an acid-based remover (test on an inconspicuous paver first), and irrigation staining is best prevented by aiming heads off the pavers.
We’ve seen Westchester driveways where a homeowner scrubbed hard for a weekend thinking the black edges were mold, when it was actually a moisture problem that needed drainage work, not a cleaner. And the reverse: chalky white blooms that got sprayed with mold cleaner, making a mess without fixing anything. Identify before you treat.
Why Pavers Crack and Heave
A cracked paver is a message. Rarely is it a bad paver. Almost always it’s one of four causes:
- Base failure underneath. A single paver resting on a void will crack when loaded because it’s spanning, not supported. If a few pavers in one area are cracked and the rest are fine, look under them.
- Root intrusion or tree activity. In Westchester, mature oaks and palms will lift and crack pavers within their root spread as the tree grows. The pattern is usually a line of cracking radiating from the trunk.
- Heave from freeze or moisture movement. Pavers that heave upward in a localized area and settle back usually have water trapped in the base or a swelling subgrade that wasn’t handled at install.
- Point loading on a hollow void. A heavy vehicle parked in the same spot, or a jack stand, cracks a paver that was already unsupported.
The fix depends on which of these you’re looking at, but there’s one rule of thumb: if the base under a cracked paver is sound and dry, you can replace the paver and re-sand the joint. If the base under the paver is wet, soft, or missing, replacing the paver alone gets you a fresh crack within a season. Diagnose the base before replacing the surface.
Heaving is different from cracking and more often tied to drainage. Water that gets into the joint and can’t get out of the base layer will heave pavers as it freezes or as the subgrade swells. The fix usually lives at the drainage level, not the paver level.
What You Can Legitimately Fix Yourself (and What You Can’t)
Some paver problems are genuinely a weekend project. Others look like one and aren’t. Here’s a straight assessment of what falls where.
Reasonable DIY fixes
- Replace a small number of cracked pavers when the base under them is confirmed dry and solid.
- Re-sand joints that have lost sand but not edge restraint, after redirection of the water source.
- Extend downspouts and add splash blocks to keep concentrated water off the surface.
- Clean mold, mildew, and efflorescence with the right product and the right expectations.
- Reset one or two loose pavers in a small area once the underlying cause has been identified.
Not a DIY job
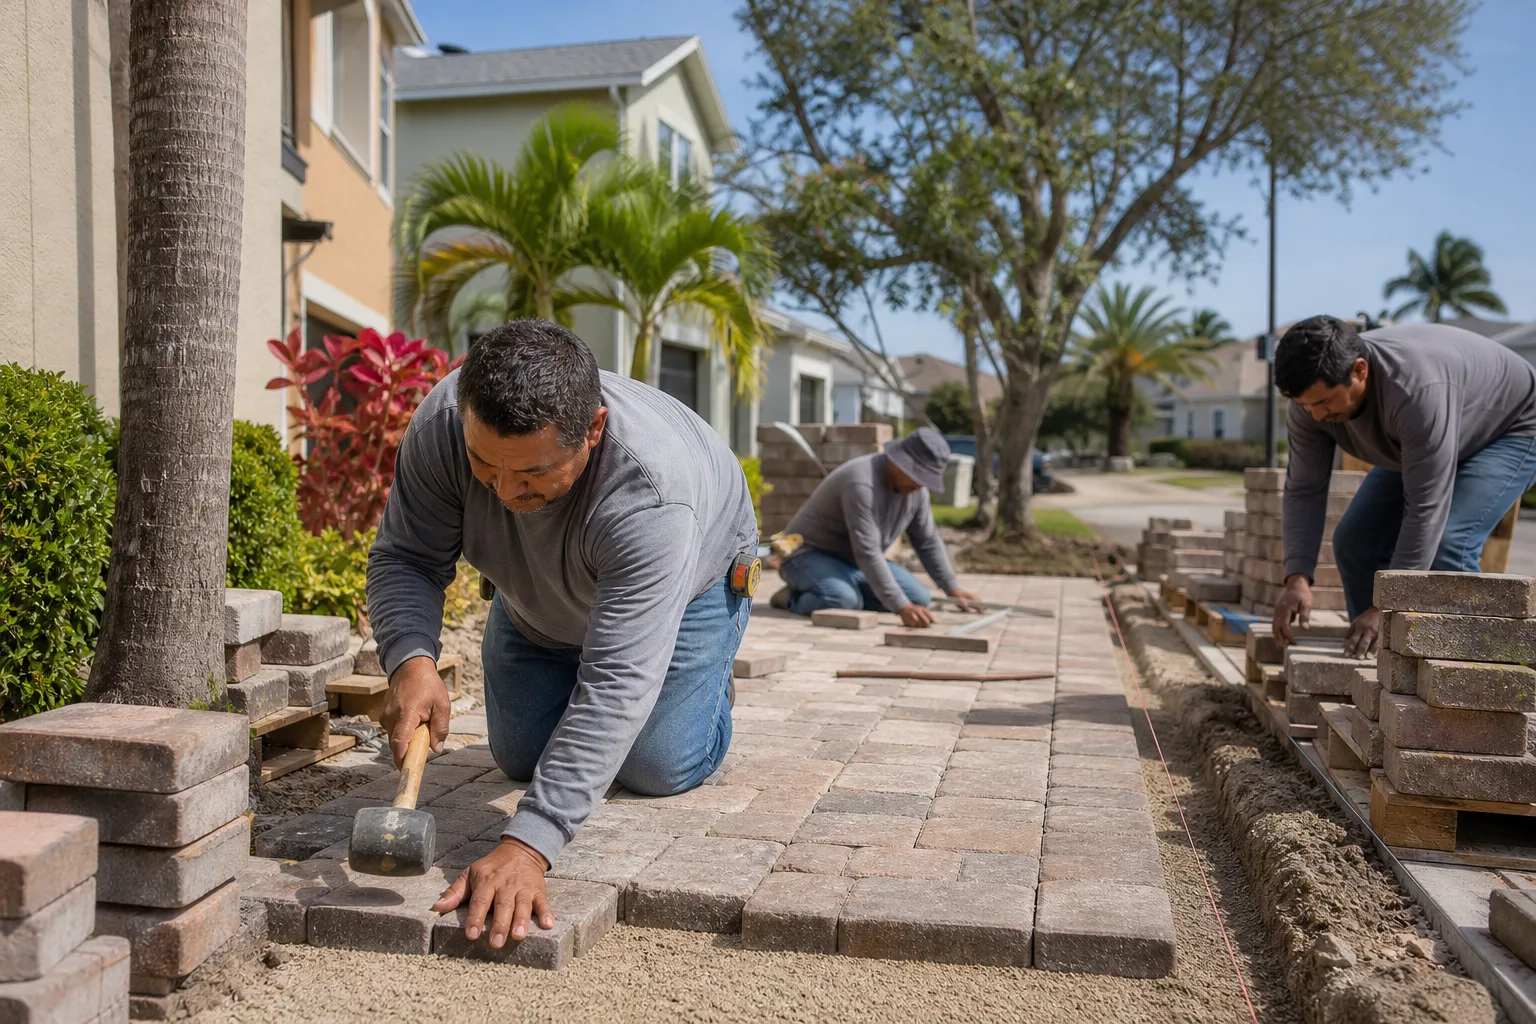
- Base replacement. Removing the pavers, excavating the failed layer, compacting a proper aggregate base at the right depth, and re-bedding the surface is a job for equipment and a crew that does it routinely. Compaction is the part most homeowners underestimate – hand tamping won’t match plate compactor density, and the pavers will sink again.
- Edge restraint rebuild. Setting the restraint correctly involves excavation, base compaction, and driving spikes at the right spacing. Doing it halfway is how the creep comes back.
- Failed drainage that affects the whole grade. Redirecting runoff that crosses the property usually involves changing the grading plan, and grading mistakes cause foundation problems.
- Root-caused failures. Tree roots that have heaved pavers almost always need to be handled with the tree in mind, not just the paver.
If you’ve done the hose test, examined the joints, and confirmed a dip or an edge that’s failing, the honest answer is usually base or edge work. That’s the point where a professional walkthrough pays for itself in avoided repeat work.
Westchester-Specific Pressure Points
Some paver failures cluster geographically because the conditions that cause them do. In Westchester, we see a recurring set:
- Apron failures. The driveway apron where pavers meet the street takes the most load and the most water. If the apron subgrade wasn’t compacted to spec, it settles within a few years, and the whole surface behind it starts to fail.
- Low-lying lots with a high water table. Parts of Westchester sit on sandy, low-lying ground where the base can stay saturated. Water in the base is the root cause of a lot of heave and cracking we see.
- Palm and oak root pressure. Mature root systems lift pavers along the driveway line. Trees don’t move, but their roots do.
- Intense rainy-season bursts. The local rainfall pattern drives joint wash-out and edge creep faster than the yearly average suggests.
- Hurricane-season wind-driven rain. When a storm drives water sideways across a driveway, the joint sand and seal are tested in a way that slow rain doesn’t.
Designing for these conditions is a big part of what separates a Westchester driveway that lasts from one that doesn’t. If you’re planning new pavers rather than repairing existing ones, these are the details that matter from day one. We cover them in depth in our main driveway and pavers service, including the base depths and edge restraint specifics we build to locally.
The same water-management thinking applies to the rest of the site. A failed swale or a fence line that lets runoff channel onto the driveway often sits next to a fence that’s also failing for the same reason. When that happens, we usually look at the whole property rather than one element. Our fence installation in Westchester work often overlaps with driveway repairs for exactly this reason.
A Maintenance Calendar That Prevents Most Failures
Most of the paver failures we see in Westchester could have been prevented with a few small actions at the right time of year. Here’s the calendar we recommend to homeowners who want maximum life out of a driveway without over-maintaining it:
- After every rainy season: walk the driveway, look at the joints near the low edge, and refill any joints that have lost sand. This one habit does more than anything else.
- Twice a year (spring and fall): check edge restraint along the whole perimeter. Tap the outer course of pavers gently; any that rock need attention.
- Before the rainy season: clear downspouts, extend discharge beyond the pavers, and verify drainage exits at the low edge.
- Annually: run the hose test at the highest and lowest points of the driveway to confirm the slope is still doing its job. Small dips caught early are cheap to fix.
- Every 2 to 4 years, or after major work: evaluate the need for a fresh joint-sand top-up and consider a breathable sealer, not a film-forming sealer that traps moisture. Quikrete and Sakrete both publish joint sand spec sheets worth having on hand.
- When trees are nearby: watch for new roots heaving pavers along the driveway line. Early detection saves pavers and trees.
Sealing is the most over-sold and under-understood step in this list. A sealer is a surface treatment, not a fix for a base problem, and sealing over a moisture issue traps water inside the base. If you have standing water or active sinking, fix those first, then seal and only then.
Common Mistakes to Avoid
- Resealing over sinking pavers. If the base has failed, sealing just hides the dip while water keeps working underneath. Diagnose with the hose test before you buy a bucket of sealer.
- Assuming every white stain is mold. Efflorescence is a chemical bloom, not growth. Scrubbing it with a mold cleaner wastes effort and can leave a stubborn residue; use an efflorescence-specific cleaner instead.
- Adding joint sand without redirecting water. The sand will wash out again within a rainy season in Westchester unless the water source is fixed first.
- Letting edge creep run. A quarter-inch of drift at the edge is cheap to correct. Six months later, it’s outer course removal and restraint rebuild.
- Hand-tamping a base patch. A small area that gets tamped by hand instead of compacted with a plate compactor will settle faster than the rest of the driveway, and the pavers over it will sink.
- Replacing a single cracked paver without looking underneath it. If the base is voided or wet, the new paver cracks too.
- Sealing new pavers too early. New pavers need time for efflorescence and residual moisture to settle. Sealing within the first few weeks of install is how you trap moisture and get a stained finish.
For most of Westchester’s residential driveways, these seven mistakes account for the bulk of the repairs we’re called out on. Catching them early is the cheapest path to a driveway that holds its line for the whole life of the pavers.
See the difference
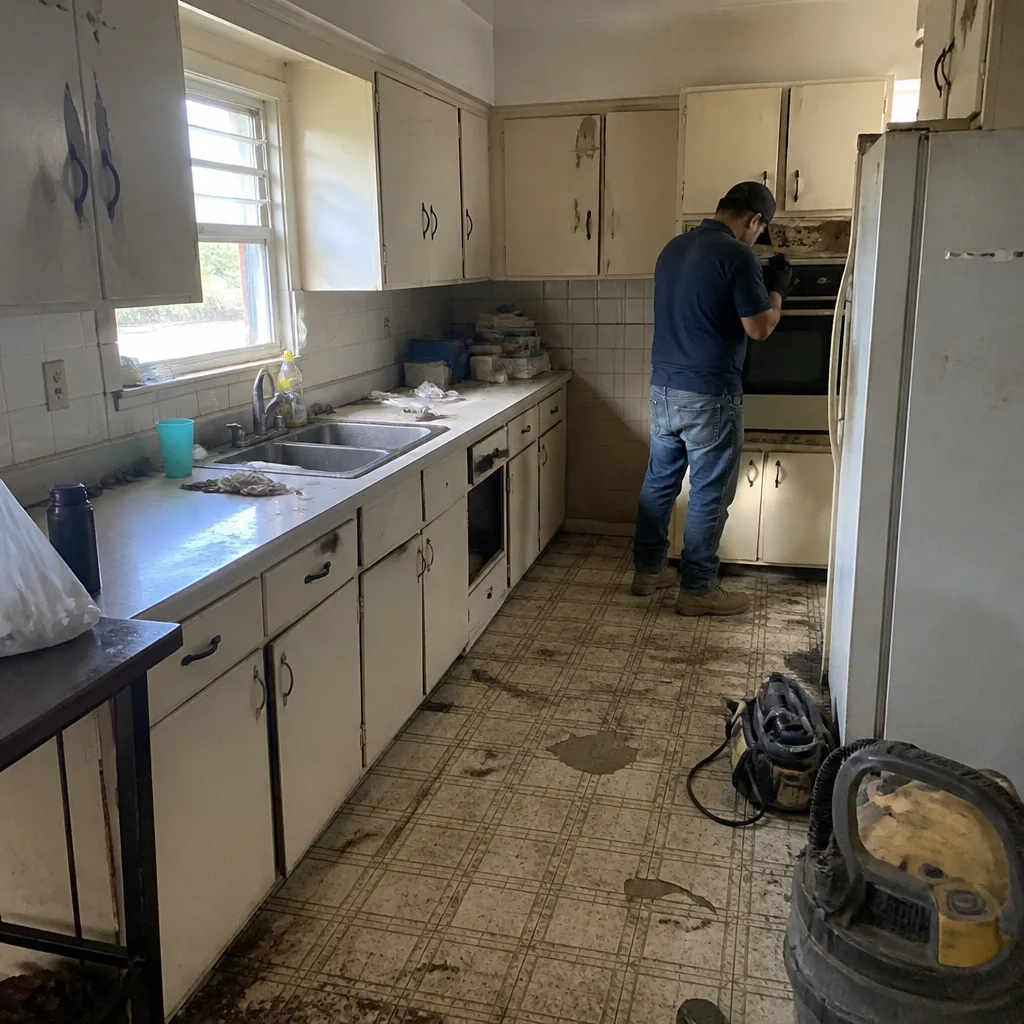 Before
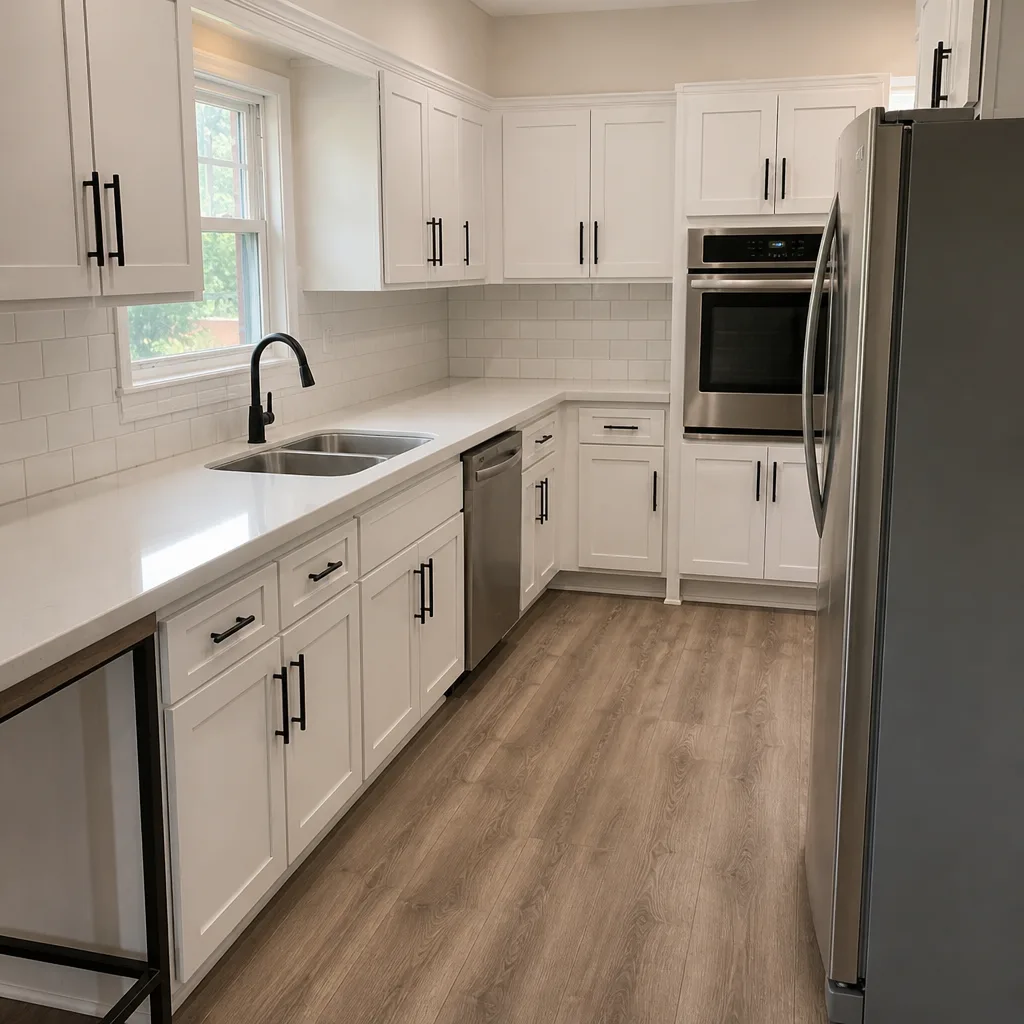 After
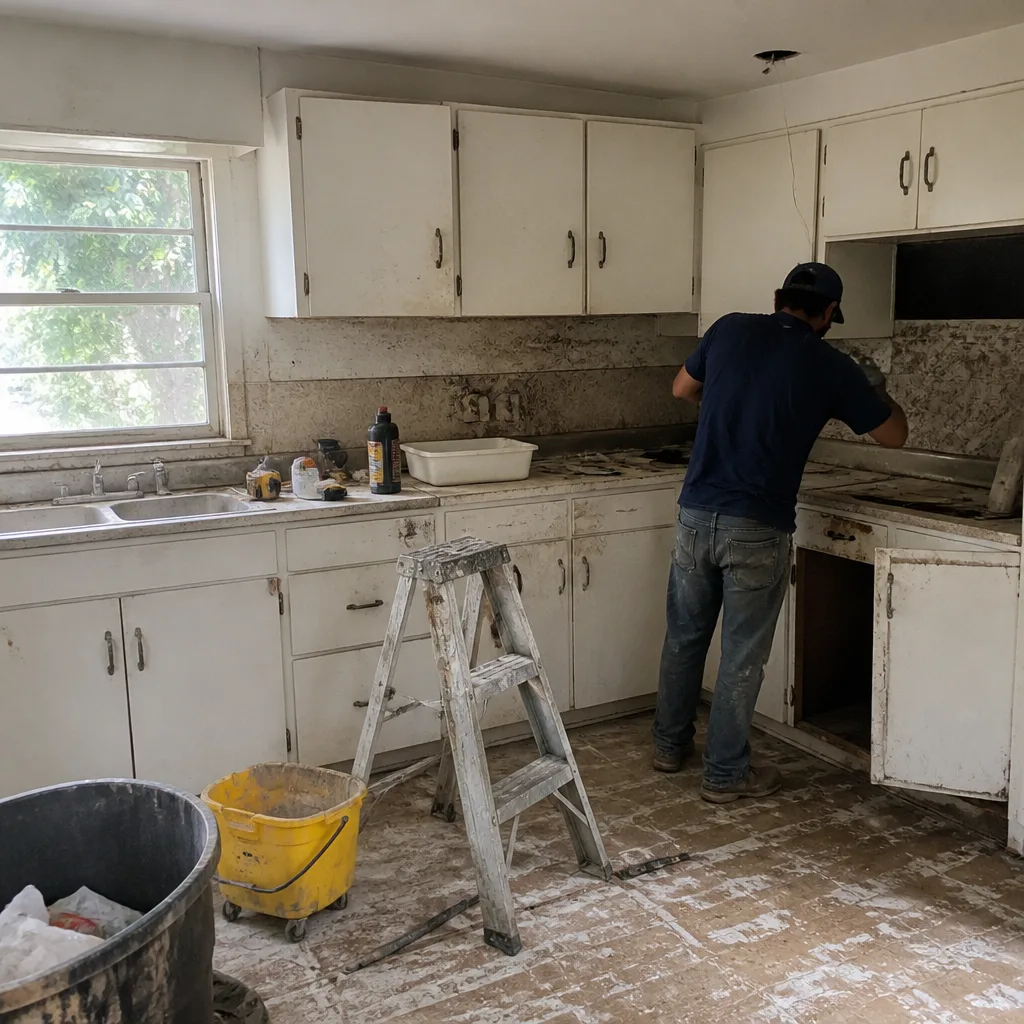 Before
 After
 Before
 After
When to Call a Professional
Call a professional when the hose test shows a dip deeper than about three-quarters of an inch in one spot, when the edge restraint has visibly lost its line, when several pavers are rocking or cracked across the same area, or when you’re dealing with water that originates on a neighboring property or a shared grade. Also call if the problem keeps coming back after you’ve refilled joints and redirected downspouts – a repeat wash-out in the same spot is a drainage design problem, not a maintenance problem. Base and edge work are the two most common culprits, and both are better solved once, correctly, than five times partially.
Groundwork Construction Co. of Westchester offers free estimates in Westchester with a written, line-item scope so you know exactly what’s being addressed and why. Call (833) 630-4214 to schedule a walkthrough, or explore Groundwork Construction Co. of Westchester to see the full scope of what we build. If your driveway repair sits next to a bigger project, like a garage conversion or an in-law suite, our home additions and ADU work in Westchester is coordinated with site work so drainage, grading, and surfaces are designed together rather than patched separately.
Frequently Asked Questions
Sudden sinking almost always means the base layer underneath has lost support, usually because water got into the base and softened the soil or washed out the aggregate. It’s rarely the pavers themselves. Run the hose test – if water pools in the dip for more than ten minutes, the base is failing and needs to be corrected, not just re-sanded. Call (833) 630-4214 for a free estimate if the dip is deeper than roughly three-quarters of an inch.
Almost certainly not. Chalky white bloom on pavers is usually efflorescence – mineral salt drawn to the surface by moisture. It’s cosmetic and clears with time or a manufacturer-approved efflorescence cleaner, not a mold treatment. Mold shows up dark green or black, typically in shaded or damp areas, and scrubs off. Different stains, different fixes.
Sometimes yes, but only after confirming the base under the cracked paver is dry and solid. If the base is voided, wet, or missing, replacing the paver alone gets you a fresh crack within a season. In Westchester, we see this most often at the apron and near tree roots. A free estimate includes a look at the base, which tells you which situation you’re in.
Edge creep happens when the edge restraint loosens – usually because the restraint was set on uncompacted soil or undermined by water. The fix is to pull the outer course, reset the restraint on compacted base with proper spikes, and re-bed the pavers. Caulking or adding paver savers slows the gap but doesn’t fix the cause. In our experience, catching it early saves hundreds of dollars of outer course work.
Refill joints once a year, typically after the rainy season when the sand has been washed out by heavy bursts. If a specific stretch is losing sand every few months, the real issue is water concentration at that spot – downspout discharge or a low-edge exit – and you’ll need to redirect it before the joint sand will stay put.
No. Sealer is a surface treatment, and it does not address a failed base or broken edge restraint. Sealing over a sinking driveway hides the dip while water keeps working underneath. Fix the base, the edge, and the drainage first, then seal once the surface is stable and the pavers have had time to dry out. Anything else is money spent to slow down a problem that’s still accelerating.
The Bottom Line
Most paver problems are surface symptoms of subsurface causes. Sinking pavers mean a base problem. Edge creep means a restraint problem. Chalky white bloom means efflorescence, not mold. Wash-out in joints means water concentration that needs to be redirected. Cracking usually means base voids, root pressure, or heave – rarely bad pavers. Fix the cause and the symptom stays fixed. Fix the symptom alone and it returns, usually within a season. Use the hose test to diagnose before you spend, do the small maintenance tasks on a schedule, and call in a professional when you’re looking at base, edge, or drainage work.
If you’d like a free, written estimate on what’s actually failing and what it takes to fix it in Westchester, call Groundwork Construction Co. of Westchester at (833) 630-4214. Every project we take on comes backed by the 730-Day Done Right Promise, upfront pricing with no surprises, and live humans answering the phone around the clock. Our technicians have up to 12 years of experience, are background-checked, and arrive in uniform. Call today to schedule your free estimate.
Written by the team at Groundwork Construction Co. of Westchester.