Last updated November 18, 2026





Free written scope consultation - allowances, timeline, and change-order rules on paper before a single trade is scheduled
Home Additions & ADU Maintenance Schedule: What to Do and When
The warranty on your addition starts the day it’s finished, but most of the problems that void that warranty start the day the homeowner stops paying attention – usually within the first 90 days. That’s the uncomfortable truth about new construction. The build itself is the easy part to get right. The junction where your new foundation meets the old one, the flashing line where a new roofline ties into an existing one, the caulk bead around a newly set window – these are the points that decide whether your addition performs for thirty years or starts leaking in year two. In Westchester, where the wet season puts real pressure on drainage and humidity, those junction points get tested fast. This guide gives you a concrete maintenance calendar running from year one through year five, built around the specific vulnerabilities of additions and ADUs rather than generic home-ownership advice.
Quick Answer
A new home addition or ADU needs a structured inspection at the 30-day, 90-day, six-month, and one-year marks, with the heaviest attention on tie-in points: roof flashing, foundation transitions, exterior caulking, and the HVAC system now carrying the extended load. After year one, shift to a seasonal schedule – checking drainage and grading before Westchester’s wet season, servicing the tankless water heater and separate electrical panel for any detached ADU, and planning ahead for the paint, seal, and roof milestones that fall between years three and five.
Styles & brands we work with
- Kitchen remodeling
- Bathroom remodeling
- Home additions & ADU
- Roofing
- Windows & doors
- Driveway & pavers
- Fence
Table of Contents
- Why Additions and ADUs Fail Early: The Junction Problem
- The Year-One Calendar: Month-by-Month and Milestone Checks
- The Settlement Inspection: What’s Normal and What Needs a Call
- Roof Flashing and the Tie-In Line: The Most Failure-Prone Seam
- Foundation Transitions and Perimeter Drainage in Westchester’s Wet Season
- ADU-Specific Maintenance: Electrical, Tankless Water Heaters, and Detached-Structure Sealing
- HVAC Filter Load on the Extended System
- The Five-Year Capital Planning Table
Why Additions and ADUs Fail Early: The Junction Problem
An addition is two structures pretending to be one. Your original house has been settling, drying, and moving on its own foundation for decades. The new wing is fresh lumber, fresh concrete, and fresh framing that hasn’t finished doing any of that yet. Where the two meet – at the foundation transition, along the roofline tie-in, around every door and window cut into the shared wall – you have two materials moving at different rates. That’s the junction problem, and it explains why most of the early failures we get called back to inspect in Westchester happen at seams rather than in the middle of a wall.
Detached ADUs carry a slightly different risk profile. There’s no shared wall, so junction stress is lower, but a detached structure takes weather on all four sides with no adjacent building to break wind and rain. In Westchester, that means the ADU’s exterior envelope and its drainage perimeter do more work than a main-house wall ever will. When an ADU goes bad early, it’s usually water getting in where the siding meets the foundation, or where the roofline sheds onto grading that was never pitched away from the slab.
The maintenance schedule below is built around these failure points, not around a generic homeowner checklist. A general guide will tell you to clean your gutters. We’re going to tell you which gutters, why the ones on the addition matter more, and what a failing tie-in looks like before it becomes a repair.
What “maintenance” actually means on new construction
On a house that’s been standing for forty years, maintenance is about wear. On a new addition, maintenance is about verification – confirming that the materials are behaving the way they were designed to behave as they dry, cure, and settle. Those are different jobs. Verification is more front-loaded: almost all of it happens in year one, and if you do it well, the later years get much easier.
The Year-One Calendar: Month-by-Month and Milestone Checks
Year one is where the heavy lifting happens. Below is the schedule we walk homeowners through after an addition or ADU wraps up in Westchester, organized by milestone rather than strict calendar dates so it works regardless of when your project finished.
- Day 30 – First walkthrough: Re-check every exterior caulk bead, especially around windows and doors on the new walls. Caulk shrinks as it cures, and a bead that looked perfect at handoff can develop a hairline gap within a month. Look at the tie-in where new siding meets old. Check that downspouts on the addition are actually discharging away from the foundation, not into the planting bed.
- Day 90 – The critical checkpoint: This is the one most homeowners skip and the one that matters most. By 90 days, the structure has done its first significant settling. Inspect the foundation transition line for new cracks, check interior drywall corners at the junction for hairline separation, and look at the roof flashing tie-in from the ground with binoculars. Change the HVAC filter for the first time – the extended system has been pulling construction dust for three months.
- Month 6 – Pre-wet-season drainage check: Before Westchester’s rainy months, walk the entire perimeter of the addition or ADU. Confirm the ground slopes away from the foundation on all sides. Clear any debris from the transition where new meets old. If you see standing water after a heavy rain, that’s grading, and it needs attention before the season sets in.
- Month 9 – HVAC and electrical: Have the extended HVAC system inspected to confirm the added square footage isn’t overloading the existing unit’s capacity. For a detached ADU with its own panel, have an electrician verify the panel’s breaker loads are within spec. This is also the time to descale the tankless water heater if you have one – Westchester’s water hardness makes scale buildup faster than most homeowners expect.
- Month 12 – The one-year anniversary inspection: The big one. Full exterior walkthrough, foundation transition review, roof flashing check, caulk and sealant assessment, and a look at all the interior junction points. This is the inspection that tells you whether year two through five will be quiet or busy.
If your project gets a professional one-year inspection, that’s worth scheduling. The list above is what to check on your own in between professional visits, not a replacement for them.
The Settlement Inspection: What’s Normal and What Needs a Call
Every new addition shifts slightly in its first year, and that’s not a defect – it’s physics. Concrete cures, lumber dries and shrinks, and the ground beneath a new foundation compresses under load for the first time. A new Westchester addition that shows no movement at all in year one is the unusual case, not the norm. The question isn’t whether your addition settles. It’s whether what you’re seeing is normal settling or the early sign of a real problem.
Normal settling – leave it alone
- Hairline cracks in drywall at the corners of new windows and doors, especially on the shared wall with the original house. These are cosmetic and typically appear within the first six months.
- A thin, even separation line where new drywall meets old along the ceiling or corner bead. The two sides are moving at slightly different rates because they’re on different foundations. A uniform hairline line is expected.
- Minor sticking of a door or window that frees up after a season change. Doors on new framing often swell slightly in summer humidity and free up in the drier months.
- Small, stable cracks in the foundation transition line that don’t widen over time. Measure them and check back in 60 days. If the number doesn’t change, you’re fine.
Not normal – call your contractor
- A crack at the foundation transition that is actively widening, or that’s wider than a credit card edge. Growth is the signal, not the crack itself.
- Diagonal cracks radiating from the corners of door or window openings in the new construction. These point to differential movement that needs a look.
- Water appearing at the base of the shared wall after rain, or dampness along the transition where new floor meets old.
- Any door or window that becomes progressively harder to close over several weeks rather than swelling and freeing with the seasons.
- Visible separation between the roof flashing and either the new or original roof surface – that’s water waiting to happen and needs a professional eye fast.
We tell Westchester homeowners the same thing every time: measure the crack, date the photo, check it again in 60 days. Growth is the thing that tells you to call. Stability tells you to wait.
Roof Flashing and the Tie-In Line: The Most Failure-Prone Seam
Where a new roofline meets an existing one, you have a seam that has to shed water from two different directions onto two different planes. Flashing does that job, and flashing is where most addition leaks begin. The failure usually isn’t dramatic – it’s a slow drip into a wall cavity that shows up months later as a stain on interior drywall or a soft spot in the ceiling near the junction. By the time you see the stain, the flashing has likely been failing for a while.
What to check and how often
- At 30 days: Look at the tie-in line from the ground with binoculars. Flashing should be tight against both roof surfaces with no visible gaps or lifted edges.
- At 90 days and again at one year: Have the flashing inspected by someone who can get on the roof safely. This is the check most homeowners skip and the one that catches the expensive problems early.
- Before every wet season: Clear debris – leaves, twigs, granules – from where the flashing meets the roof surface. Debris dams water up against the seam and defeats the flashing entirely.
- After any major storm: A visual check from the ground for lifted flashing, missing shingles near the tie-in, or new water staining on interior ceilings near the junction.
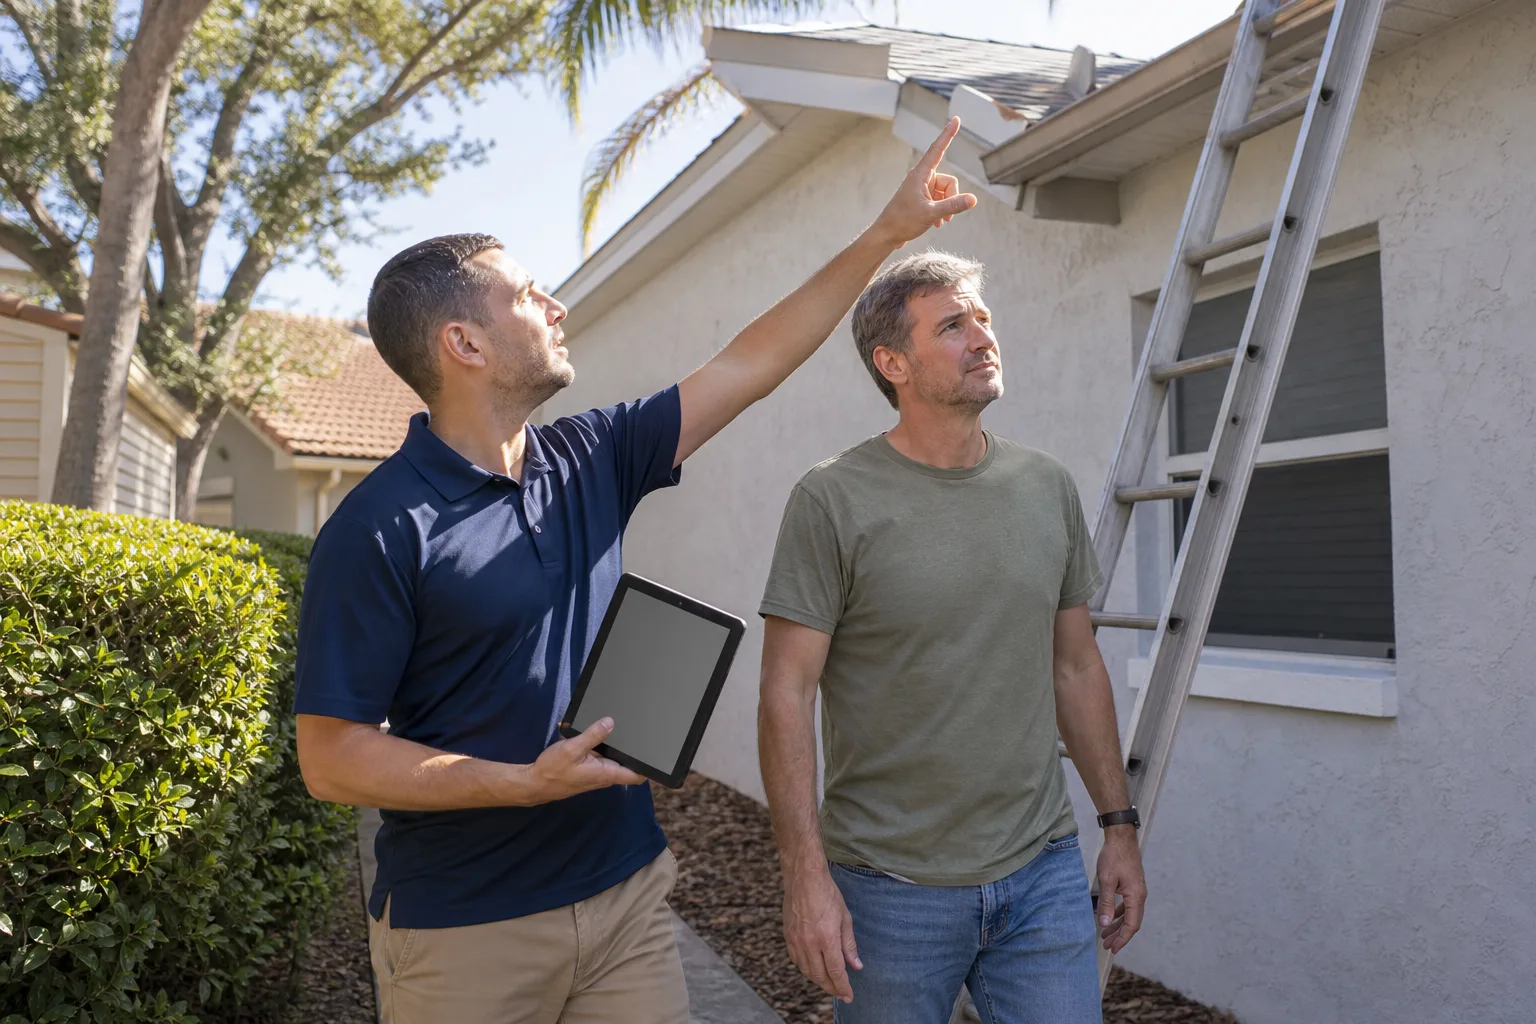
Roof work belongs to trained professionals. Getting up on a roof to inspect a flashing line, especially where two planes meet and footing is uncertain, isn’t a homeowner task – the fall risk is real and so is the risk of stepping through a soft spot near a seam. From the ground with binoculars, you can catch a lifted edge or a visible gap. Anything past that, call someone who does this for a living. If you’re planning a roof replacement on the original house and need the addition’s tie-in redone at the same time, that’s the moment to get it quoted together – doing it in one pass beats paying for two separate mobilizations.
Foundation Transitions and Perimeter Drainage in Westchester’s Wet Season
Westchester’s wet season is where drainage failures announce themselves. Water that pools against a foundation during a heavy rain finds its way in through the path of least resistance, and on an addition, that path is often the foundation transition – where new concrete meets old, or where new concrete meets the grading that was never fully compacted after the build. Grading failure almost always starts at the edge of the addition, because that’s where the soil was most recently disturbed.
What early drainage failure looks like
- A low spot or shallow puddle along the base of the addition wall that lingers more than a day after rain. Water standing against a foundation is a problem even if it hasn’t leaked yet.
- Mulch or soil washed away from the base of the wall, exposing the foundation line. That’s water moving in the wrong direction – toward the house instead of away.
- A visible dip or depression in the yard within 3 to 5 feet of the addition. Freshly placed soil settles in its first year, and what was a proper slope at handoff can flatten out.
- Dampness, efflorescence (white powder), or dark staining on the new foundation wall. All three point to water sitting where it shouldn’t.
What to do about it
The fix is usually regrading – adding soil to restore a slope that carries water away from the foundation – or extending downspouts so they discharge well clear of the addition. Pay attention to where your downspouts actually end, not where they’re supposed to. On new construction, a downspout that discharges directly into a planting bed next to the foundation is doing more harm than a blocked gutter. In Westchester, we see this most often on additions where the downspout had to be rerouted around the new footprint and nobody re-checked where it landed.
Before the wet season each year, walk the perimeter. Look for the low spot, look for the washed-out mulch, look for the puddle. Fix grading in the dry months when you have time to do it properly. If water is already getting into the transition or you’re seeing interior dampness, that’s the point to bring in a professional rather than keep adding soil. If your drainage issues extend to the hardscape around the addition, the same year-one settling applies to any new paving – our Driveway & Pavers in Westchester guide covers what to watch for on that front.
ADU-Specific Maintenance: Electrical, Tankless Water Heaters, and Detached-Structure Sealing
A detached ADU carries maintenance items that a connected addition doesn’t, and the biggest one is autonomy. The ADU has its own electrical panel, its own water heater, and its own four-sided exterior envelope – which means it has its own failure points that a homeowner who ignores the ADU (because nobody’s living in it yet) won’t catch until something breaks.
Separate electrical panel checks
An ADU’s electrical panel takes the full load of the unit on its own. Check it every six months: open the panel cover only if you know what you’re looking at, or simply observe the breakers from outside the cover. Look for any breaker that trips repeatedly – that’s a circuit telling you it’s overloaded or something on it is failing. If the ADU has its own service entrance and meter, note the meter reading at the one-year mark as a baseline so you can spot abnormal consumption later. Any work inside the panel itself is electrician territory. Panel work is genuinely dangerous and it’s not a DIY job on any structure.
Tankless water heater descaling
If the ADU runs a tankless water heater, it needs descaling annually. Westchester’s water carries enough mineral content that scale builds up in the heat exchanger faster than most manufacturers’ generic guidance suggests, and scale is the number-one cause of reduced hot water output and early tankless failure. The descaling process pumps a mild acid solution through the unit to dissolve the scale. Some homeowners do this themselves with a descaling kit. If you’re not comfortable with it, an annual service call is cheap compared to a heat exchanger replacement. Either way, put it on the calendar once a year and don’t skip it.
Exterior paint and seal cycles for a detached structure
A detached ADU’s exterior takes weather on all four sides with no adjacent structure breaking wind and rain. That means its paint and sealant cycle runs slightly faster than the main house’s. Plan on a full exterior inspection at year three and a repaint or reseal of any failing surfaces by year four to five, depending on the siding material. If the ADU uses fiber cement or composite siding – the kind of material that shows up in a curated brand lineup alongside names like Boral or PGT for windows – those products hold up well but the sealant at joints and penetrations still needs attention. Walk the ADU’s exterior twice a year and look at every caulk line, especially around windows and the trim at the base.
HVAC Filter Load on the Extended System
When you add square footage to a house, you add load to the HVAC system. If the addition is served by the existing unit rather than its own system, that unit is now working harder than it was designed to – and the filter is catching more dust from a bigger area. Most homeowners treat the filter as a twice-a-year chore. On an extended system, especially in the first year when construction dust is still settling out of the new space, it needs more attention than that.
- First year: Change the filter at 30, 90, 180, and 365 days. Construction dust hangs in new ductwork and new rooms longer than you’d expect, and a loaded filter strains the blower and reduces airflow to the new space.
- After year one: Every 60 to 90 days is the working rule for a system serving an addition. If you have pets or anyone in the house with allergies, lean toward 60.
- Check the return air path: A new room added to an existing system needs adequate return air. If the addition feels stuffy or the system runs long, the return may be undersized – that’s a contractor conversation, not a filter change.
- Detached ADUs with their own system: Treat the ADU’s unit on the same 60-to-90-day filter schedule, and don’t forget it exists if the unit sits empty for stretches. A filter that loads up while nobody’s using the space still strains the blower.
We’ve fielded plenty of calls from Westchester homeowners convinced their new addition has a ventilation problem when the real issue was a filter that hadn’t been changed since handoff. Check the simple things first.
The Five-Year Capital Planning Table
An addition is a depreciating asset without a capital plan. The systems and surfaces will need service or replacement on a predictable timeline, and knowing roughly when lets you budget instead of scramble. Here’s how the first five years typically break down for a Westchester addition or ADU.
| System or Surface | Typical First Service | Budget Range |
|---|---|---|
| HVAC filter (extended system) | Every 60-90 days, year one through five | $15-$40 per filter |
| Exterior caulk and sealant refresh | Year 2-3, then every 3-4 years | $300-$900 depending on linear footage |
| Tankless water heater descaling (ADU) | Annually starting year one | $100-$250 per service, or DIY kit |
| Grading and drainage correction | Year 1-2, then as needed after wet seasons | $400-$1,500 for regrading around an addition perimeter |
| Roof flashing inspection | Year 1, then every 2 years | $150-$400 for a professional inspection |
| Exterior paint or reseal (detached ADU) | Year 4-5 | $2,500-$6,000 depending on size and siding |
| ADU electrical panel inspection | Year 1, then every 2 years | $100-$250 per inspection |
These are planning ranges, not quotes. Actual numbers depend on the size of your addition, the materials used, and what a professional inspection finds when they get there. But the timing is reliable enough to build a budget reserve around it – set aside roughly $1,500 to $3,000 across the first five years for scheduled maintenance, and you’ll cover almost all of it without a surprise.
If your capital planning extends to the broader property, the exterior features that tie into the addition’s drainage and footprint are worth planning in the same conversation. Our Fence Installation in Westchester guide covers how fencing placement interacts with drainage and grading around a new structure, which matters more than most homeowners realize when a fence line runs along the addition’s perimeter.
Common Mistakes to Avoid
- Skipping the 90-day check. The 90-day mark is when the first real settling has happened and when caulk shrinkage is most pronounced. Homeowners who skip it often don’t discover the gap until water’s already been getting in for months. If you do only one inspection in year one, make it this one.
- Treating hairline drywall cracks as failures and larger issues as cosmetic. We see this flipped constantly. A hairline crack at a window corner is normal settling and needs nothing. A widening crack at the foundation transition is the one to call about. Judge by whether it’s growing, not by how it looks on day one.
- Letting downspouts discharge next to the foundation. When an addition reroutes a downspout, the new discharge point is rarely checked after the build. In Westchester, we’ve seen downspouts dumping directly into the planting bed along a new wall, quietly undermining the grading for a year. Extend them or redirect them. It’s a $20 fix that prevents a $5,000 one.
- Forgetting the ADU exists during maintenance season. A detached ADU that isn’t occupied yet doesn’t get the attention an occupied space does. Its filter still loads, its tankless heater still scales, and its grading still settles. Put it on the same calendar as the main house.
- Assuming the existing HVAC is fine because the system runs. A system can run while being undersized for the added square footage. If the addition feels warmer or cooler than the rest of the house, or the unit runs noticeably longer, have the load evaluated. Running isn’t the same as running correctly.
- Descaling the tankless heater “next year.” Scale doesn’t wait. In Westchester’s water, a tankless unit that skips a year of descaling starts losing efficiency, and the fix gets more expensive the longer scale sits in the heat exchanger.
- Doing roof flashing inspections yourself. The tie-in line is the most failure-prone seam on the whole addition and also one of the riskiest places to climb. Inspect from the ground with binoculars. Leave the roof to someone trained to be up there safely.
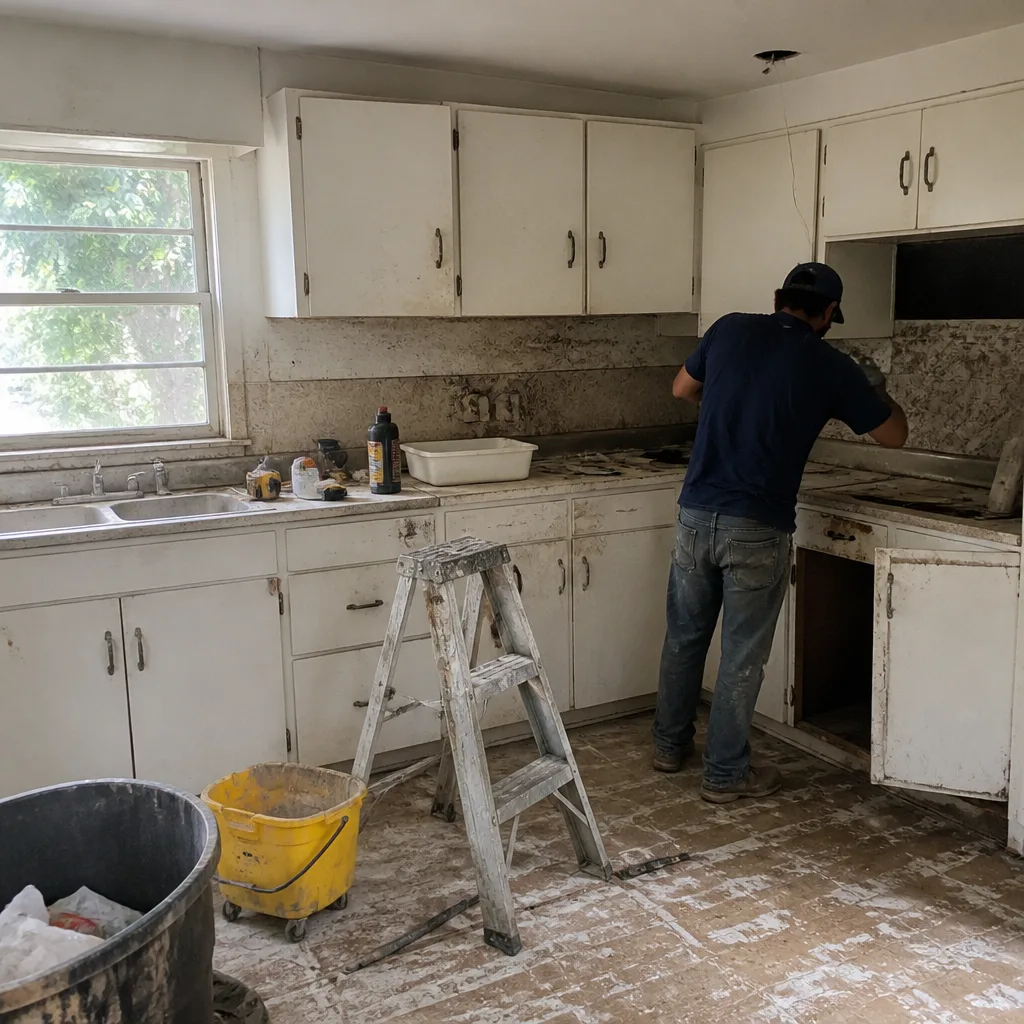
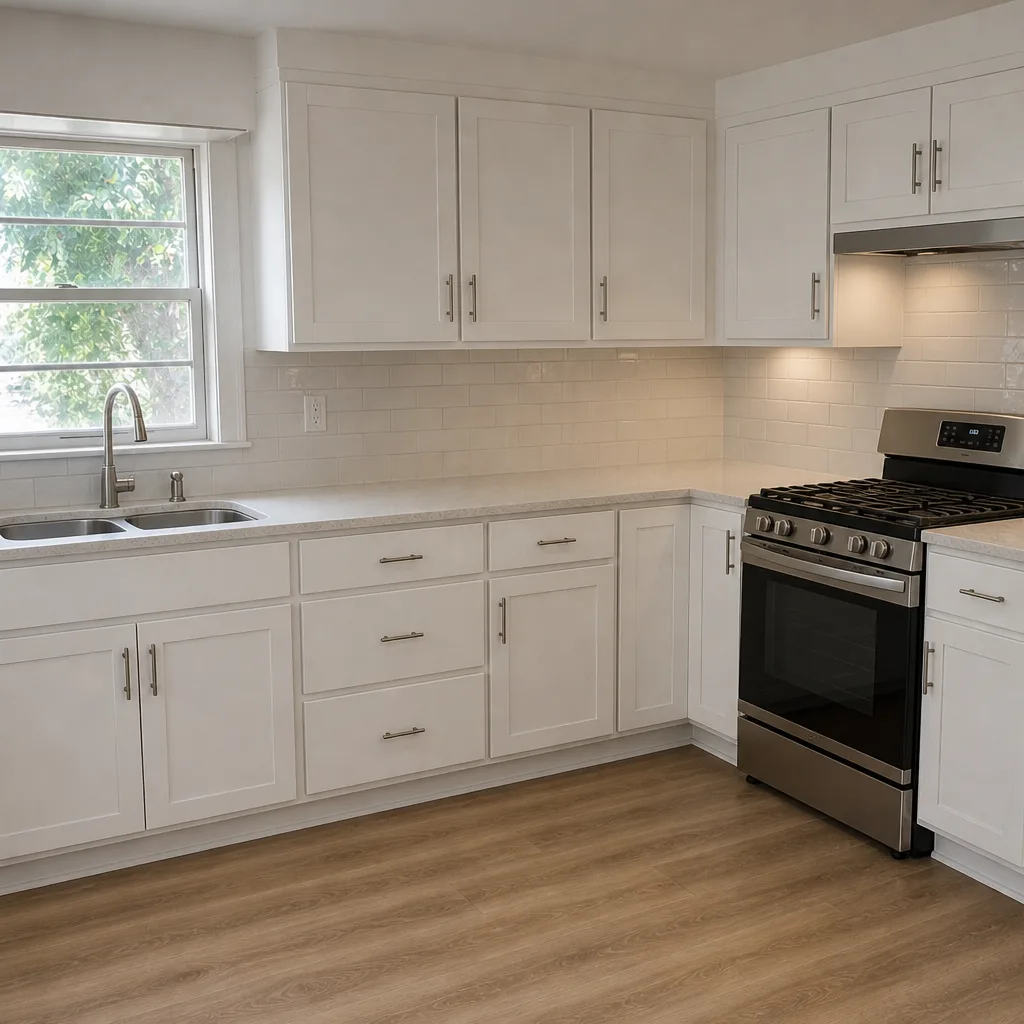
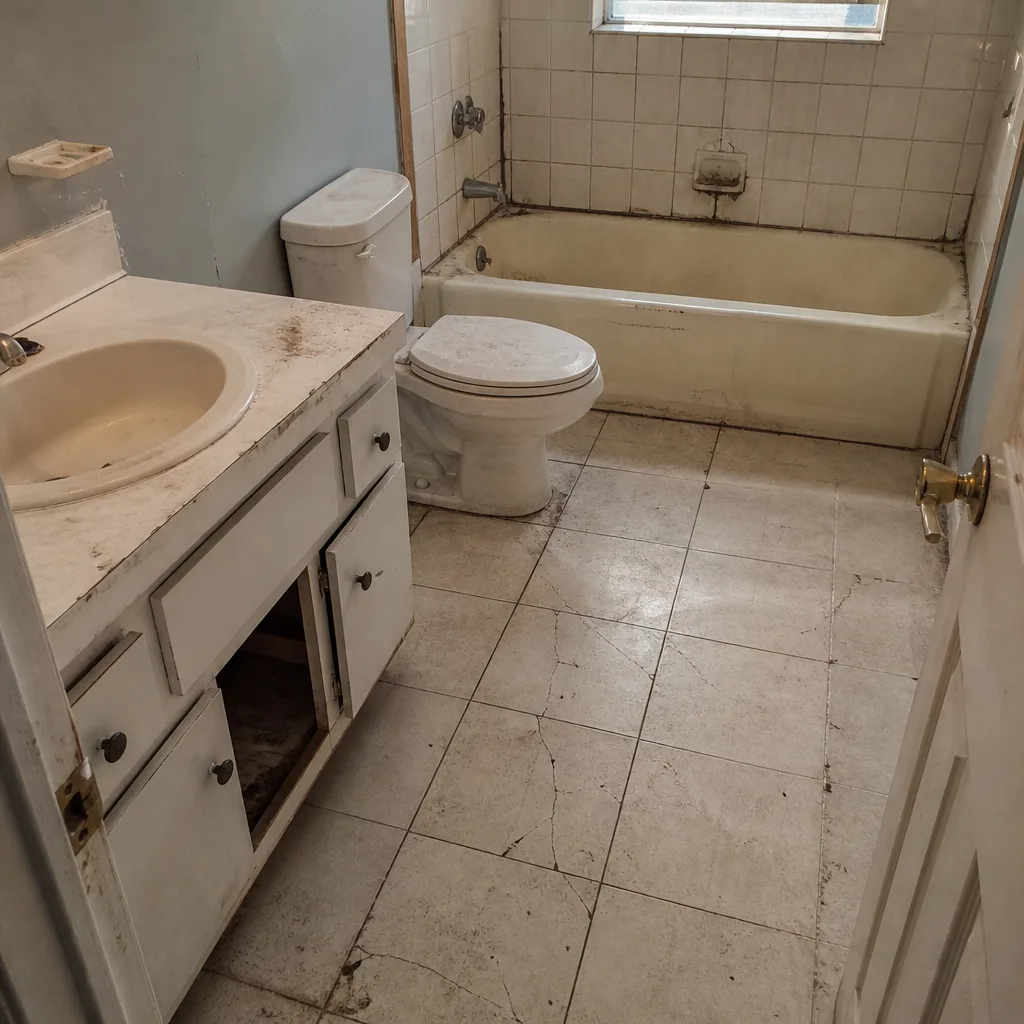
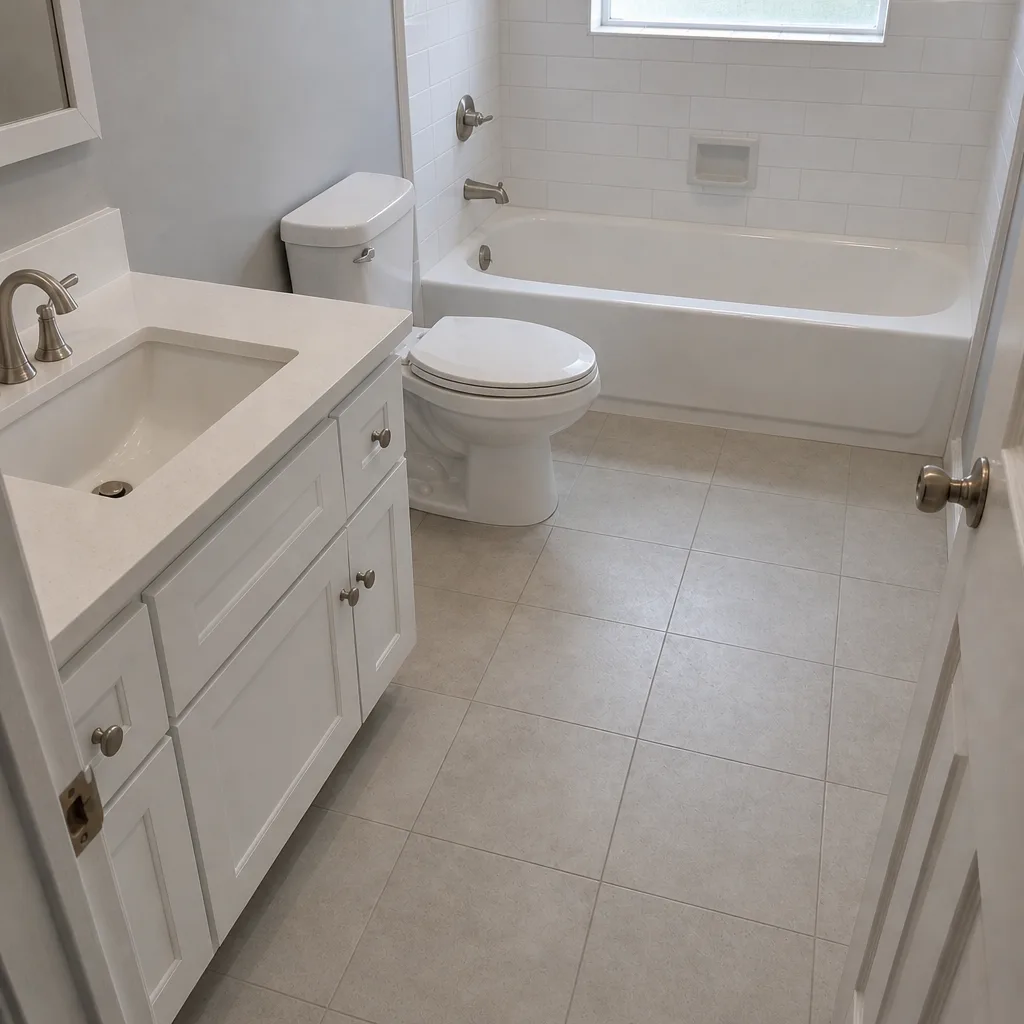
See the difference
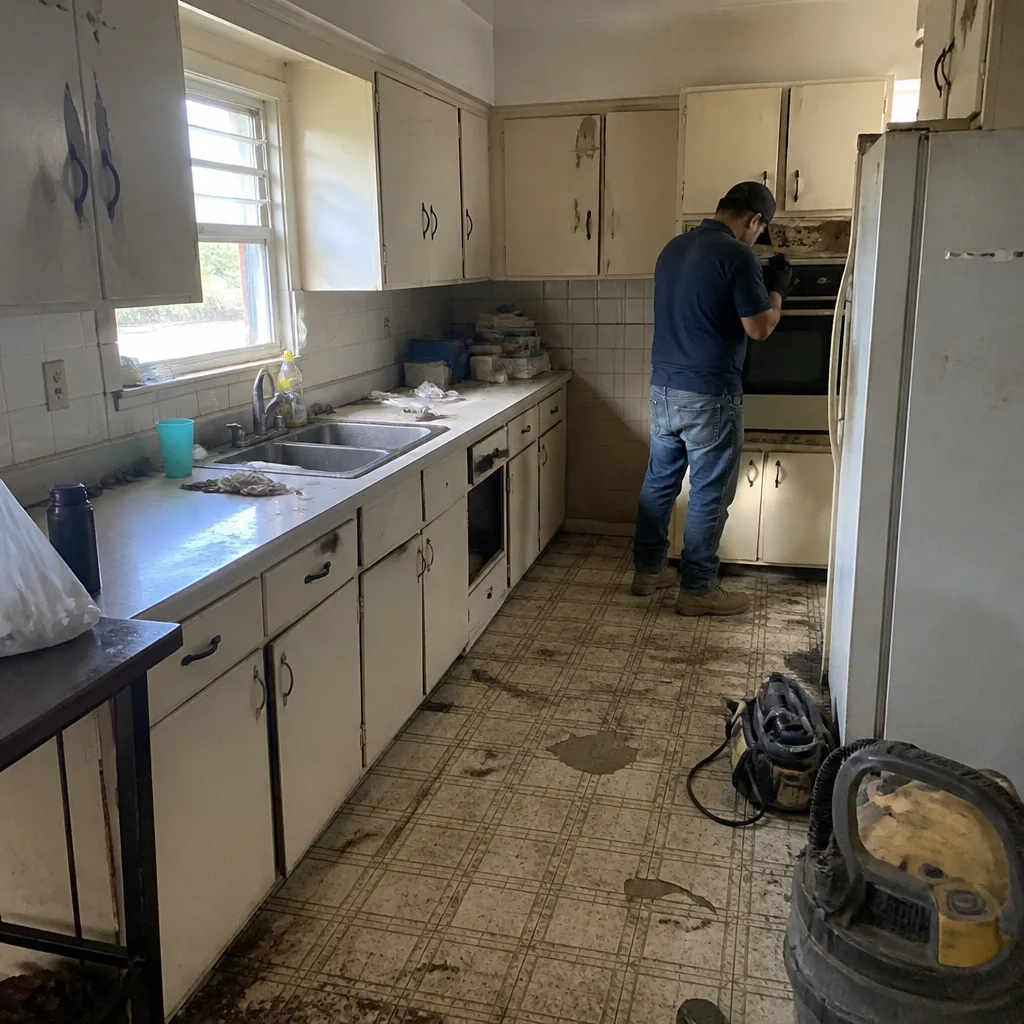 Before
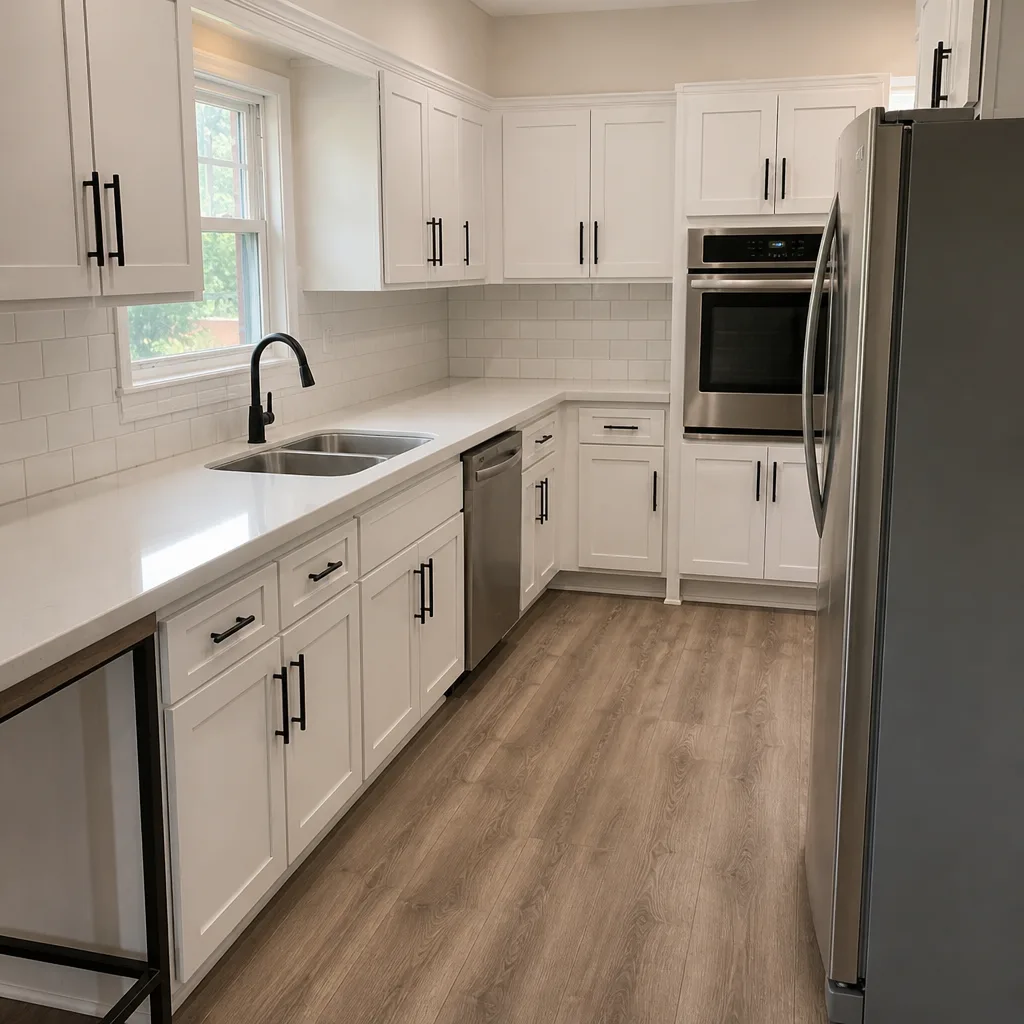 After
 Before
 After
 Before
 After
When to Call a Professional
Some maintenance is yours to do – changing filters, walking the perimeter after rain, descaling a tankless heater if you’re comfortable with the process, checking the grading. Some of it belongs to a professional, and knowing the line saves you money and risk. Call a professional when: a foundation transition crack is widening rather than stable; water is showing up at the base of the shared wall or on interior ceilings after rain; the roof flashing tie-in has visible gaps or lifted edges; the HVAC system runs long or the addition never feels balanced with the rest of the house; or an electrical panel trips breakers repeatedly. Any of these, and you want trained eyes on it before it becomes a bigger repair.
Groundwork Construction Co. of Westchester offers free estimates in Westchester for additions, ADU work, and the tie-in repairs that come up along the way. Every project we take on is covered by our 730-Day Done Right Promise – if it’s not done right, we make it right. Call (833) 630-4214 and a live person answers, day or night, with no voicemail. Our technicians have up to 12 years of experience and arrive background-checked and in uniform, and our pricing is upfront with no surprises. If you’re still planning your build rather than maintaining one, our Home Additions & ADU in Westchester page walks through the design and construction side from start to finish.
Frequently Asked Questions
Inspect at 30 days, 90 days, six months, and one year, then shift to a seasonal schedule – a pre-wet-season drainage check and a post-storm visual check on the roof tie-in. The 90-day and one-year checkpoints are the two that catch the most problems, because that’s when settling and material curing are most active.
Yes. Hairline cracks at the corners of new windows and doors, and a thin separation line where new drywall meets old, are normal settling and typically cosmetic. A crack that widens over time or appears at the foundation transition is the one to have looked at. Measure and date it, then re-check in 60 days to see whether it’s growing.
Yes. Westchester’s water carries enough mineral content that annual descaling is the reliable interval. Skipping a year lets scale build in the heat exchanger, which reduces hot water output and shortens the unit’s life. A descaling kit or an annual service call costs far less than a heat exchanger replacement.
Grading that loses its slope after the first year of settling, combined with downspouts that discharge too close to the new foundation. The wet season will find both. Walk the perimeter before the season each year, look for puddles against the wall and washed-out mulch, and regrade or extend downspouts before water has a chance to work against the foundation.
Not always, and a system that runs isn’t proof it’s sized correctly. If the addition feels warmer or cooler than the rest of the house, or the unit runs noticeably longer since the build, have the load evaluated. An undersized system strains itself and never fully balances the space, and the fix is usually a load calculation followed by a targeted adjustment rather than a full replacement.
Inspect from the ground with binoculars, looking for gaps or lifted edges at the tie-in line. Leave the roof itself to a trained professional. The tie-in is the most failure-prone seam on the addition and also one of the least safe places to climb, so an annual professional inspection is money well spent.
The Bottom Line
Your addition or ADU is a depreciating asset the moment it’s finished unless you put a maintenance schedule around it. The failures that cost the most are at the junction of old and new: the foundation transition, the roof flashing tie-in, the caulk lines, the drainage grading, and the extended HVAC load. In Westchester, the wet season tests all five every year. Hit the 30, 90, 180, and 365-day checkpoints in year one, shift to a seasonal rhythm after that, descale the ADU’s tankless heater annually, and plan for the exterior repaint around year four to five. Do the simple checks yourself and call a professional the moment something is growing, leaking, or loading a system past spec. Groundwork Construction Co. of Westchester home has the team, the brand partners, and the 730-Day Done Right Promise to handle the build and the tie-in work that comes after it.
If you’re ready to schedule your free estimate on a new addition, an ADU, or a tie-in repair, call (833) 630-4214 today. A live person answers every call, and our upfront pricing means the number you see is the number you pay – plus $1,000 off projects over $10,000 with 0% financing for 18 months available.
Written by the team at Groundwork Construction Co. of Westchester.