Last updated November 18, 2026




Free written scope consultation - allowances, timeline, and change-order rules on paper before a single trade is scheduled
Home Additions & ADU Troubleshooting: Common Problems and How to Fix Them
A passed inspection doesn’t mean the work was done right. It means the work met minimum code on the day the inspector showed up, and that’s a much lower bar than most homeowners realize. The inspector checks what’s visible and what’s on the plan. They don’t watch your addition through a wet season, they don’t test whether your existing HVAC can actually push air into a new bedroom, and they don’t come back when the sheathing under your new roof tie-in starts to swell. That’s why the real problems in additions and ADUs tend to surface six, twelve, eighteen months after the final walkthrough, long after the last check cleared. This guide covers what those failures look like, how to diagnose them, and how to get them resolved in Westchester.
Quick Answer
The most common post-construction problems in home additions and ADUs are structural failures at the tie-in point (improper load transfer, undersized headers, mismatched footings), HVAC systems that can’t condition the new square footage, and water intrusion at the old-to-new roof transition. Most of these trace back to a contractor who framed and finished without engineering the connection between the existing house and the new space. Fixing them ranges from a few hundred dollars for a roof flashing redo to five figures for structural remediation, and the fix is always cheaper before the problem compounds.
Styles & brands we work with
- Kitchen remodeling
- Bathroom remodeling
- Home additions & ADU
- Roofing
- Windows & doors
- Driveway & pavers
- Fence
Table of Contents
- The Three Structural Failures We See Most in Westchester Additions
- Why Your HVAC Underperforms in the New Space (And What Actually Fixes It)
- The Old-to-New Roof Transition: The Most Common Leak Point in Additions
- When a Subcontractor’s Work Fails After They’ve Been Paid
- How a 730-Day Workmanship Promise Differs From a One-Year Warranty
- Inspection Red Flags That Show Up After Sign-Off
- A Homeowner’s Diagnostic Walkthrough for a Failing Addition
- Common Mistakes to Avoid
The Three Structural Failures We See Most in Westchester Additions
Structural problems in additions almost never announce themselves with a dramatic crack or a sagging ceiling. They show up as a door that won’t latch, a drywall seam that reappears after you patch it, or a floor that feels slightly springy underfoot near the doorway to the new room. In our experience building and repairing additions across Westchester, three failures account for the majority of the structural callbacks.
Improper load transfer at the tie-in point. This is the connection where the new addition’s framing meets the existing house. Done correctly, the new roof and floor loads transfer into the existing structure through proper ledgers, hangers, and blocking, with the existing framing either verified as adequate or reinforced. Done hastily, the new framing is simply nailed to the old rim joist with no engineering behind it. The old rim was never sized to carry an additional roof load, and over two or three seasons you get deflection, nail pull-out, and eventually a gap that lets water in.
Undersized headers. A header is the beam that carries load over an opening: a doorway between the old house and the new addition, a wide window wall in an ADU, a slider to the backyard. Header sizing depends on the span, the load above it, and the species and grade of lumber. A common shortcut is using whatever dimensional lumber is on hand rather than what the span table calls for. It holds fine at first. Then the header sags, the window or door above it binds, and the drywall cracks at the corners.
Footings that don’t match the new load. This one is the most expensive to fix and the least visible. A new addition carries more weight than most homeowners expect, especially if it includes a second story or a concrete slab for an ADU. Footings need to be sized for the actual load and the actual soil conditions. Westchester’s soils vary a lot depending on whether you’re near the coast or further inland, and a footing that was adequate for a patio slab is not adequate for a load-bearing addition wall. When the footing is undersized, you get differential settlement: one corner of the addition sinks slightly faster than the rest, and the symptoms ripple outward from there.
If your Westchester home was built before 1980 and you’re adding onto it, the existing foundation also needs to be evaluated as part of the tie-in. We’ve seen additions where the new footing was poured correctly but the original house footing was never suitable for the additional load, and the failure showed up in the original structure, not the new one. That’s the kind of thing we look for during a Home Additions & ADU in Westchester consult, because it changes the scope of what a fix actually requires.
Why Your HVAC Underperforms in the New Space (And What Actually Fixes It)
The most common complaint about a new addition or ADU isn’t structural. It’s thermal: the new room is too hot in summer, too cold in winter, or both, and the rest of the house now seems unbalanced too. Homeowners assume the system needs more power. Usually it doesn’t. The problem is that the existing HVAC was sized and designed for the original square footage and the original duct layout, and adding a room to the end of a trunk line changes the pressure balance of the entire system.
Here’s what actually happens. The original system was sized for the load of the original house. Adding a 400-square-foot addition increases the load, but that’s not the whole story. The new room is typically at the far end of the longest duct run, which means it gets the least airflow. Even if the unit has spare capacity, the existing ductwork can’t deliver it to that location without starving the rooms closer to the air handler. So the addition stays uncomfortable and the original rooms over-condition. That’s a duct design problem, not a tonnage problem.
The other factor is envelope performance. Additions sometimes get built with better windows and insulation than the original house, and sometimes with worse. When the addition is tighter than the original structure, the pressure dynamics change: the new room becomes a pressure zone that the return air system doesn’t account for, and you get a whistling door, a room that never quite reaches temperature, or a return that pulls air from the wrong place.
What actually fixes it, in order of cost:
- Manual J load calculation on the whole house plus the addition, done after construction. This tells you the real load and whether the existing unit has spare capacity. It costs a few hundred dollars and prevents you from buying equipment you don’t need.
- Duct design and static pressure test. A technician measures static pressure at the air handler and checks whether the existing trunk can handle the added run. Many additions need a dedicated zone with its own damper and thermostat rather than a tie-in to the original trunk.
- Zoning, if the addition is large enough. A separate zone for the addition lets you control temperature independently and solves the “far end of the run” problem without replacing the whole system.
- Dedicated mini-split, in some cases. For ADUs, detached additions, or conversions over a garage, a dedicated mini-split is often the cleanest fix. It’s a separate system, so it doesn’t fight the main house, and it’s cheaper to install than a full re-duct and re-zone.
For homeowners in Westchester who are dealing with an ADU that was permitted and built but never got the HVAC design done right, the fix usually requires a mechanical contractor who understands load calculations, not just a service tech who can swap a capacitor. Both are useful, but they solve different problems.
The Old-to-New Roof Transition: The Most Common Leak Point in Additions
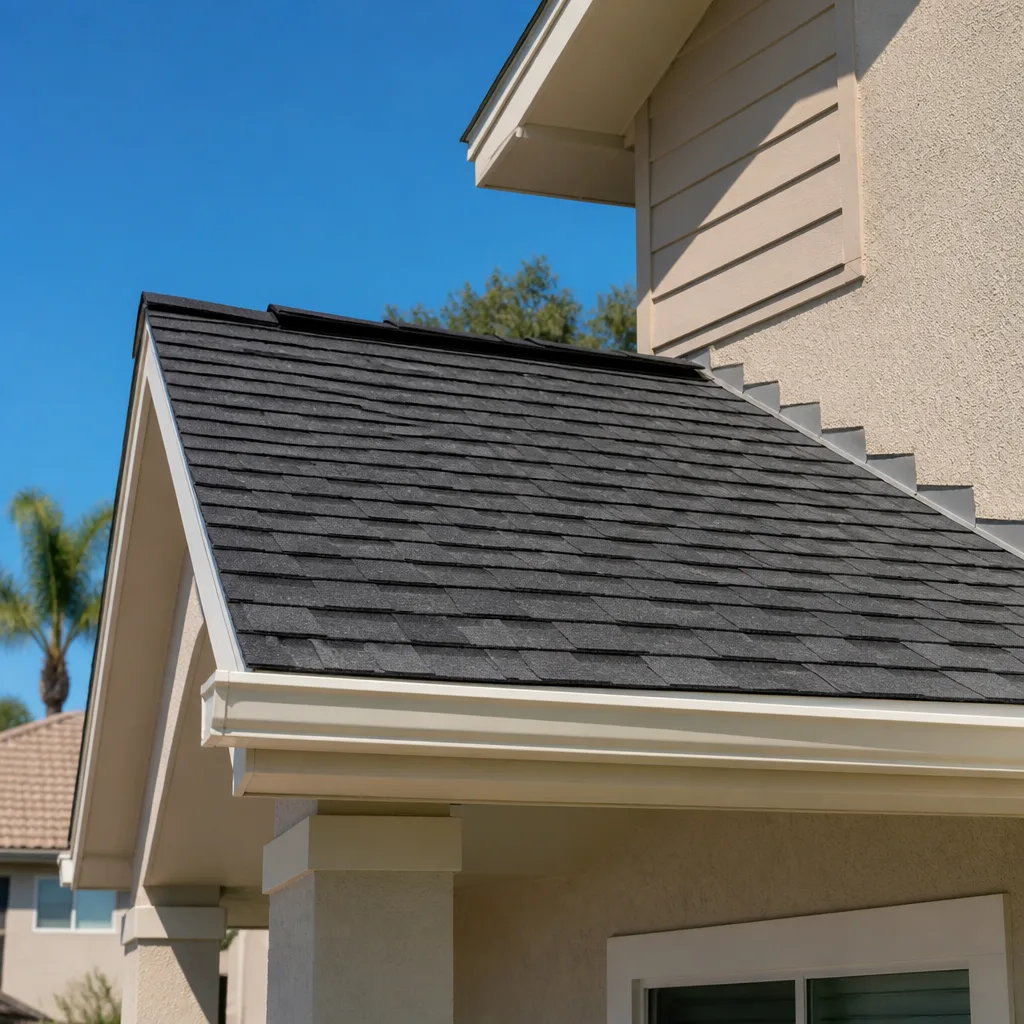
If there’s one place where water gets into additions, it’s the seam where the new roof meets the existing one. This is called the roof transition, the tie-in, or the valley, depending on the geometry, and it’s where less experienced builders and roofers do their most creative (and least durable) work. Done correctly, it involves proper step flashing, counterflashing, and a continuous underlayment system that ties the two roof planes together with no interruptions. Done hastily, it involves whatever caulk or sealant was on hand and a hope that the caulk lasts.
Caulk fails. It always fails. Sealant is a maintenance item with a lifespan measured in a handful of years, and when it fails at a roof transition, water gets behind the siding and into the wall cavity before you see anything inside. That’s why the failure often shows up as a stain on a ceiling 15 feet away from the actual leak point, or as swollen sheathing discovered during a later remodeling project.
If you’re troubleshooting an addition that’s leaking, the diagnostic sequence is:
- Identify the actual entry point, not the stain. Water travels along framing before it finds a way out. A ceiling stain in the middle of the addition can come from a transition 20 feet away. Water testing with a hose and a second pair of eyes on the inside is the fastest way to localize it.
- Look at the flashing system at the tie-in. Step flashing should be visible at the wall-roof intersection, integrated with the siding and the underlayment, not sitting on top of a finished wall. If all you see is a bead of sealant, the flashing isn’t doing its job.
- Check the underlayment continuity. Ice and water shield or a synthetic underlayment should run continuous from the new roof plane through the transition and up under the existing. Gaps here are the classic failure point.
- Inspect the siding termination and counterflashing. The top edge of the flashing needs to be covered by a counterflashing that directs water away from the wall. If the siding sits directly on top of the flashing with caulk behind it, that joint will fail.
- Evaluate the valley, if there is one. A new roof that drains into an existing valley, or vice versa, needs a properly sized and lined valley. Undersized valleys back up in heavy rain, which is the other way this transition fails.
When we fix a roof transition on a Westchester addition, we’re usually replacing the flashing and underlayment system at the tie-in and cutting back the siding to do it, which means the repair also involves some siding work. It’s not a patch job, and it’s not a roof-over. But it’s cheaper now than the wall cavity repair that follows an extended leak.
When a Subcontractor’s Work Fails After They’ve Been Paid
This is the situation that sends most homeowners straight to a lawyer’s office, and it’s the one where a calm, documented process matters more than the threat of litigation. The scenario: your general contractor hired a framing sub, a roofing sub, or an HVAC sub, the work passed inspection, the sub got paid, and months later the work fails. The GC says it’s the sub’s problem, the sub says it’s the GC’s problem or the homeowner’s maintenance problem, and you’re standing in the middle.
The process that actually resolves this, in order:
- Document everything before you call anyone. Date-stamped photos of the failure from multiple angles, a written log of when you first noticed it and what you’ve observed, and copies of every contract, invoice, inspection report, and warranty document you have. If the failure is causing damage (water intrusion, for example), document that too, and mitigate it immediately. A homeowner has a duty to prevent further damage, and failing to do so weakens the claim.
- Look at your contract for the warranty clause and the indemnification clause. The warranty clause tells you what’s covered and for how long. The indemnification clause tells you who is responsible if a subcontractor’s work causes a problem. A well-written construction contract binds the GC to stand behind subcontracted work, and that’s the leverage you need.
- Notify the GC in writing, not by phone. A printed letter or a documented email with photos attached, stating the failure, the date, and a specific request for remediation. Keep a copy. This starts the clock on most warranty provisions and creates a paper trail you’ll need if the dispute escalates.
- Check lien rights and the notice to owner, if applicable. In most jurisdictions, if a subcontractor was never paid by the GC, they can file a mechanics lien against your property. If they were paid, the lien risk is lower, but the dispute resolution process is separate from the lien process. Verify that all subs were actually paid by requesting lien releases or paid invoices from the GC.
- Escalate in writing, then to the licensing board. If the GC won’t respond, the next step is a formal demand letter, and then a complaint to the state licensing board and the local building department. Both have enforcement powers that go beyond what a homeowner can do alone. For work that was permitted, the building department has a specific interest in whether the work as built matches what was approved.
- Get an independent evaluation before you negotiate. A structural engineer or licensed contractor’s written assessment of the failure, its cause, and its repair cost gives you a position. Without that, you’re negotiating on the other party’s terms.
We’ve been called into Westchester homes to be that independent evaluation, and the pattern is consistent: the homeowner who documented early and escalated in writing gets a resolution. The homeowner who called and argued for months doesn’t. This is also why our work carries the 730-Day Done Right Promise. When something we touched isn’t right, we’re the one bearing the burden of proving otherwise, not the homeowner.
How a 730-Day Workmanship Promise Differs From a One-Year Warranty
Most construction warranties are one year on workmanship. That’s the industry standard, and it’s a problem because the failures that matter in an addition don’t happen in year one. Year one is when the structure is still settling, when the new paint is still off-gassing, when the HVAC is still being adjusted. The real test comes when the addition has been through a full seasonal cycle: a wet winter, a hot summer, a freeze-thaw cycle. That’s year two, and a one-year warranty has already expired.
A 730-day warranty covers the work through two full years, which means it covers the first full seasonal cycle after the addition has been in use long enough to reveal problems. The difference in coverage is meaningful on its own. But the bigger difference is who bears the burden of proof.
Under a standard one-year warranty, the typical clause is that the contractor will repair defects in workmanship, but the homeowner has to demonstrate the defect is in workmanship and not in materials, maintenance, or normal settling. In practice, that puts the homeowner in the position of proving a negative: proving that the crack in the addition’s drywall isn’t just the house settling, isn’t just seasonal movement, isn’t something they did. That’s an expensive and frustrating position.
A strong workmanship promise flips that. It says that if it’s not done right, it gets made right, and it doesn’t require the homeowner to first win an argument about causation. The company evaluates the failure, determines whether it’s a workmanship issue, and if it is, fixes it. The burden sits with the contractor because the contractor is the one who’s in a position to know what the work was supposed to do.
What a workmanship promise does not cover is also worth saying plainly. It doesn’t cover damage from a roof leak caused by a failed caulk joint that was never maintained, damage from a tree limb, changes made by another contractor, or wear items. That’s normal. The line between workmanship and maintenance is the line that matters, and a written promise should make that line clear instead of burying it.
For homeowners comparing bids on a Westchester addition, this is a real differentiator. Two bids can have the same bottom line and be wildly different in value, depending on what happens in month 14 if the tie-in leaks. Ask directly: what’s the warranty period, what’s covered, and who decides whether a failure is covered. The answer tells you a lot about the company.
Inspection Red Flags That Show Up After Sign-Off
The final inspection is a snapshot. It confirms the work met code at the time of inspection. It doesn’t confirm the work will perform. There are specific red flags that tell you an addition was built to the letter of the code and not to the spirit of it:
- The inspection card shows a lot of “corrections” that were resolved quickly. If your inspection history has multiple failed inspections followed by quick passes, ask what was corrected. Some corrections are trivial; some are the difference between a proper tie-in and a band-aid.
- The framing was never visible after the fact. If the drywall went up before you had a chance to walk the framing with an engineer, you don’t know what’s behind it. That’s not necessarily a problem, but it’s a reason to be more thorough elsewhere.
- The addition doesn’t have its own electrical subpanel or a documented load calculation. Additions add load to the electrical system. If a panel was upgraded or a subpanel added, there should be a load calculation on file. If the addition tapped the existing panel without one, that’s a sign of a builder who didn’t do the engineering.
- The HVAC was extended without a load calculation or duct design. This is the single most common shortcut in additions. A new run tapped into the existing trunk with no Manual J and no static pressure test is a warning sign.
- The roof transition was caulked, not flashed. If you can see the tie-in from the ground or from a window, look at it. Flashing should be metal, integrated with the roofing and the siding. Caulk is what you see when someone didn’t want to do it right.
- The permits were pulled for the addition but not the sub-trades. A permit for the addition doesn’t always include the electrical, plumbing, and mechanical permits. If those weren’t pulled separately, the sub-trade work was never inspected.
If you bought a home in Westchester with an existing addition or ADU and you’re seeing any of these signs, an independent evaluation of the addition is worth the cost. It’s cheaper than the remediation if one of these turns out to be the cause of a bigger problem.
A Homeowner’s Diagnostic Walkthrough for a Failing Addition
Before you call anyone, walk the addition yourself. You’ll learn a lot, and what you learn helps any contractor diagnose faster. Take a notebook, a flashlight, and your phone camera. Work through the space in this order:
- Start at the door between the original house and the addition. Open and close it. Does it stick, rub, or fail to latch? That’s a sign of movement in the framing. Look at the drywall around the door frame for cracks radiating from the corners. Look at the floor transition strip: is it lifting, or is there a gap between the old floor and the new floor that’s gotten bigger since the addition was finished?
- Look at the ceiling and the upper walls. Stains, discoloration, or a slight bulge in the drywall are the classic signs of water intrusion. A brown ring that’s appeared or grown since the last wet season is active. A dry, old stain is historical but still worth noting. Look at the corners where the new walls meet the old: cracks here are the framing movement showing through.
- Check every window and exterior door. Operate them. Look at the flashing and caulk lines from the inside, then go outside and look again. Windows are where the addition’s envelope is weakest, and a window that leaks will show water staining on the interior trim or on the drywall below the sill.
- Go outside and look at the roof tie-in. From the ground, use binoculars or your phone’s zoom. You’re looking for the metal flashing at the transition and for siding that meets the roof correctly. If the only thing at the tie-in is a caulk line, that’s your answer.
- Check the foundation and the soil around it. Look for cracks in the foundation wall, especially diagonal cracks at the corners. Look at the grading around the addition: is dirt piled up against the siding, or does water pool near the foundation? Poor grading makes every other waterproofing problem worse.
- Test the HVAC in the addition. Run the system and check whether the room heats or cools in reasonable time. Feel the air coming out of the supply; is it weak compared to the supply vents in the main house? Does the room have a return air vent, or is it relying on a path through the door? A return is essential, and its absence is a sign the HVAC design was an afterthought.
- Write down everything you found with dates. The pattern matters more than any single observation. A door that stuck in July and still sticks in January is framing movement. A stain that appeared in October and grew by March is active water intrusion. Your log is what a contractor and, if necessary, an engineer, needs to start.
This walkthrough takes about an hour and it won’t tell you the fix. What it will tell you is whether the problem is cosmetic, seasonal, or structural, and whether you’re in “get a quote” territory or “get an engineer” territory. For a lot of the additions we inspect in Westchester, the homeowner’s own walkthrough is what tells them it’s worth an evaluation.
Common Mistakes to Avoid
- Accepting a passed final inspection as proof the work is right. The inspection confirms minimum code on the day of the inspection. It doesn’t confirm the tie-in will hold through a wet season or the HVAC will condition the new space. Ask for the load calculations, the duct design, and the flashing details, and don’t accept “it passed” as an answer.
- Not documenting the failure from day one. The homeowner who takes dated photos on the first day they see a stain and logs every change has leverage. The homeowner who calls six months later and says “it’s been leaking for a while” doesn’t. Start the log the day you notice something.
- Patching the symptom instead of finding the source. Repainting a water stain without finding the leak, shimming a sticky door without checking the header, adding a window unit to the addition without checking the duct design. Every one of these makes the underlying problem worse and more expensive to fix later.
- Assuming the existing HVAC will handle the addition. It almost never does without re-designing the distribution. A load calculation after the addition is finished is cheap compared to the cost of living in a room that never heats correctly.
- Letting the contractor choose the warranty language without reading it. A one-year workmanship warranty on an addition is a warranty that expires before the first wet season has fully tested the roof tie-in. Read the warranty, ask what’s covered, and ask who decides whether something is covered.
- Waiting for the subcontractor to come back on their own. If a sub’s work fails after they’ve been paid, they’re not coming back without pressure. Notify the GC in writing, document, and escalate. The longer you wait, the harder the claim gets.
- Doing structural fixes yourself because they seem simple. A header that’s undersized, a footing that’s settling, a tie-in that’s failed: these are the areas where a homeowner’s DIY fix usually makes the structural problem worse. Get a licensed contractor or an engineer involved before you touch anything load-bearing.
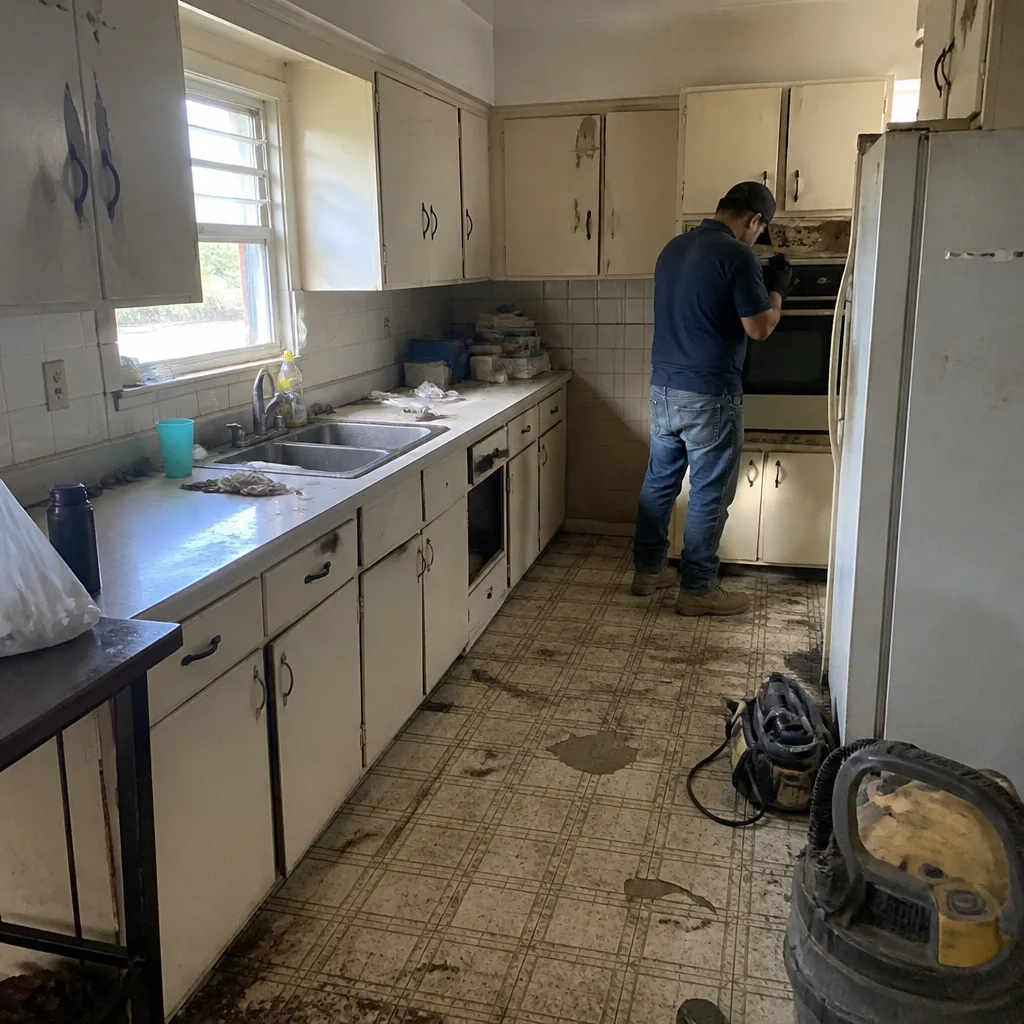
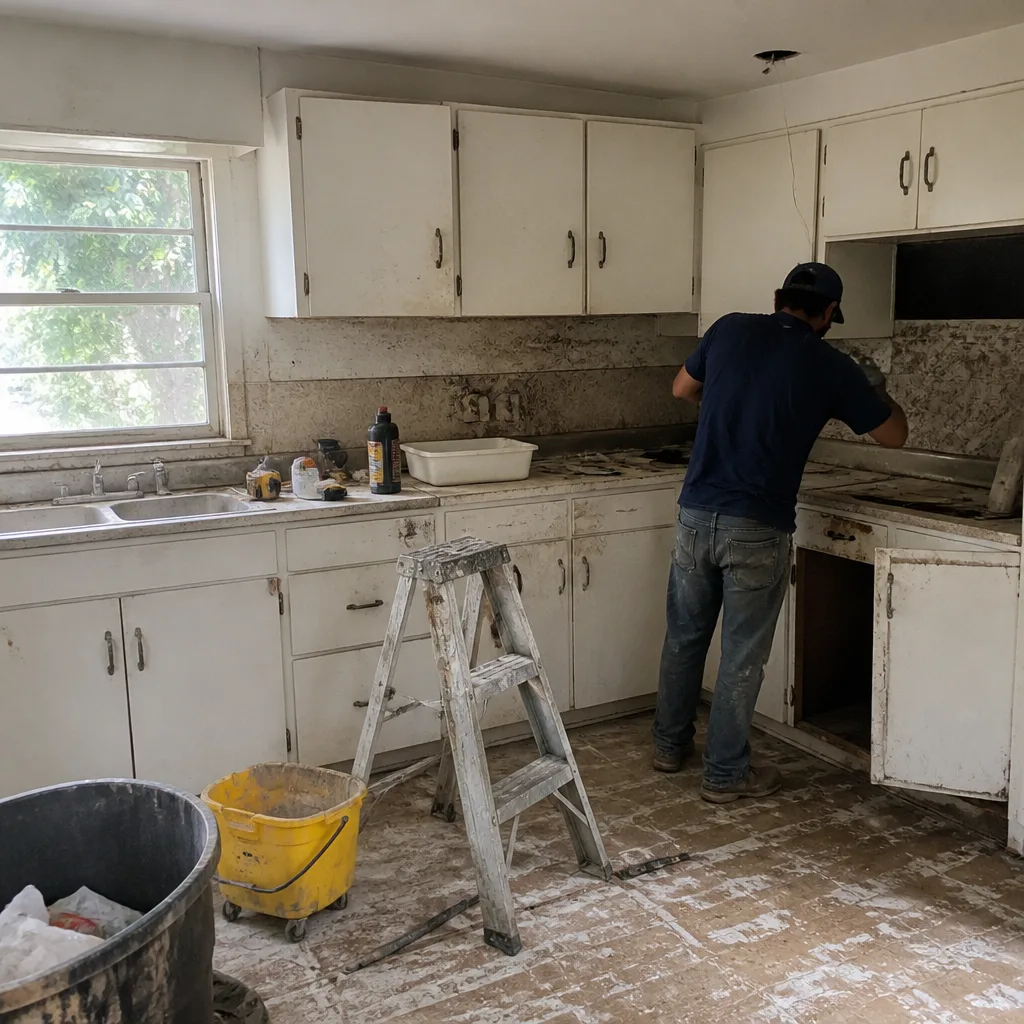
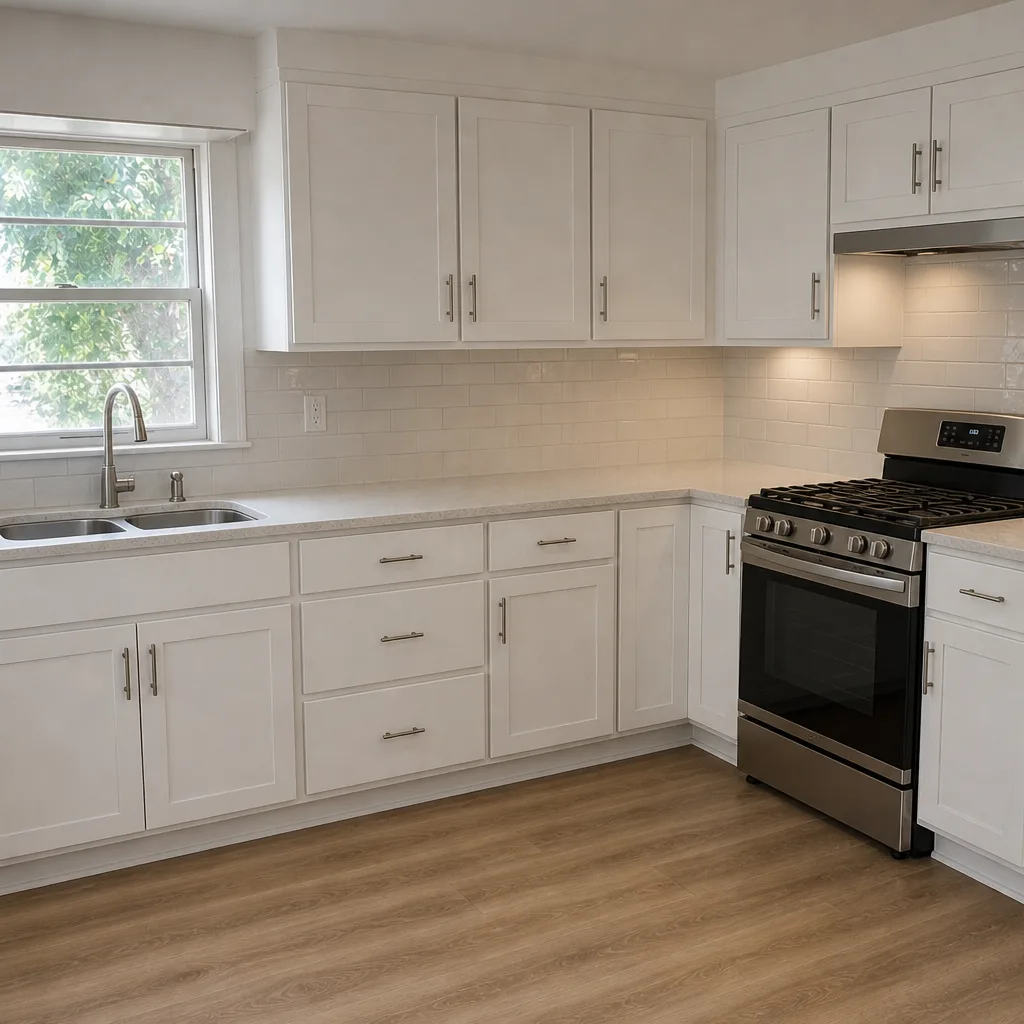
See the difference
 Before
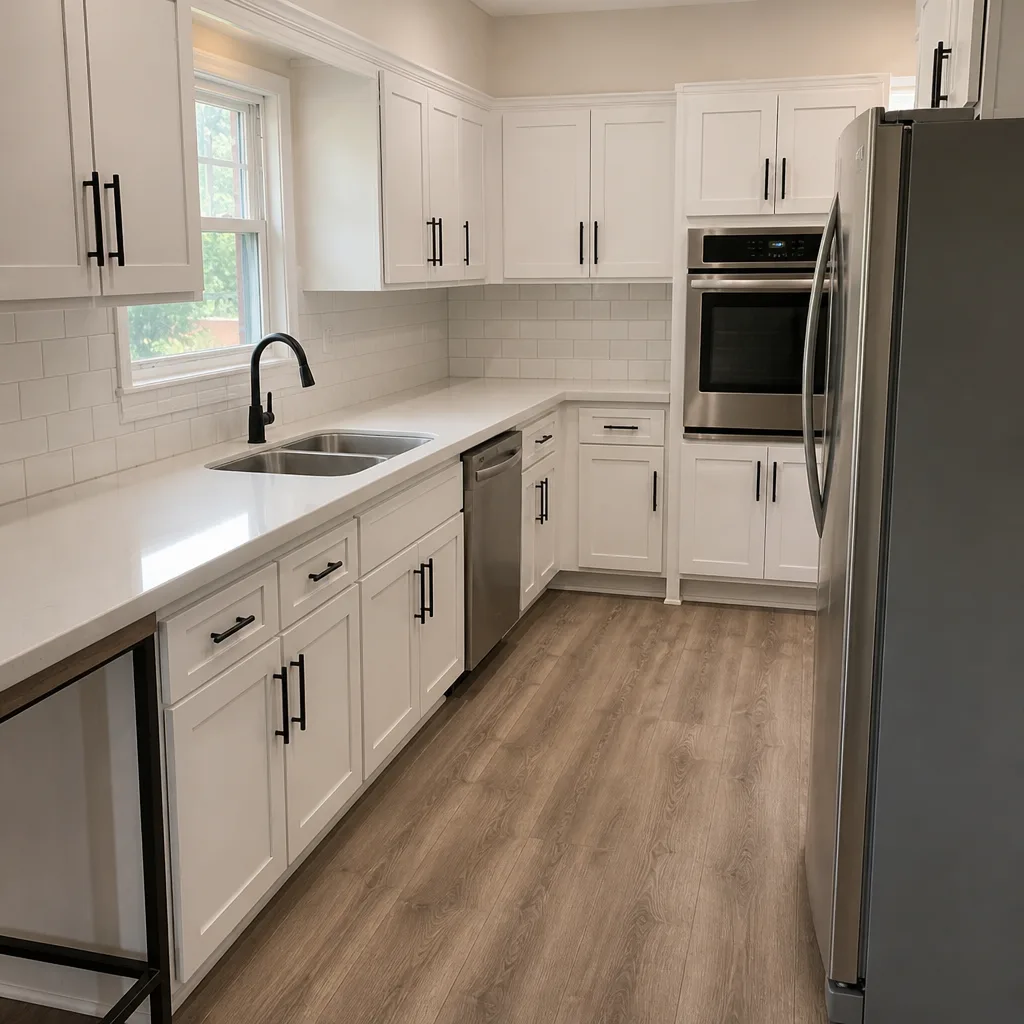 After
 Before
 After
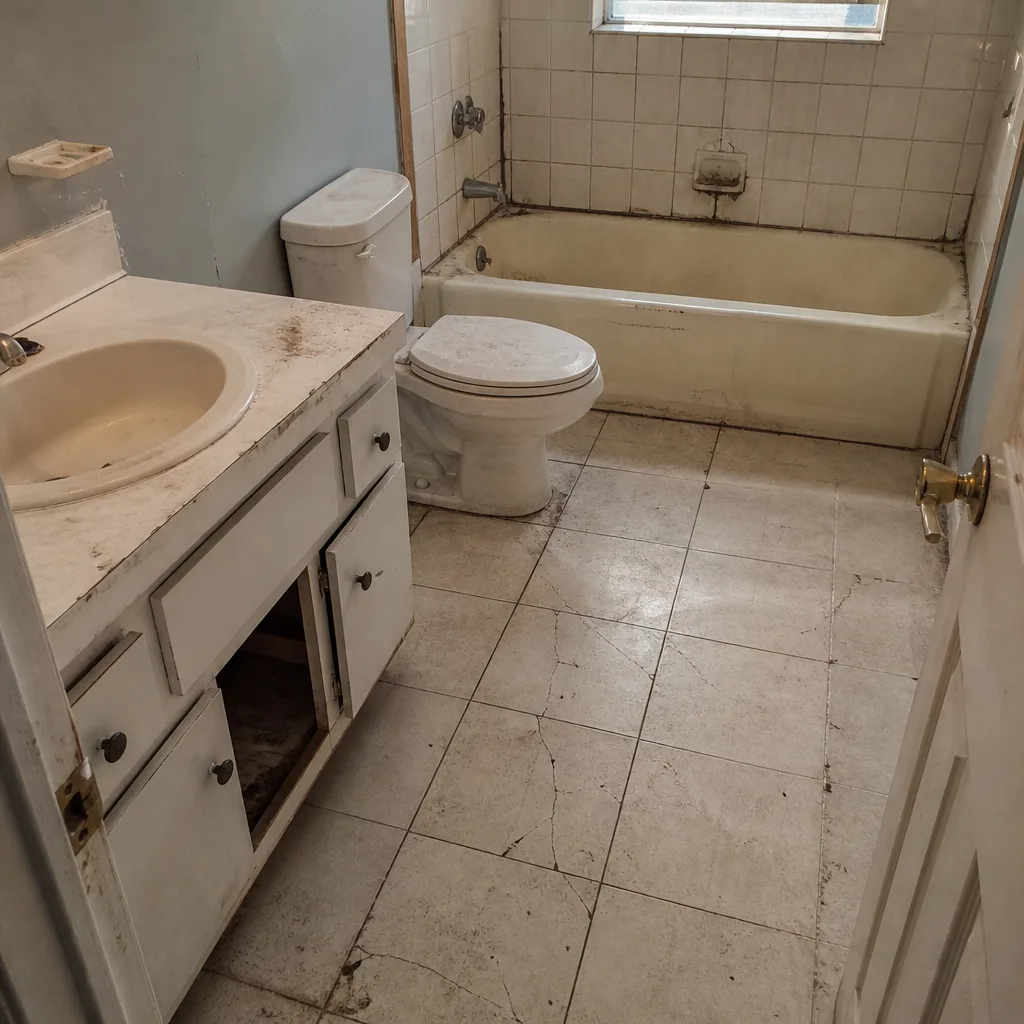 Before
 After
When to Call a Professional
Call a professional when the failure involves anything structural, anything that’s letting water into the wall cavity, or anything the contractor has already been given a chance to fix and hasn’t. Specific triggers: a door or window that’s begun sticking or failing to latch since the addition was finished; a drywall crack that’s grown over time; a ceiling or wall stain that’s appeared or grown; a roof tie-in that’s caulked rather than flashed; an HVAC system that can’t condition the new space; or a subcontractor’s work that failed after payment and won’t be addressed voluntarily. Also call if the addition or ADU was built without permits, or if the permitted scope doesn’t match what was actually built, since that affects both the remedy and any future sale of the property.
Groundwork Construction Co. of Westchester offers free estimates in Westchester for addition and ADU troubleshooting. Call (833) 630-4214 to schedule yours. Calls are answered by a live person, 24/7, and the estimate comes with a written scope and upfront pricing, not a ballpark on the back of a business card.
Frequently Asked Questions

Most roof tie-in repairs in Westchester run $600 to $1,800 depending on how much siding has to be removed and whether the underlayment needs full replacement. A repair that includes re-flashing the entire transition and replacing damaged sheathing runs higher, and if the leak has reached the wall cavity, the interior repair is a separate cost. Call (833) 630-4214 for an exact quote – estimates are free.
In most cases the existing HVAC system lacks the duct capacity to deliver conditioned air to the far end of the addition, even when the equipment itself has spare capacity. The fix is usually a Manual J load calculation and a duct redesign, or a dedicated zone or mini-split for the addition, not a bigger air conditioner. Get the calculation done before you spend money on equipment.
Not with us. Our upfront pricing means the number you see on the written estimate is the number you pay, with no change orders unless the scope itself changes at your request. When we assess an addition problem in Westchester, the estimate is line-item and the scope is written before work begins. Call (833) 630-4214 for a free estimate.
Yes. Most of the addition troubleshooting we do in Westchester is on work built by someone else, and we approach it the same way we approach our own callbacks: diagnose the actual cause, document it, and give you a written scope and price before any work starts. We don’t require the original contractor’s cooperation to fix what they got wrong.
A 730-day promise covers workmanship for two full years, which gets you through at least one full seasonal cycle after the addition is complete, and it places the burden on the contractor to determine whether a failure is a workmanship issue rather than requiring the homeowner to prove it. A standard one-year warranty typically expires before the addition has been through its first wet winter and often requires the homeowner to demonstrate causation. Call (833) 630-4214 to ask what’s covered on your project.
Repairs that restore the existing structure to its original condition typically don’t require a new permit, but structural repairs, changes to the roof framing, and any work on the tie-in that alters the framing usually do. In Westchester, the building department also wants to see that any unpermitted addition is brought into compliance if it’s discovered. We pull permits and pass inspections as part of the scope, and the permit status is one of the first things we check. Call (833) 630-4214 to talk through your situation.
The Bottom Line
Additions and ADUs fail in predictable ways. The tie-in point, the headers, the footings, the HVAC distribution, and the roof transition account for most of the problems that show up six months after the final walkthrough. The fix follows a predictable pattern too: document the failure, find the actual source rather than the visible symptom, get an independent evaluation, and escalate in writing before you negotiate. A passed inspection is the floor, not the ceiling, and a two-year workmanship promise is worth dramatically more than a one-year warranty that expires before the first wet season. If you’re troubleshooting an addition or ADU in Westchester, we’re happy to look at it. Call (833) 630-4214 for a free estimate – upfront pricing, written scope, and the 730-Day Done Right Promise on every project. We also handle Driveway & Pavers in Westchester and Fence Installation in Westchester if the addition project left the exterior needing attention.
If you’re planning to add on rather than fix what’s already there, start with our overview of home additions and ADU services in Westchester and see how we approach a project from foundation to finish line. And for everything else we do across the Westchester area, take a look at Groundwork Construction Co. of Westchester.
Written by the team at Groundwork Construction Co. of Westchester.