Last updated November 18, 2026








Free written scope consultation - allowances, timeline, and change-order rules on paper before a single trade is scheduled
Windows & Doors Warning Signs Every Homeowner Should Know
A window installed without proper flashing integration into the weather-resistant barrier doesn’t leak immediately. It leaks 18 months later, inside a wall, after the contractor is long gone and the warranty fight has already started. That’s the hard truth about window and door failures: the damage happens on installation day, but the symptoms show up a season or two later, long after the crew has packed up. In Westchester, where wind-driven rain and brutal summer heat put every opening through a real test, the gap between a good install and a bad one gets exposed fast. This guide walks you through the specific, visible warning signs you can catch yourself – during installation, at the 90-day mark, and before you sign that final check.
Quick Answer
The main warning signs of a bad window or door installation are gaps at the sill that catch daylight, spray foam used as the primary air seal instead of flashing tape, missing or misaligned manufacturer stickers and Florida product approval NOA documentation, and doors that won’t latch squarely in their frames. Catching these within the first 90 days – especially at the first heavy rain, first extreme heat wave, and first cold front – is the difference between a warranty callback and a much larger repair bill. Check flashing photos, permit closeout paperwork, and impact certification before you make final payment, every time.
Styles & brands we work with
- Kitchen remodeling
- Bathroom remodeling
- Home additions & ADU
- Roofing
- Windows & doors
- Driveway & pavers
- Fence
Table of Contents
- Installation-Day Red Flags You Can Spot Without Construction Knowledge
- The Flashing Tape Problem: Why Foam Alone Fails
- The 90-Day Post-Installation Inspection: Rain, Heat, and Cold Front
- How to Confirm Florida Product Approval on Your Windows
- Signs a Door Was Hung Out of Plumb or Square
- Documentation to Demand Before Final Payment
- When to Call a Professional in Westchester
Installation-Day Red Flags You Can Spot Without Construction Knowledge
You don’t need to know how to install a window to know when one is being installed badly. Most of the serious failures we see in Westchester start as something visible on day one – a shortcut taken in the open, in front of the homeowner, because the homeowner didn’t know what they were looking at. Here’s what to watch for while the crew is still on site.
- No flashing tape at the sill or jambs. A proper install starts with a sloped sill pan and self-adhering flashing tape integrated into the weather-resistant barrier before the window unit goes in. If you see the window going straight into a rough opening with no membrane work, stop the job.
- Spray foam used as the primary seal. Expanding foam is a filler, not a weather barrier. It goes behind the flashing, never in place of it. When foam is the only thing between your window and the framing, water finds the path of least resistance straight into the wall cavity.
- Wide, uneven gaps at the sill. A consistent 1/4-inch to 3/8-inch shim gap around the unit is normal and expected. A gap you can slide a finger under at one corner and not the other means the unit is racked out of square or the rough opening is wrong.
- No manufacturer sticker left on the glass. Every window unit comes with a label carrying the product approval number, NFRC ratings, and impact rating. The label should stay on the glass until final inspection. If it’s missing on arrival, that’s a documentation red flag.
- Framing damage hidden behind new trim. A crew that cracks a king stud or shears a jack stud to force a unit in is going to cover it with trim before you notice. Ask to see the rough-in before the interior casing goes up.
- No photos taken of the flashing stage. Good installers photograph the sill pan and flashing before the exterior finish covers it – every time. If your crew isn’t documenting, you have no proof of what’s behind the wall.
These aren’t obscure technicalities. Any of them, left unaddressed in a Westchester home, becomes a several-thousand-dollar repair down the road – often after the original installer’s warranty period has technically expired. We’ve seen this pattern play out most often in older neighborhoods where stucco over wood-frame construction leaves little room for error: a missed flashing detail at the sill pan means water gets behind the stucco, and once it’s behind the stucco, the damage is invisible until the sheathing starts to soften.
The Flashing Tape Problem: Why Foam Alone Fails
Flashing is the single most important detail in any window or door installation, and it’s the one that gets skipped most often when a crew is rushing. Here’s the difference between a properly sealed opening and one that’s going to fail.
A correctly flashed window is installed in sequence: sloped sill pan first, then flashing tape at the sill overlapping the pan, then jamb flashing lapped over the sill tape, then head flashing lapped over the jambs. The whole system sheds water outward and down, integrating into the weather-resistant barrier like a shingled roof in miniature. Spray foam goes in after the flashing is complete, as a secondary air seal – it fills gaps around the unit but it does not stop bulk water. Foam is not waterproof, and all expanding polyurethane foam open-cell products actually absorb water over time. A window with foam as its primary seal is a sponge sitting inside your wall.
Why does this matter more in Westchester than in other parts of the country? Because our rain doesn’t fall straight down. A summer thunderstorm or a tropical system drives water sideways against the opening for hours at a time. That’s the test that a foam-only seal fails – not the gentle shower, the driven rain.
Here’s how to know what you’re getting before the job starts:
- Ask the estimator to describe the flashing sequence in writing before you sign. “Install per manufacturer specs” is not an answer.
- Ask for a photo of the sill pan and flashing before the exterior finish goes on. Any reputable crew documents this stage.
- Confirm the flashing tape brand and type is specified for your wall assembly (stucco, wood frame, CMU block). Westchester homes use all three, and the tape matters.
- Make sure the contract states the installation will follow the Florida product approval installation drawing, not a generic national spec.
This is one of the reasons we specify premium product lines from Andersen and Marvin on most of our window jobs in Westchester – not because the brand is the whole story, but because premium manufacturers publish detailed installation drawings that map to Florida requirements, and the warranty stands behind a properly installed unit. Cheap units installed perfectly will outlast premium units installed badly.
The 90-Day Post-Installation Inspection: Rain, Heat, and Cold Front
A window or door problem won’t usually show up the week after installation. It shows up when the weather stresses the opening – and in Westchester, that means three specific checkpoints over the first 90 days.
The First Rainfall
Within a week or two after installation, wait for a hard rain and walk every opening from the inside. Look for water staining on drywall near the sill, dampness at the corner where the window meets the wall, and condensation that appears on the frame (not the glass). A properly flashed window doesn’t leak in a normal storm. If you see water intrusion, photograph it and call the installer immediately – it’s a warranty issue on day one.
The First Extreme Heat Day
Westchester summers push interior surface temperatures on south- and west-facing glass well past 100 degrees. On the first hot, still day, check the seals around the frame. Look for:
- Gaskets pulling away from the jamb or sill
- Visible gaps at the corners where the frame meets the wall
- Caulk joints that have cracked or shrunk
- Doors that suddenly stick or swing open when they didn’t two weeks ago (thermal expansion moving an out-of-square frame)
Heat is the best diagnostic you have. It swells frames, opens gaps, and reveals any place the seal was rushed.
The First Cold Front of the Season
When the first cold front rolls through Westchester in late fall, air infiltration becomes obvious. Stand near each opening on a windy morning and feel for drafts at the corners and underneath the sill. Run a tissue along the jamb and sill – if it flutters, you have an air seal failure. Cold fronts also expose warped frames: a door panel that warps in the cold was likely hung on a frame that wasn’t properly braced or shimmed.
If any of these three checkpoints turn up a problem, call the installer before the 90-day mark. Most manufacturer warranties and workmanship guarantees hinge on the homeowner reporting defects within the first year – and the earlier the repair, the smaller the collateral damage.
How to Confirm Florida Product Approval on Your Windows
Every exterior window and door installed in Florida must have a Florida Product Approval (FPA) or a Miami-Dade Notice of Acceptance (NOA) that matches the wind zone of your home. Westchester sits in the wind-borne debris region, which means impact-rated products are generally required, and the specific approval number has to match the unit that’s actually in your wall.
Homeowners get burned by this more often than you’d expect: the contractor shows FPA documentation for a window line at the estimate, but installs a different model – sometimes a cheaper variant of the same brand, sometimes a leftover from another job. The window looks fine. The permit inspection may even pass. But the specific unit in your wall may not have the approval the inspector was shown.
Here’s how to confirm you got what you paid for:
- Find the sticker on the glass. Every Florida-approved unit ships with a label carrying the product approval number, NFRC ratings, and (for impact products) the impact rating. It should be present until final inspection.
- Match the sticker to the paperwork. The A number or NOA number on the sticker has to match the approval document your contractor provided.
- Match the approval document to your wind zone. Westchester is (in most locations) within the wind-borne debris region. The approval has to reflect that, not a lower-wind region approval.
- Check the installation drawing. Florida approvals include an installation method. The way the window was flashed and anchored should match that drawing. If the drawing calls for a sloped sill pan and your installation didn’t have one, the approval is not met.
- Look up the approval. The Florida Building Commission maintains a public product approval database. Any FPA or NOA number can be verified online in a couple of minutes.
If any of this doesn’t line up, don’t make final payment. This is the specific issue that turns a simple window problem into an insurance dispute – because if your carrier questions whether the opening was built to code, coverage on related water damage becomes negotiable. Catching it before final payment removes that risk entirely.
Signs a Door Was Hung Out of Plumb or Square
Doors fail differently from windows. A badly hung door doesn’t usually leak first – it tells on itself through operation. Here’s what to check, with the specific tolerances that matter.
Check Plumb on the Hinge Jamb
Put a 4-foot level against the hinge-side jamb. The bubble should land within the center lines. A jamb that’s more than about 1/8 inch out of plumb over 4 feet is going to cause latch problems within a season or two, even if it works fine on installation day.
Check Square at the Frame Opening
Measure corner to corner diagonally across the rough opening. The two diagonals should be within 1/4 inch of each other. If one is noticeably longer, the opening is out of square and the door can’t be made right no matter how much the installer adjusts the hinges.
Check Latch Alignment
Close the door slowly and watch the latch as it meets the strike plate. The latch should enter the strike plate cleanly and centered – no dragging on the top or bottom edge, no visible daylight between the door and the stop. If the installer has to file the strike plate open to make the door close, the door is out of square and the strike plate is being adjusted to hide it.
Check the Reveal
Look at the gap between the door panel and the frame. It should be even on all four sides, roughly 1/8 inch. A visible wedge shape – tight at the top, wide at the bottom, or vice versa – means the frame is out of plumb or the door was hung with the wrong shim set.
Tolerances that are acceptable: up to 1/8 inch of plumb deviation over 4 feet, up to 1/4 inch of diagonal variance, uniform reveal within 1/16 inch. Tolerance failures: anything more than that, a door that doesn’t latch on its own, gaps at the top hinge corner that let daylight through, or a door that swings open by itself when released partway.
Out-of-plumb doors aren’t just annoying. In a Westchester home, they let water in through the corners at the threshold, they let air in around the weather seal, and on exterior doors they can compromise the impact rating the door was certified under. A door hung square installs and operates correctly for years – a door forced into a bad opening starts failing inside the first hot-to-cold cycle.
Documentation to Demand Before Final Payment
Final payment should never be released on a window or door installation until the paperwork is complete. This is the single biggest leverage point any homeowner has, and the moment to use it is before the last check goes out, not three weeks later over the phone.
Demand these before you pay:
- Permit closeout card or inspection record. In Westchester (and across Florida), window and door replacements require a permit and a final inspection. You need the signed closeout card, not a verbal “it passed.”
- Installer certification for impact products. Some impact window lines require installation by a certified installer for the manufacturer’s warranty to be valid. Get the certification in writing.
- Photos of the flashing installation, taken before exterior finish was applied. This is your proof of what’s behind the wall.
- Florida product approval documentation for each unit – FPA or NOA number, matched to the sticker that was on the glass.
- A written copy of the workmanship warranty with terms that make sense. If the warranty is verbal, it isn’t a warranty.
- Manufacturer warranty registration for each unit. Most manufacturers require homeowner registration within a set window after installation.
A contractor who has done the job right has every one of these documents ready. A contractor who hasn’t is going to be doing some fast talking – which is exactly the sign you needed. Every project we run in Westchester is backed by our 730-Day Done Right Promise, and every installation includes the flashing documentation, permit closeout, and warranty paperwork in the final handoff. That’s what the promise is for: if it’s not done right, we make it right, and there’s a paper trail to prove the job was done right in the first place.
If you’re also evaluating the rest of your home’s exterior – roofing, siding, or a larger addition – the same documentation standard applies. Windows and doors are one opening into the wall; the wall, the roof, and the foundation all function as one system. That’s why we build every project from foundation to finish line, whether you’re replacing a single window or working with us on Home Additions & ADU in Westchester, where opening integrity is critical to the building enclosure.
See the difference
 Before
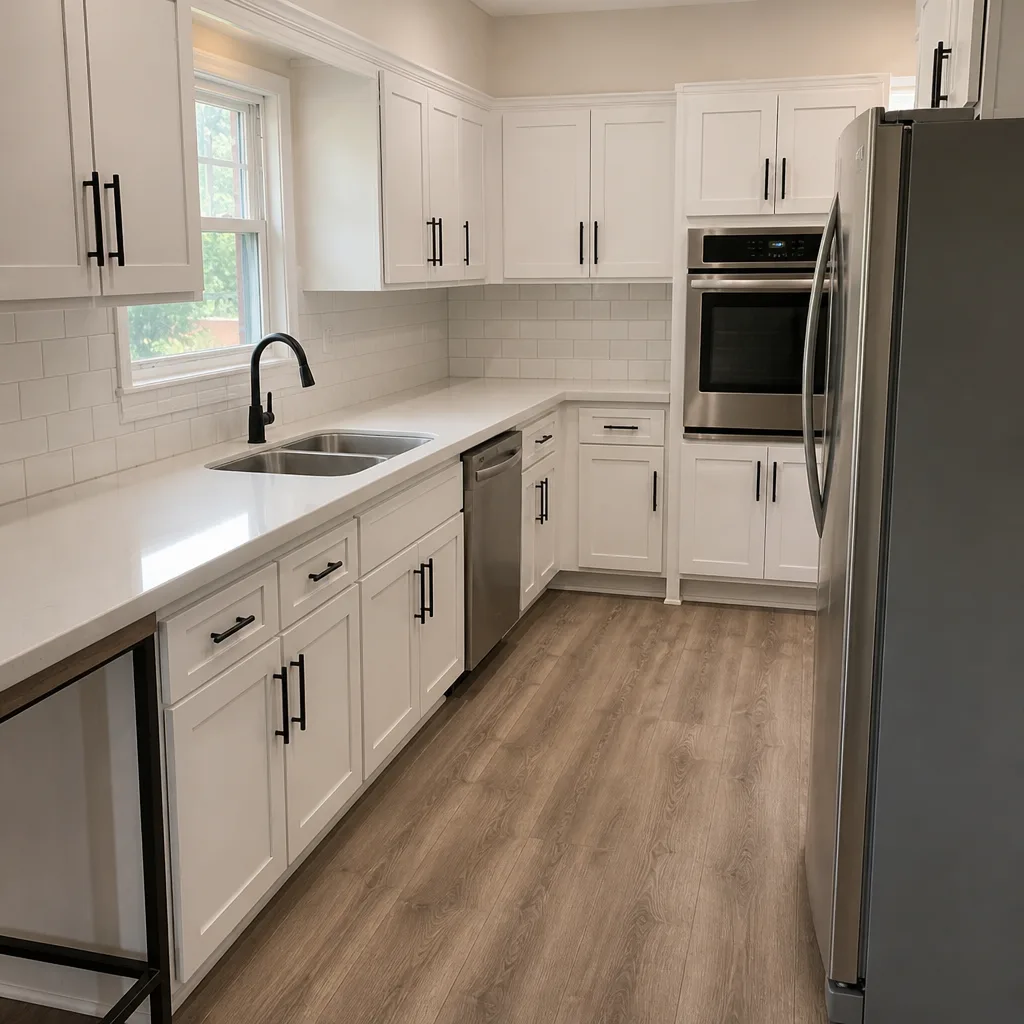 After
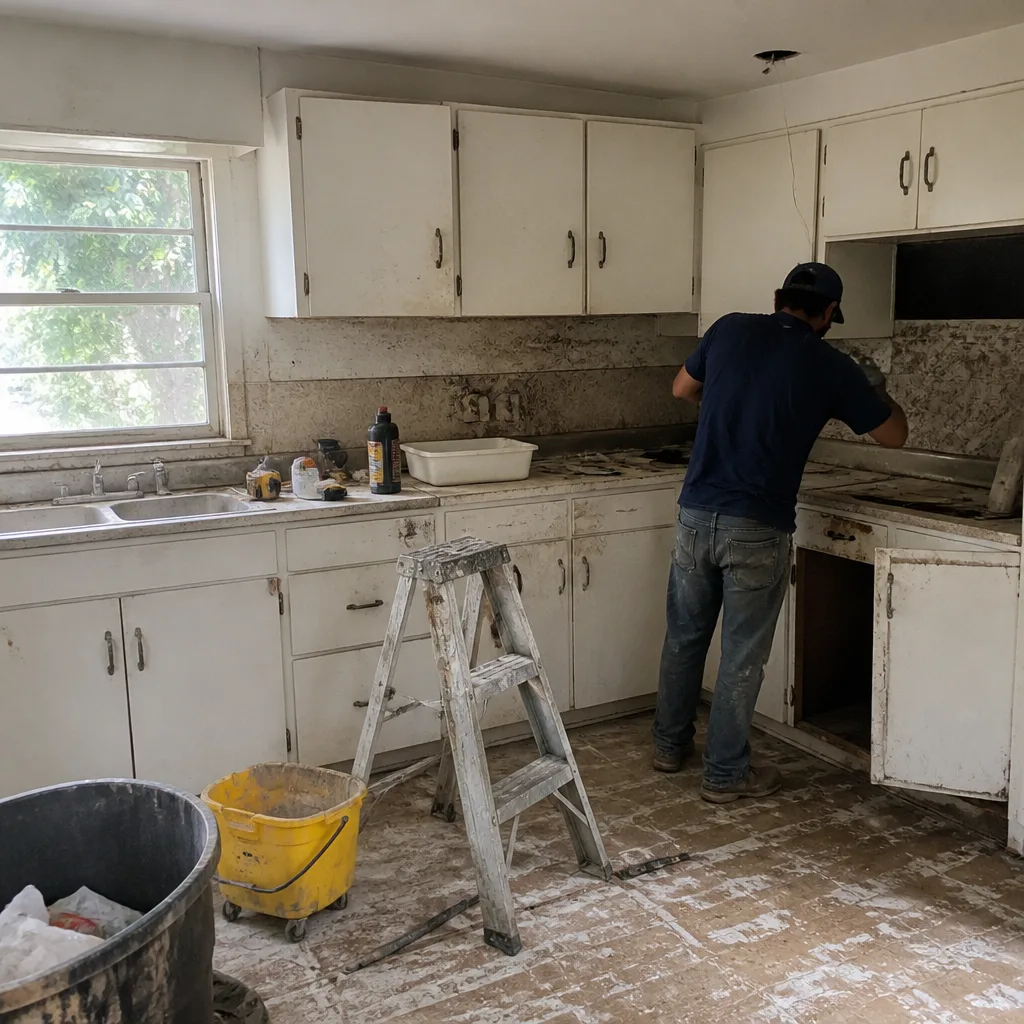 Before
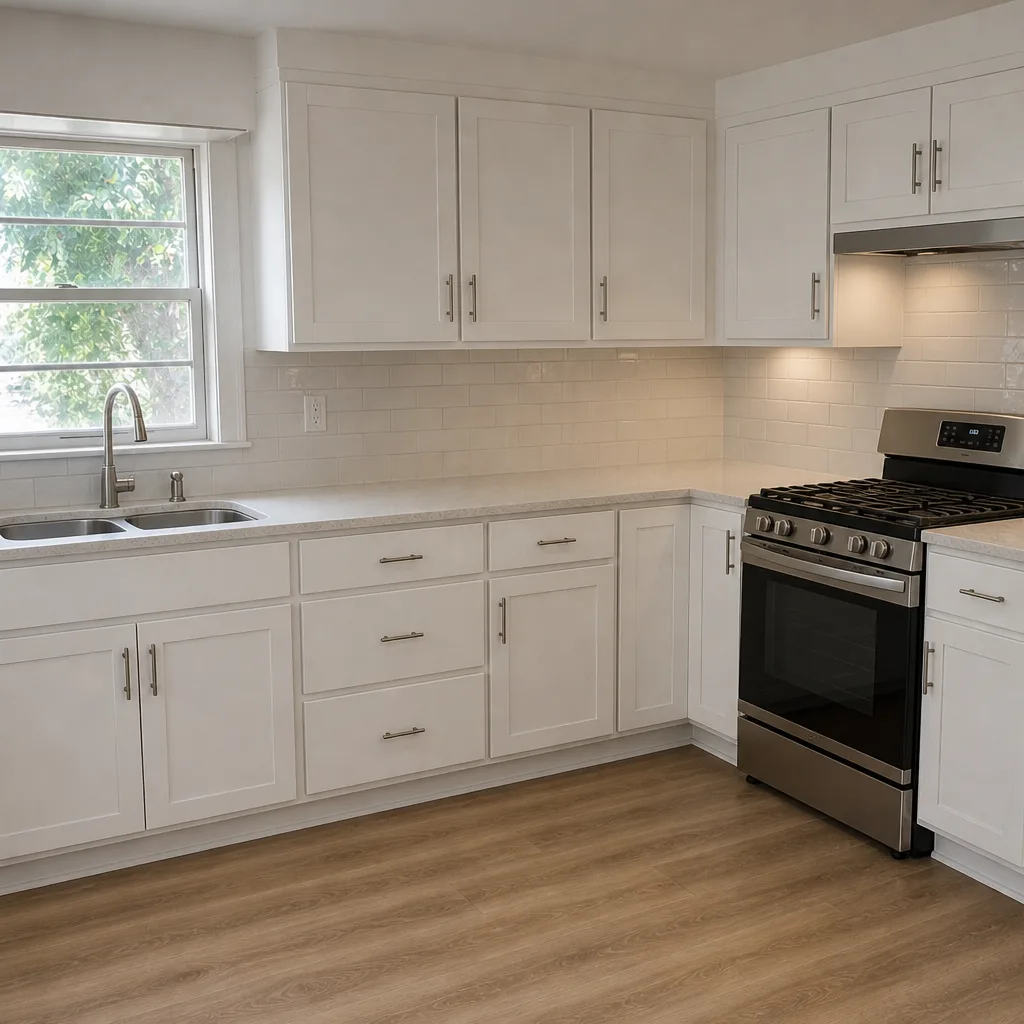 After
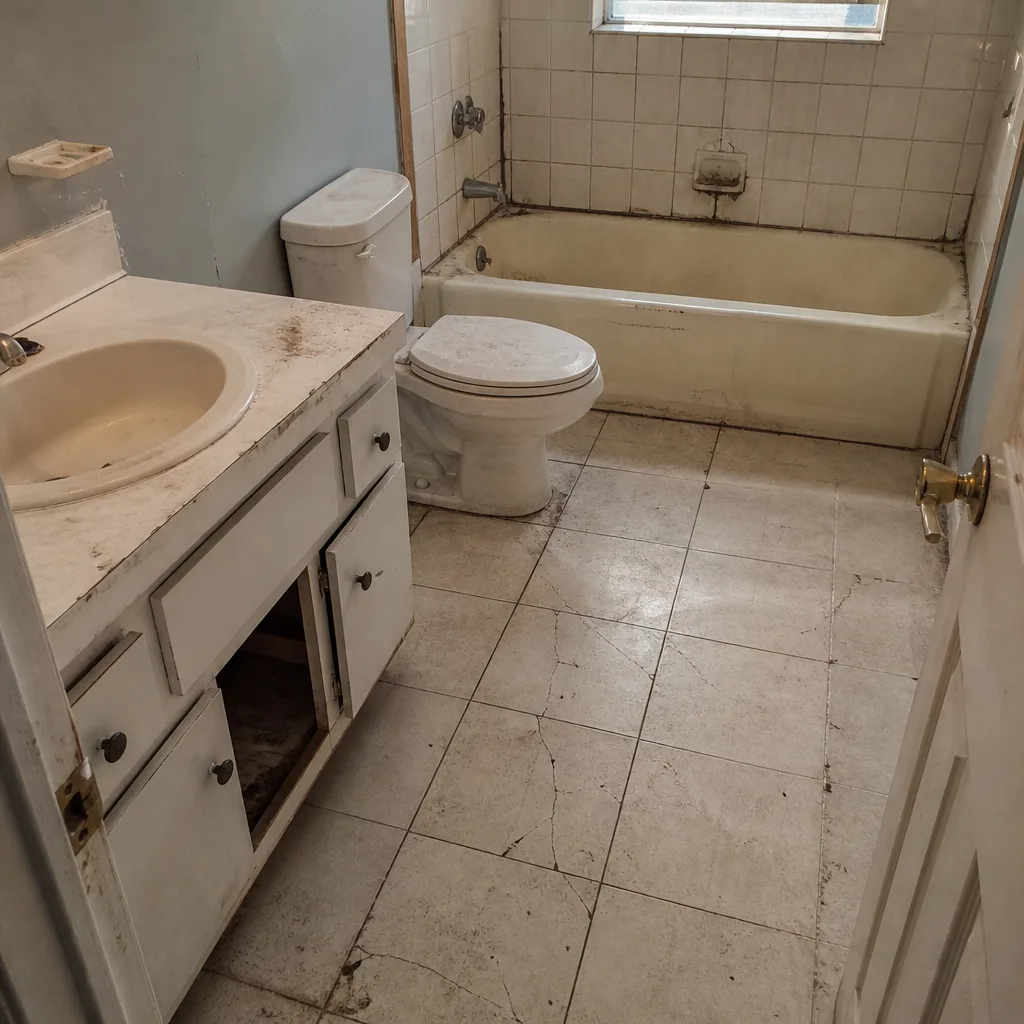 Before
 After
Common Mistakes to Avoid

- Paying the final invoice before the permit closeout is signed. Once you’ve paid, your leverage to force a punch list item disappears. Hold final payment until the closeout card, flashing photos, and warranty paperwork are all in hand.
- Letting the crew leave the manufacturer sticker off the glass. Without the sticker, you have no way to verify the FPA number matches what was approved at permit. Ask for the sticker to stay until final inspection is signed off.
- Accepting spray foam as the air seal. Foam is a filler. Flashing tape is the weather barrier. Any contractor who treats them as interchangeable is telling you they don’t understand the sequence. In Westchester’s driven-rain climate, that shortcut fails within two storm seasons.
- Ignoring a sticking door for the first hot month. Doors stick because frames move under thermal expansion. If yours sticks in the summer and frees itself in the fall, the frame is out of square and it needs to be corrected, not tolerated.
- Assuming the inspection means the job was done well. A permit inspection confirms code minimums, not quality. A window can pass inspection and still leak on day one if the flashing was done inside the wall where the inspector can’t see it.
- Missing the 90-day reporting window. Most workmanship issues surface within 90 days and most manufacturer warranties require homeowner reporting within the first year. Wait a season too long and you’re paying for a repair that should have been a callback.
- Choosing a contractor on price alone. In Westchester, the difference between a $5,800 window job and an $7,200 window job is usually the flashing system, the install certification, and the documentation package. The cheaper job often ends up costing more than the difference in the first water event.
When to Call a Professional
Call a professional when you find any of the following: water staining on drywall or stucco near a window within the first year of installation, a door that won’t latch without a physical shove, visible daylight through the sill pan, missing Florida product approval stickers, or a contractor who won’t provide flashing photos before final payment. Those are not homeowner-diagnosable problems – each of them involves opening the wall to verify what’s behind it, and the sooner that’s done, the smaller the repair.
For anything involving an impact window replacement or a door replacement in Westchester, involve a licensed contractor who is pulling the permit and installing to Florida product approval specs. Groundwork Construction Co. of Westchester offers free estimates in Westchester – call (833) 630-4214 to schedule a no-hassle upfront pricing walkthrough. Our technicians have up to 12 years of experience, and every job is covered by the 730-Day Done Right Promise. If your concern is the larger envelope around a bad window – the roof, the siding, or a paver patio that’s allowed water to pond against the wall – we can scope those together. Our Driveway & Pavers in Westchester and Fence Installation in Westchester services are often the exterior drainage and envelope fixes that protect an installation that would otherwise fail from the outside.
Frequently Asked Questions
Usually 12 to 18 months after installation, and it almost always shows up after a heavy rain event or a tropical system that drives water sideways against the opening. The first visible sign is usually a small water stain on the interior drywall near the sill corner, not a puddle. If you see staining, photograph it and call the installer immediately – by the time water shows inside, the sheathing behind the window has often been damp for several weeks. Call (833) 630-4214 for a free estimate if your installer is unavailable.
Yes. Window and door replacements in Westchester require a permit and a final inspection, and impact units require confirmation that the product approval matches the wind zone of your home. Look for the closeout card before you make final payment – not a verbal “it passed.” Any contractor who resists pulling a permit is signaling that they’ll resist providing the documentation your warranty depends on.
A Florida Product Approval (FPA) is the state-issued document confirming that a specific window or door model has been tested and certified for installation in a specific wind zone. In Westchester, which sits largely in the wind-borne debris region, the FPA number on the sticker on your glass has to match the approval document referenced on your permit. If the numbers don’t match, your window is not code-compliant, even if it looks identical to one that is.
Put a 4-foot level on the hinge jamb; more than about 1/8 inch of deviation over 4 feet is a problem. Then measure the rough-opening diagonals: the two corner-to-corner measurements should be within 1/4 inch of each other. And look at the gap between the door and frame – it should be an even 1/8 inch on all sides, not a wedge shape. If any of these fail, the door needs adjustment. Call (833) 630-4214 to schedule an inspection if you’re not sure how to measure it correctly.
No – not safely or permanently. Flashing failures require opening the exterior finish to access the weather-resistant barrier, and repair work that touches the building enclosure involves the same wind and water detailing as the original installation. Improper repair can void both the manufacturer’s warranty and your homeowner’s insurance coverage on related water damage. A trained professional should handle any flashing repair, especially on impact-rated openings in Westchester.
Walk every window and door from the inside, looking for water staining on drywall, dampness at the corners where window meets wall, and condensation appearing on the frame rather than the glass. Then on a windy morning, stand near each opening and feel for drafts at the sill and corner joints. Any sign of water or air infiltration within the first year after installation is a warranty issue, not a normal condition – report it to your installer immediately, in writing.
The Bottom Line
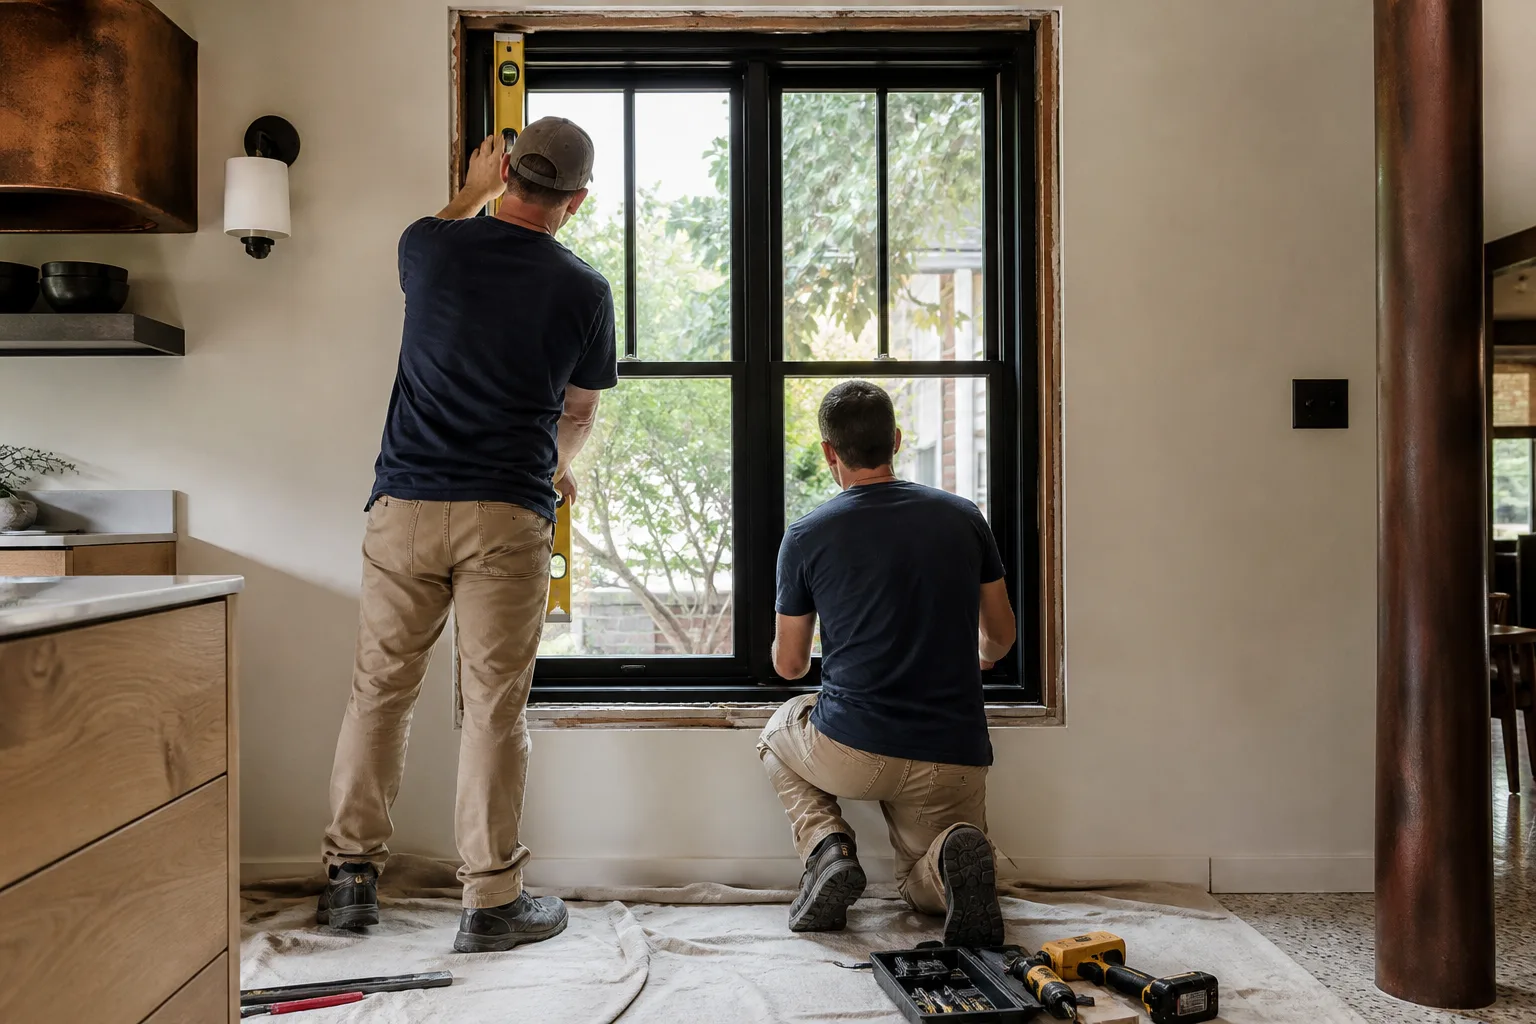
Bad window and door installations fail slowly, invisibly, and expensively. The warning signs are visible to any homeowner who knows what to watch for – missing flashing tape, foam used as the primary seal, wide uneven sill gaps, out-of-plumb doors, missing FPA stickers, and non-compliant paperwork at final payment. Catch them at installation, at the first rain, at the first heat wave, or at the first cold front in Westchester, and you’re looking at a warranty callback. Miss them, and you’re looking at opening a wall 18 months later, after the installer’s warranty has run and your insurance carrier is asking questions. The fix starts with documentation and good workmanship from day one. If you need a second opinion or a replacement install done right, call Groundwork Construction Co. of Westchester home at (833) 630-4214 for a free estimate – we’re licensed, insured, and every install backs our 730-Day Done Right Promise.
Written by the team at Groundwork Construction Co. of Westchester.