Last updated November 18, 2026
Free written scope consultation - allowances, timeline, and change-order rules on paper before a single trade is scheduled
DIY vs Professional Driveway & Pavers: What’s Safe to Do Yourself
Homeowners spend $800 to $1,200 renting equipment for a DIY paver driveway, then spend more than that fixing base failures within five years. The math only works if you know exactly where the risk lives. Most of the work that goes into a driveway happens where you can’t see it once the pavers are down, and that hidden work is where a weekend project quietly turns into a five-figure correction. This guide draws a hard line between the phases of the job a skilled homeowner can genuinely handle and the ones that build slowly toward a costly problem. We’re writing it from Westchester, where the ground under your driveway behaves differently than it does in most of the country, and we’ve watched enough failed DIY bases to know the difference between confidence and a good outcome.
Quick Answer
You can safely lay out paver patterns, refill joint sand, seal a driveway, and handle minor repairs yourself. What you should not do alone is the base work: excavation to depth, subgrade prep, and reaching proper compaction on a structural-grade base with rented equipment. In Westchester, that’s the phase where DIY driveways most often fail, and the fix usually costs more than the original rental.
Styles & brands we work with
- Kitchen remodeling
- Bathroom remodeling
- Home additions & ADU
- Roofing
- Windows & doors
- Driveway & pavers
- Fence
Table of Contents
- Where DIY Base Compaction Falls Short
- Why Rented Plate Compactors Often Aren’t Enough
- What You Can Genuinely Do Well Yourself
- How Florida’s Soil and Wet Season Punish a Weak Base
- The Liability Reality of Unlicensed Driveway Work in Florida
- DIY vs Professional: An Honest Cost Framework
- Paver Patterns, Materials, and What Holds Up Locally
- The Maintenance Schedule That Protects Your Investment
Where DIY Base Compaction Falls Short
Every paver driveway rests on three layers: the subgrade (the soil you start with), a compacted structural base of crushed aggregate, and the bedding sand the pavers sit on. The pavers themselves are the visible finish. The base is the structure. If you’ve ever walked a paver patio that felt spongy or found pavers settling into a shallow dip after a rainy season, the base is almost always the reason, not the pavers.
The phase where amateur installations consistently fall short is compaction of that base layer. A proper job compacts the aggregate in lifts, meaning you lay three to four inches, compact it to a hard density, then lay the next lift. Skipping lifts, rushing them, or spraying water on the aggregate and calling it packed leads to a base that looks solid with the pavers on but compresses further every time a loaded vehicle rolls over it. Within one or two wet seasons in Westchester, that extra settlement shows up as rocking pavers, sand washout, and joints you can’t hold.
The other quiet failure is depth. Base depth changes with what the driveway carries and how the existing soil drains. A driveway that needs six inches of structural base in one spot and four in another isn’t something you eyeball from a YouTube tutorial. Getting it wrong at the front means tearing up a finished surface to fix it.
- Compaction is invisible once pavers are down. There’s no easy way to test it after the fact.
- Proper lift-by-lift compaction takes time and the right equipment, not just the right sand and pavers.
- Base depth depends on soil drains, load, and drainage slopes that change from one corner of a driveway to the next.
Why Rented Plate Compactors Often Aren’t Enough
A plate compactor rental runs $80 to $150 a day, and it does work. The problem is what the equipment class can actually achieve. Most rental yards hand out a machine sized for patios and walkways. That’s fine for a 10-by-12 pad. It’s underpowered for structural base on a driveway carrying two vehicles, especially when the aggregate is a dense crushed stone and the lift is three inches thick. The plate chatters across the surface and looks packed, but it’s only compacting the top inch or two.
Production contractors run heavier plate compactors, some with water tanks to keep the aggregate at the right moisture content as it compacts. Moisture matters. Aggregate that’s too dry packs poorly. Too wet and it turns to mush. Reading that by eye takes practice most homeowners don’t get on a single driveway. Add in the need to vibrate the subgrade, work the base into corners and transitions, and keep going back with a plate until it stops sinking, and the rental math gets complicated fast. You can burn two full weekends waiting on an underpowered machine to do a job a contractor’s equipment does in a day.
We’ve walked more than a few Westchester driveways where the homeowner did solid work for three of four steps and then rushed compacting on the fourth. The pavers were laid well and leveled carefully. A year later, after the October rain soaked into the low corner, the pavers there had sunk a half inch and started to separate.
What You Can Genuinely Do Well Yourself
There’s real work in a paver driveway that rewards an attentive homeowner, and doing it yourself saves legitimate money without risking the structure. The line is where the job transitions from visible work to load-bearing work.
- Laying out the paver pattern. Choose a pattern that fits the space and lay it out dry first. Running bond, herringbone, and basket weave all read differently depending on the driveway width and the house. A skilled homeowner can plan and execute a pattern and keep the project visually right.
- Refilling joint sand. Sand washes out. Refilling joints once or twice a year keeps pavers locked and resists weeds. This is simple work that adds years of life.
- Sealing. Paver sealer slows sand loss and protects color, especially under the Florida sun. Two coats on a Saturday, once the surface is clean and dry. Just don’t seal a wet or sealed surface and don’t seal new pavers too early.
- Minor repairs. A single cracked paver can be lifted and swapped. Small settlement dips can sometimes be addressed by lifting a few pavers, re-bedding sand, and replacing. If the dip keeps coming back, that’s a base issue, not a paver issue.
- Weeding and cleaning. Keep organic debris off the surface so moisture doesn’t sit in the joints. A pressure wash on low pressure, once or twice a year, keeps the surface looking new.
The honest split is this: homeowner time goes furthest on layout, pattern, and maintenance. Contractor time is required where the driveway carries load, drains the property, or has to pass inspection. You can drive by hundreds of patios built by skilled homeowners and never know it. The same can’t be said for full driveways.
How Florida’s Soil and Wet Season Punish a Weak Base
We get the wrong idea about Florida soil because it looks so flat and sandy. The truth is the Westchester area sits on soils that expand and contract with moisture. During the wet season, usually June through September, the ground under a driveway takes on a lot of water and swells. In the dry months, it shrinks again. A properly compacted base has enough density to bridge those small movements. A base that was undercompacted lets the swelling soil move upward unevenly, so you get ridges and hollows under the pavers that show up as waviness in the surface.
This is more severe in Westchester than in drier climates because the swing is on a schedule. It’s not a rare event. It happens every year, and a driveway built on a weak base has to survive it while carrying the load of vehicles. That’s why we see mid-season settlement here more often than out west, and why “I’ll just add more sand” doesn’t fix it. The base either does its job or the surface starts to go.
The other local factor is drainage. Westchester properties often sit on flat lots with limited fall. Water that doesn’t sheet off the driveway finds its way to the lowest corner of the lot. A driveway built without properly graded drainage can pond water at the bottom edge and undermine the base under it. That grading is part of what a competent contractor handles during the base phase, not something a homeowner usually anticipates when planning a DIY project.
The Liability Reality of Unlicensed Driveway Work in Florida
Florida law is specific about who can perform certain work, and driveway installation and hardscape work falls into areas that may require local licensing and permits depending on your municipality. If you hire an unlicensed crew for your driveway, you assume a set of risks that don’t go away once the work is finished. If the driveway fails and you try to file a claim with your homeowner’s insurance, you may find the work was never permitted or inspected, and coverage may be affected. If a worker is injured on your property, you can be exposed to liability issues that a licensed, insured contractor’s coverage is designed to handle.
Doing the work yourself is a different category. A homeowner generally can do work on their own property, but if you decide to sell, work done without permits can become a disclosure item and, in some cases, a problem for a buyer’s lender. Roofing, fencing, and larger paving projects in Westchester often require permitting and inspection. Our Driveway & Pavers in Westchester service pulls permits and passes inspections as part of the job, because the paperwork protects the homeowner long after the crew is off-site.
The quiet risk in unlicensed work isn’t just the driveway. It’s that there’s no one standing behind the work if something goes wrong. A contractor with liability coverage and a workmanship guarantee has to make it right. An unlicensed crew that took cash and moved on doesn’t.
DIY vs Professional: An Honest Cost Framework
DIY makes sense when it genuinely saves money over the contractor’s total, and when it doesn’t front-load a bigger bill later. The line is easier to draw when you see the numbers side by side.
- Equipment rental for a DIY driveway: $800 to $1,200 for the plate compactor, hand tamper, screed, and accessories over two or more weekends. Not counting time off work.
- Material for a DIY job: pavers, base aggregate, and sand typically run 30% to 40% lower than a contractor’s materials, because you lose contractor buying power and delivery discounts.
- Professional installation: typically includes excavating, base, drainage, compaction, pavers, joint sand, cleanup, permits, and a workmanship guarantee. Upfront pricing means the number you see is the number you pay.
- Correction cost: when a DIY base fails, tearing up a finished surface and rebuilding it typically costs more than the original rental plus the difference to a professional install.
When DIY wins honestly: a small patio, a walkway, or a repair job where the load is footsteps, not vehicles. When DIY front-loads a bigger bill: any driveway that has to carry a vehicle and stay level across Westchester’s annual wet-dry cycle. The base work is the answer to most of this question.
On the materials side, we work with Belgard pavers and other hardscape brands sourced through verified supply lines, so the base and the surface match in quality. A cheap paver on a good base can sometimes be replaced. A quality paver on a weak base almost always has to come back out. For larger hardscape and landscaping projects, the same base-first logic applies to fences and planters; our Fence Installation in Westchester work is built on the same compaction and footing standards.
Paver Patterns, Materials, and What Holds Up Locally
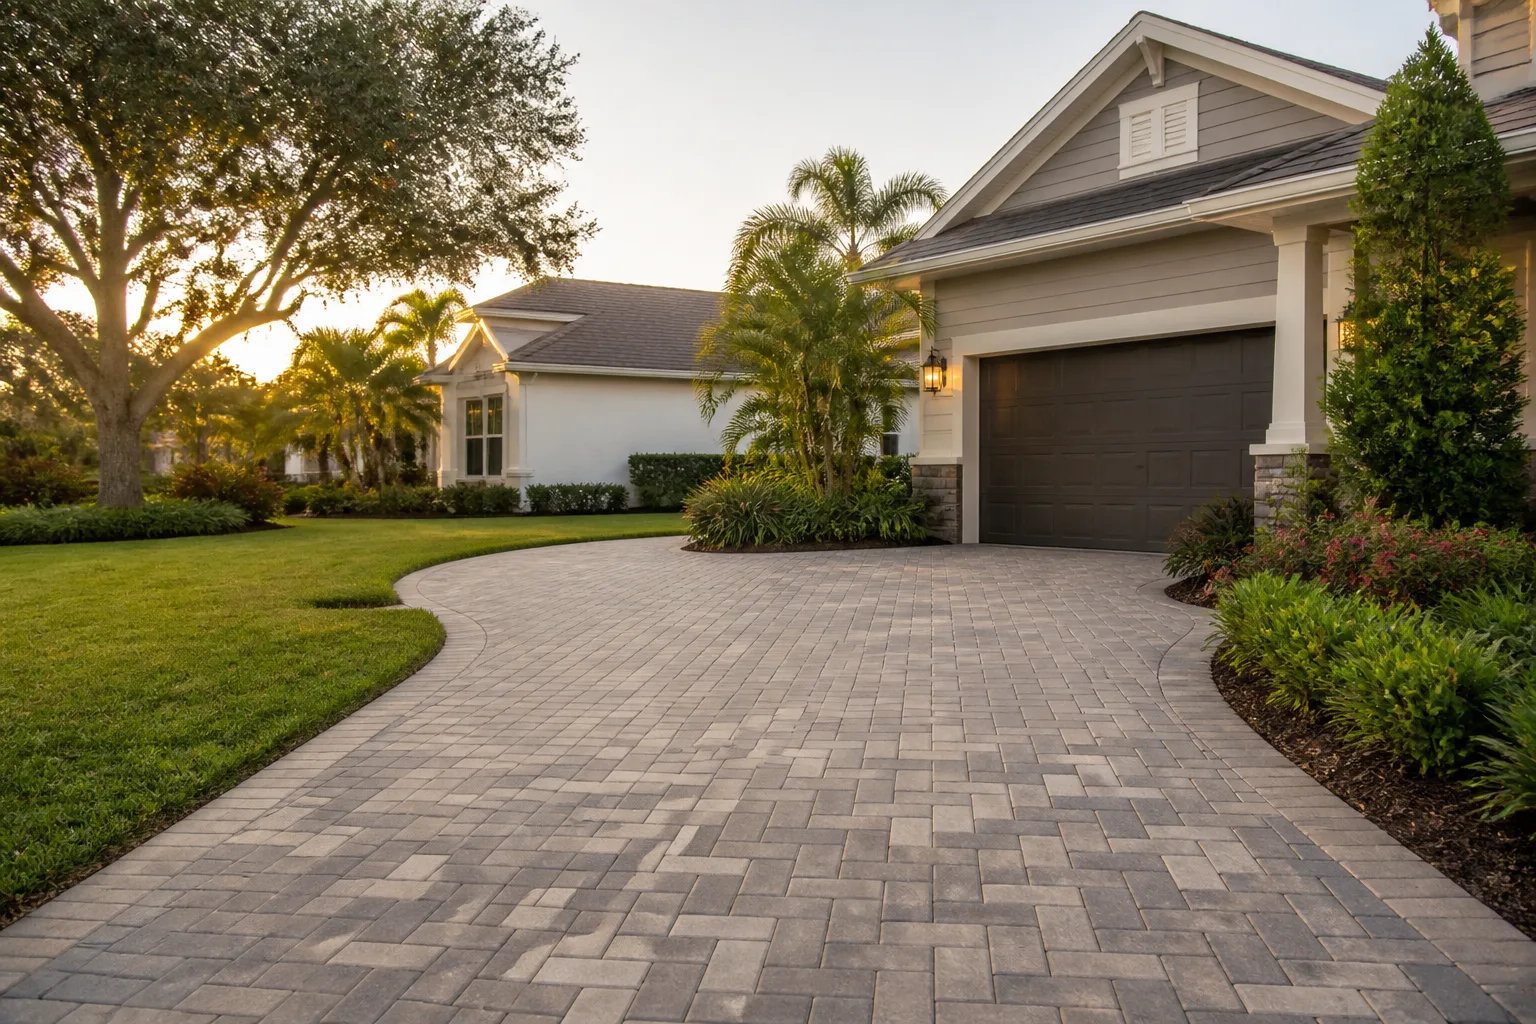
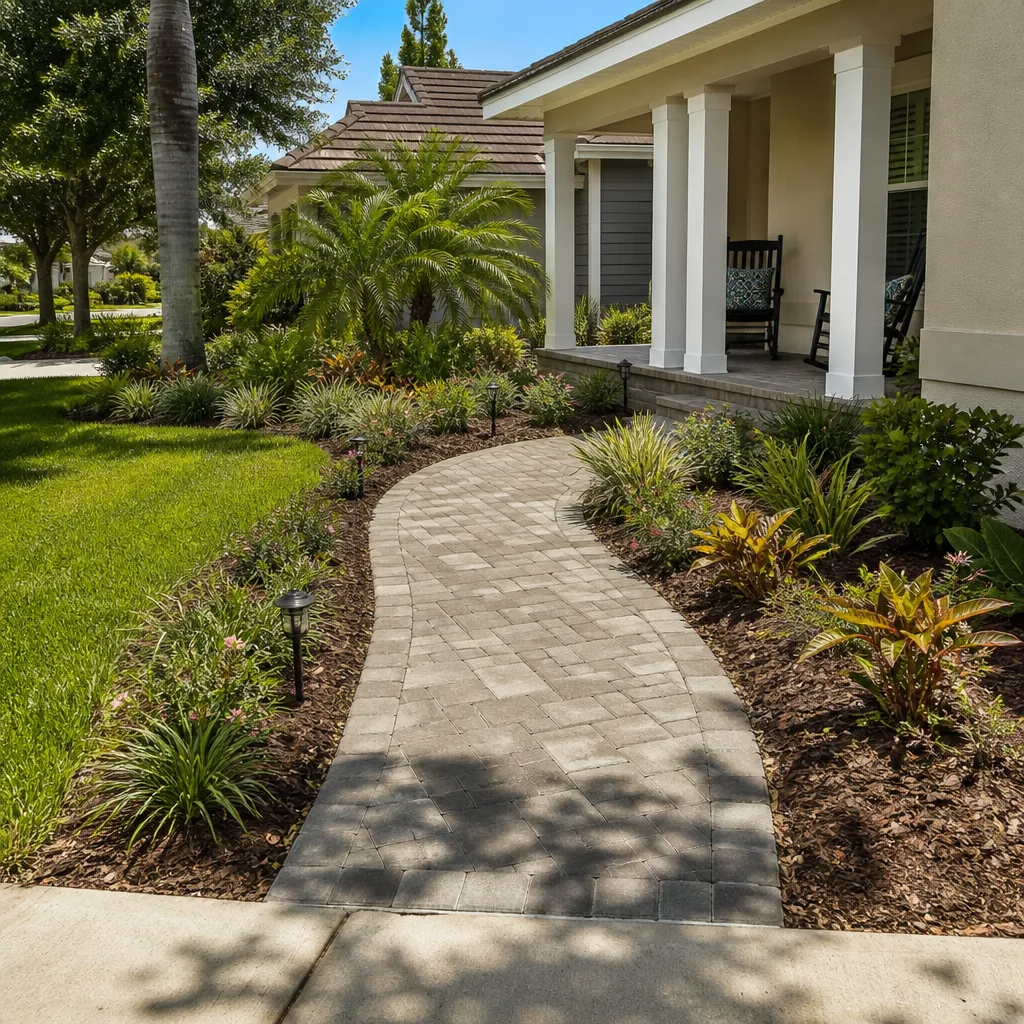
Pattern choice affects more than looks. Some patterns interlock better and carry load more evenly, and those tend to perform better on driveways carrying vehicles. Herringbone is the classic choice for driveways because the pavers lock into each other and resist sideways movement under a vehicle’s tire. Running bond is easier to lay and can hold up well on lighter-traffic areas. Basket weave is often used for a visual accent rather than the whole driveway.
Material choice matters just as much in Westchester’s climate. Concrete pavers with a good density and a manufactured edge are the workhorse. Clay pavers hold color longer under the Florida sun and resist fading. Permeable pavers can be a fit for properties with drainage challenges, but they need a different base and joint profile from standard pavers; the base work has to accommodate the water, not fight it.
Paver color also shifts in our sun. A light gray concrete paver in direct Westchester sun looks noticeably lighter than a concrete paver under the shade of a tree. If the surface is going to be visible from the street or a front window, coordinate the color with the house rather than picking from a photo. Our technicians have up to 12 years of experience across paving, hardscape, and drainage work, and part of the estimate is helping you choose the paver that suits both your home and your lot’s drainage. If the driveway connects to a larger addition or outdoor structure, the same base-first approach carries into Home Additions & ADU in Westchester work.
The Maintenance Schedule That Protects Your Investment
The best driveway is one that gets maintained. Whether you install it yourself or hire the work, a yearly routine protects the investment and catches small problems before they become structural ones.
- Spring: Inspect the surface after the dry months. Look for loose pavers, widened joints, and any hollow sound underfoot. Hollow sounds mean a void under the paver, which is a base issue.
- Before the wet season: Refill any joints that have lost sand. Flush them with sand and a broom, then compact with a hand tamper.
- During the rainy months: Watch the edges after heavy rain. If water pools near the driveway’s low corner, that’s a drainage question; catch it early.
- Fall: Clean off organic debris. Seal every few years once the surface is clean and fully dry.
- Year-round: Kill weeds at the joint rather than pulling them, since pulling widens the joint. Keep oil drips cleaned up so they don’t stain the pavers.
A sealing schedule of every three to five years keeps Westchester pavers looking fresh and slows joint sand loss. The biggest gains come from the cheap, boring work: sand, weed control, and eyes on the edges after rain.
Common Mistakes to Avoid
- Skipping compaction lifts on the base. Laying all your aggregate at once and compacting after looks fine until the driveway settles. The base has to go down in lifts and each one has to be compacted to hard density.
- Assuming a rented plate compactor is enough for a vehicle driveway. It’s often sized for patios. Underpowered compaction on a driveway base is the single most common reason DIY pavers fail here.
- Ignoring drainage and grading. Westchester lots often sit flat. A driveway without properly planned drainage will pond water and soften the base. Plan the fall of the surface before you lay anything.
- Buying pavers without checking the base budget. Homeowners often budget pavers and sand, then discover base aggregate, drainage, and compaction equipment cost as much as the pavers. The base is the job.
- Doing the work without permits or a licensed contractor. It can affect your homeowner’s insurance and a future sale. If you hire, hire a licensed, insured contractor with a written guarantee.
- Sealing new pavers too early. Sealing before the pavers have cured traps moisture and clouds the finish. Wait until the surface is fully ready.
- Pulling weeds instead of killing them. Pulling widens the joint and loosens the sand. Use a joint-safe weed killer and refill the joint.
See the difference
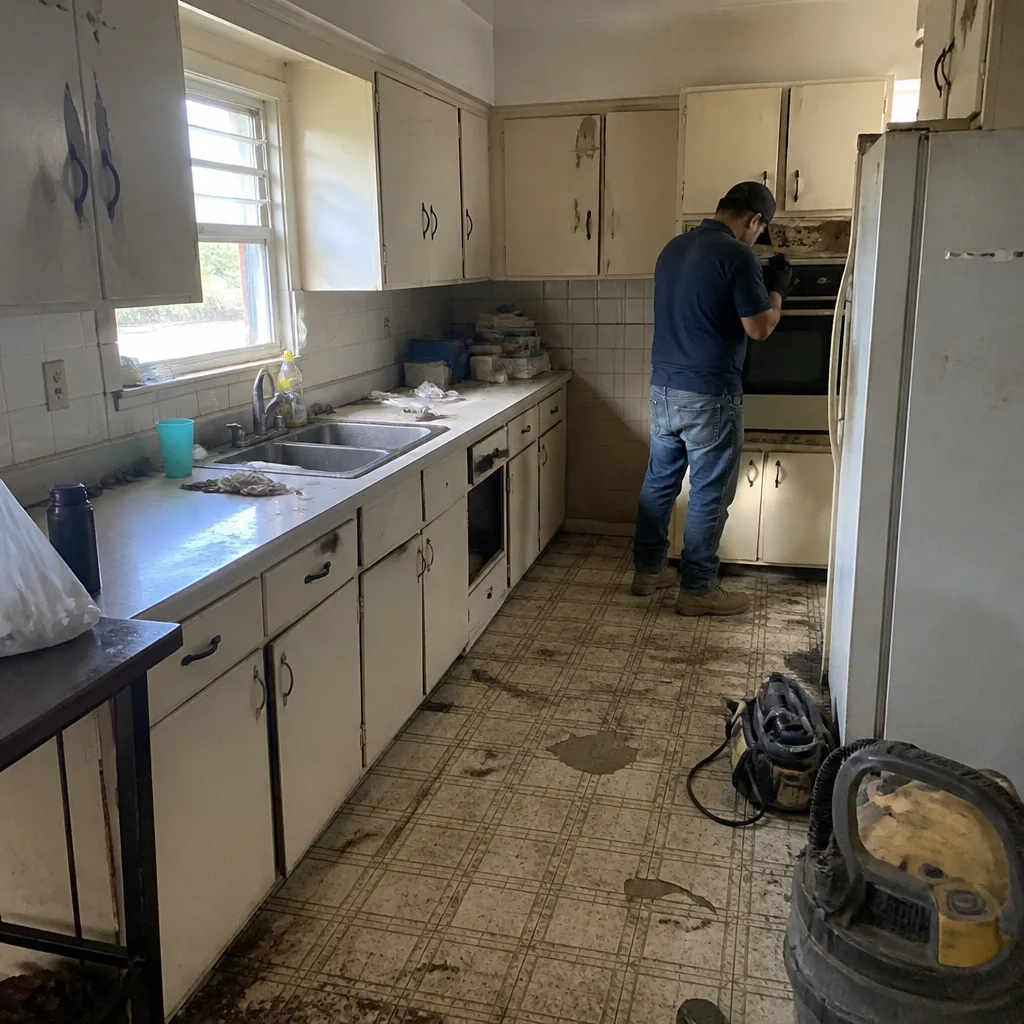 Before
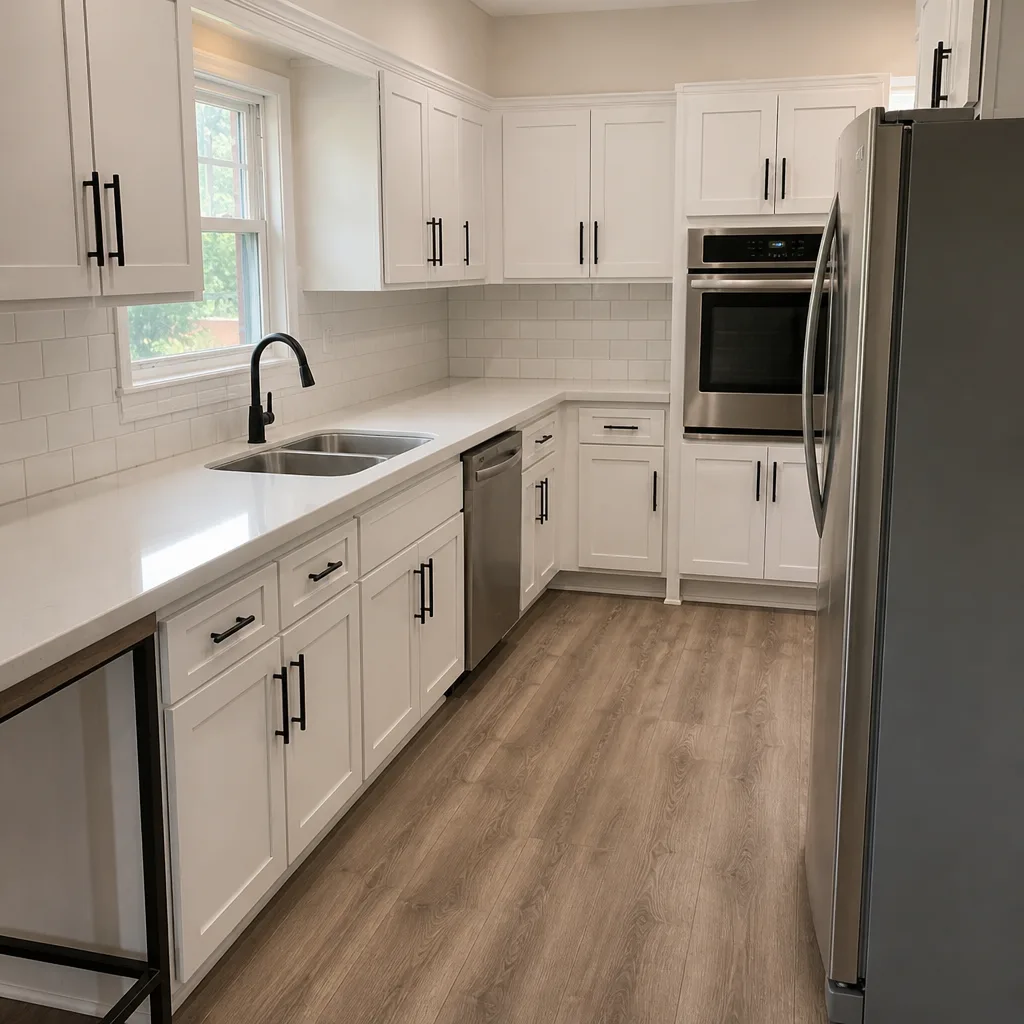 After
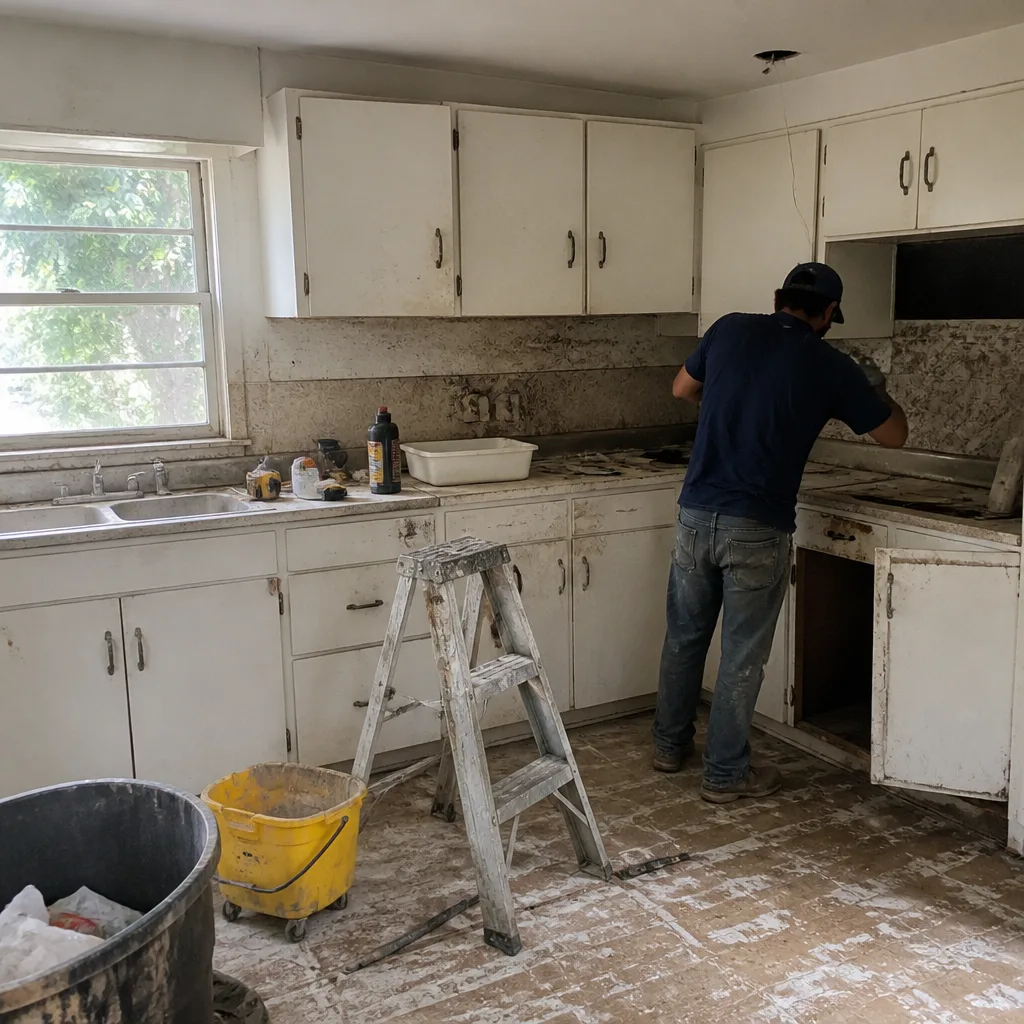 Before
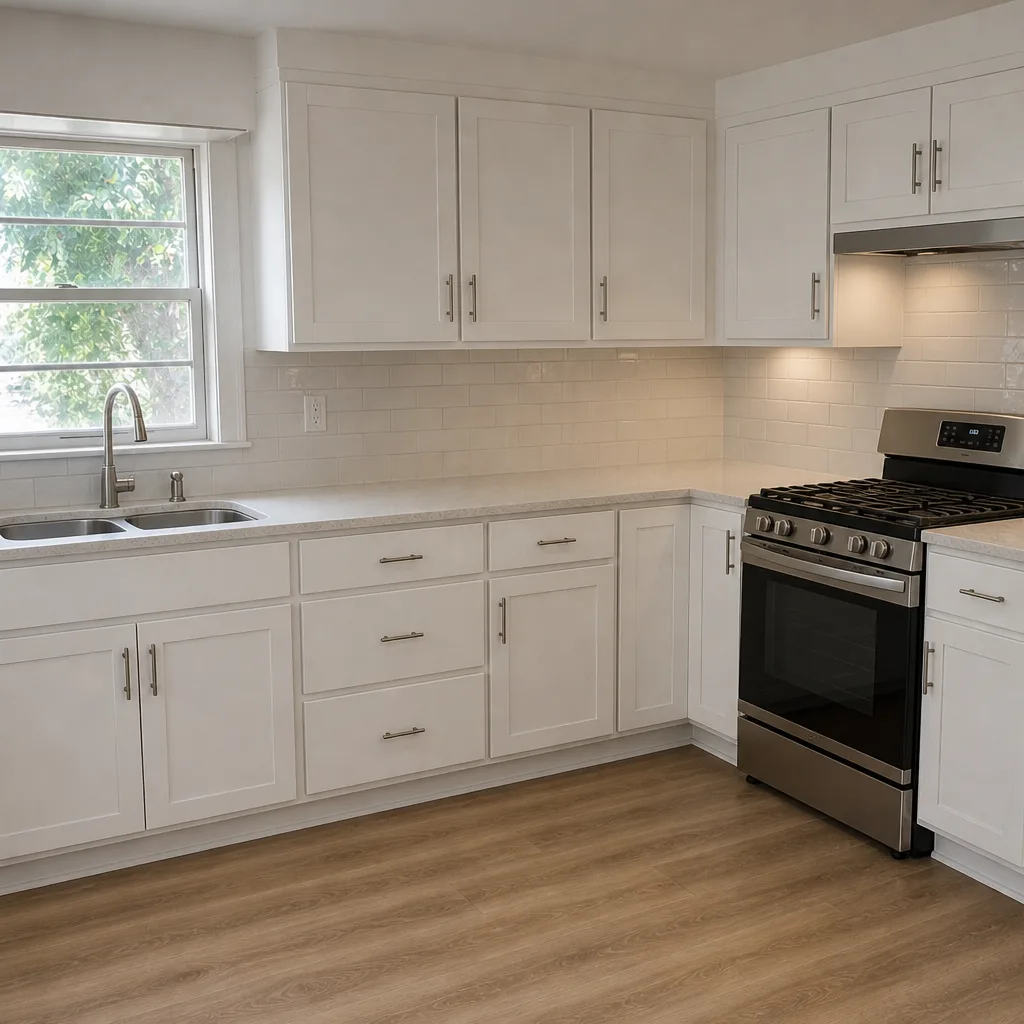 After
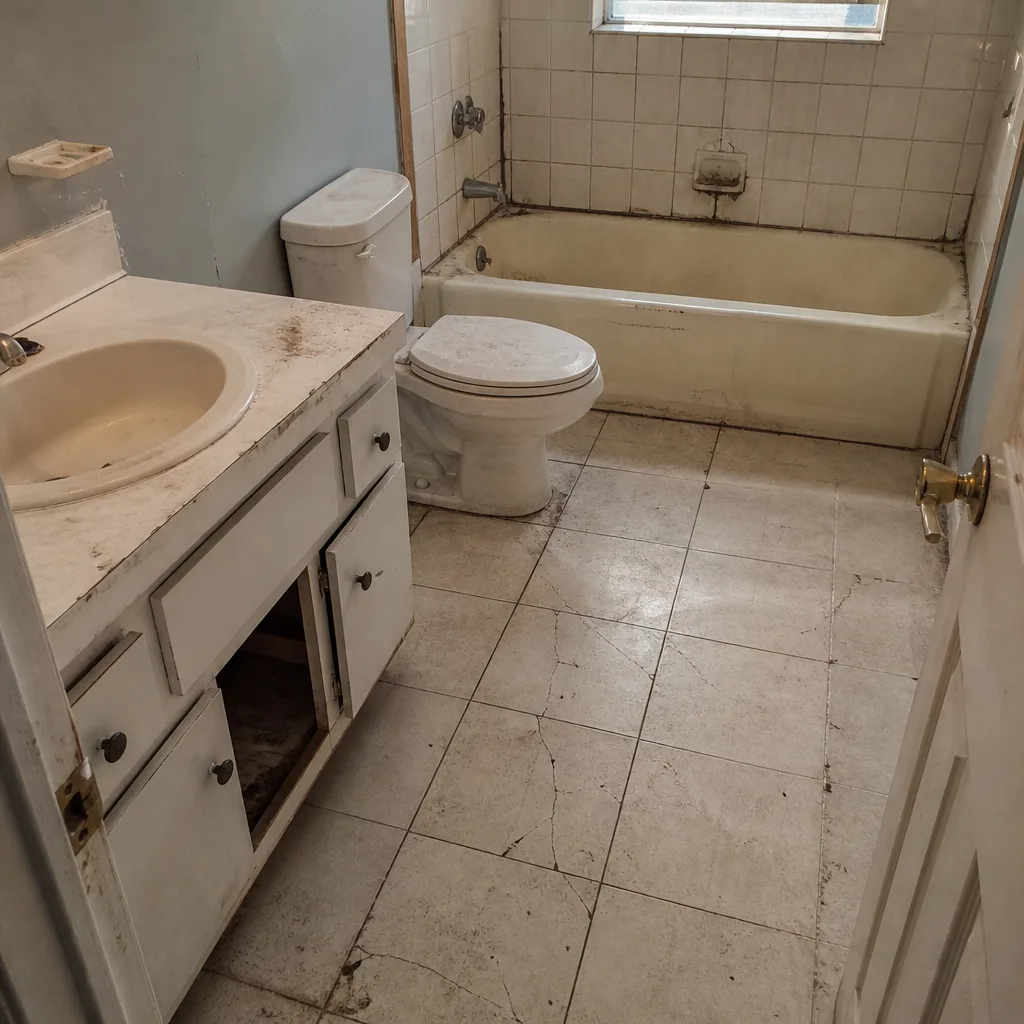 Before
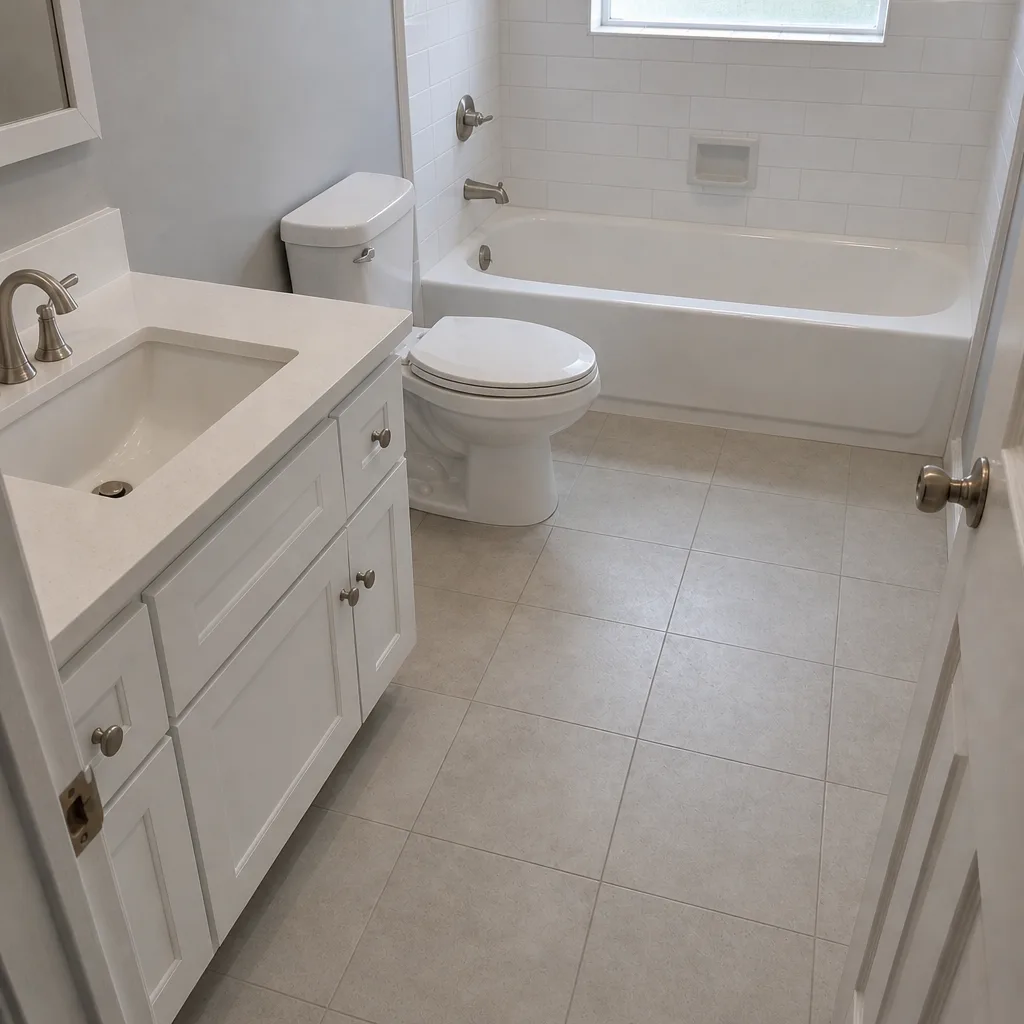 After
When to Call a Professional
Call a contractor when the job involves base work, vehicle load, drainage, or permits. That covers most driveways. If your project involves raising or replacing the subgrade, breaking out an old slab, correcting drainage, or getting inspection sign-off, the professional phase of the job has started, and it’s the phase that most affects the final result. We’ve also seen projects start as DIY and turn into a call once the base was opened up and the homeowner found 40 years of soil under the driveway that needed different handling. That’s not a failure. It’s just the moment the job becomes structural.
Groundwork Construction Co. of Westchester offers free estimates in Westchester and upfront pricing with no surprises. Replacing a driveway is a significant investment; getting the base right the first time protects it. Even for smaller projects, a quick conversation can confirm whether your job crosses the line into base work, or stays in the safe DIY zone. Call (833) 630-4214 to schedule a free estimate, and we’ll tell you plainly what you can handle yourself and what we’d handle for you.
Frequently Asked Questions
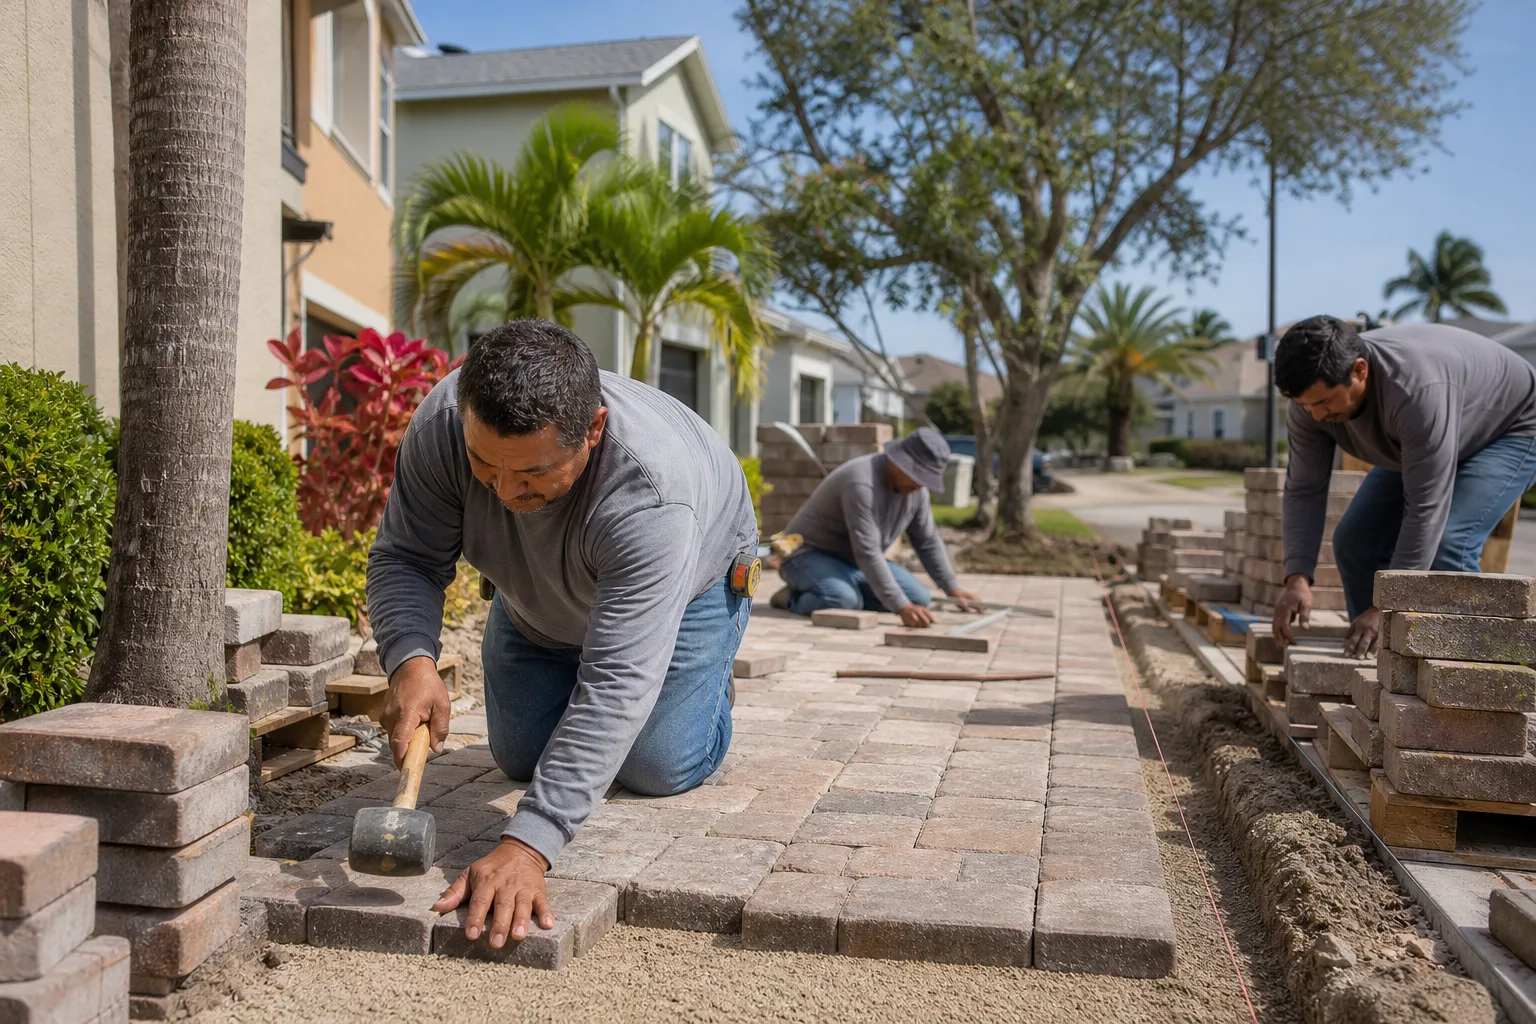
You can lay pavers yourself, but the base work underneath them is where DIY driveways most often fail. A skilled homeowner can plan the pattern, lay pavers, refill joint sand, and handle small repairs well. What’s genuinely difficult alone is excavating to the right depth, prepping the subgrade, and reaching proper compaction on a structural-grade base with rented equipment. In Westchester, our annual wet-dry cycle makes undercompacted bases settle faster than in drier climates, so the base work is the part we recommend a licensed contractor handle.
Paver driveways in Westchester typically land in a range that includes excavation, base, pavers, joint sand, drainage, permits, and a workmanship guarantee, and the specific number depends on size, access, drainage, and paver choice. Upfront pricing means the number you see on the estimate is the number you pay, with no change-order surprises. Call (833) 630-4214 for a free estimate, and we’ll give you a written line-item quote.
A rented plate compactor is often undersized for structural base on a driveway carrying vehicles. Rental yards typically hand out machines sized for patios and walkways, which is fine for light loads but underpowered for three-inch lifts of dense crushed aggregate. We run heavier equipment and check compaction properly, which is why the base holds up under vehicle load in Westchester’s wet season.
Permit requirements vary by municipality, and driveway work often falls under local permitting and inspection rules. We pull permits and pass inspections as part of the job, because that paperwork protects you at resale and matters to your homeowner’s insurance if a claim comes up. If you’re planning a DIY install, check your local permit requirements before you start.
A paver driveway on a properly compacted base, with joint sand refilled yearly and a reseal every few years, can last decades in Westchester’s climate. The pavers themselves typically outlast the base if the base was installed correctly. On a DIY base that didn’t get proper compaction, failures often show up within five years, mostly as settling and joint sand loss.
Yes. Every project we complete is covered by the 730-Day Done Right Promise. If it’s not done right, we make it right. Our technicians are background-checked and arrive in uniform, calls are answered by a live person 24/7, and upfront pricing with 0% financing for 18 months and $1,000 off projects over $10,000 make larger hardscape projects more accessible. Call (833) 630-4214 for a free estimate.
The Bottom Line
DIY paver work makes sense in a narrow band: pattern planning, joint sand refill, sealing, minor repairs, and upkeep. Where DIY breaks down is the base work. Excavation to the right depth, subgrade prep, and proper lift-by-lift compaction on a structural base can’t be done correctly with a rented plate compactor meant for a patio, and the cost of getting it wrong shows up within a few wet seasons. In Westchester, our annual soil swing and flat lots make drainage and compaction more important than the paver color. The honest math: pay for the base work, and the rest of the project can be a reasonable investment. Skip the base work, and you’ll likely pay for it again.
If your project is heading toward base work, or you’re not sure where the line is, start with a conversation. Our Groundwork Construction Co. of Westchester home page explains the full scope of what we build. Call (833) 630-4214 to schedule your free estimate, and we’ll tell you plainly what’s safe to do yourself and what we’d handle to protect the investment.
Written by the team at Groundwork Construction Co. of Westchester.