Last updated November 18, 2026



Free written scope consultation - allowances, timeline, and change-order rules on paper before a single trade is scheduled
Driveway & Pavers Maintenance Checklist for Westchester Homeowners
A paver driveway that looked flawless the day the crew left can show joint erosion, white mineral haze, and hairline shifting within two rainy seasons in Westchester. Here’s what surprises most homeowners: none of those failures come from bad pavers. They come from skipped maintenance steps that a Northeast or Midwest driveway guide will never warn you about. South Florida runs on a different clock. The June-to-October rainy season, the heat that expands and contracts every slab, the high water table and porous limestone ground underneath all of it – they work together on your driveway twelve months a year. What you’ll learn here is the actual maintenance sequence Westchester pavers need: when to re-sand, when to seal, how to read the early warning signs, and how to tell efflorescence from mold so you treat the right problem the first time.
Quick Answer
In Westchester, paver driveways should be re-sanded once a year before the June rainy season and sealed every 18 to 24 months with a breathable penetrating sealer. Inspect joints for washout and efflorescence every three months during the wet season, and correct any low spots where water ponds within days, not weeks. The work is simple, but the timing has to match South Florida’s weather – not the calendar a manufacturer printed for cooler climates.
Styles & brands we work with
- Kitchen remodeling
- Bathroom remodeling
- Home additions & ADU
- Roofing
- Windows & doors
- Driveway & pavers
- Fence
Table of Contents
- Why Westchester Pavers Fail Faster Than the Label Says
- The Re-Sanding and Sealing Schedule That Matches Our Rainy Season
- How to Catch Joint Washout Before It Shifts Your Pavers
- Efflorescence vs. Mold: Telling Them Apart Before You Treat
- Heat Expansion Gaps and Spacing Tolerances in South Florida
- The Annual Maintenance Checklist, Month by Month
- Biannual and Deep-Cycle Tasks That Go Beyond the Basics
- Common Mistakes to Avoid
- When to Call a Professional
- Frequently Asked Questions
Why Westchester Pavers Fail Faster Than the Label Says
Most paver maintenance guidance is written for a climate with four seasons, freeze-thaw cycles, and a modest amount of rain. Westchester is the opposite. Our rainy season dumps the majority of the year’s water in five months, the daily high climbs well into the 90s for much of that stretch, and the ground underneath is porous limestone and sandy fill that moves water in ways clay and gravel don’t.
The result: a driveway that would last twenty years in Ohio can need serious attention in under five here. That’s not a materials problem. Belgard and other quality pavers hold up fine in South Florida when they’re maintained. The failure points are in the joints and the base – specifically, what happens when water gets into the sand between the pavers and doesn’t drain as fast as it soaks in.
Here’s what actually wears down first:
- Joint sand. Polymeric and regular joint sand both degrade under constant wet-dry cycling. The sand washes out, pavers loosen, and once a paver rocks you’re on a path to shifting.
- Sealer film. Cheap film-forming sealers trap moisture beneath them in a humid climate. When they fail, they fail badly – peeling, clouding, and holding water against the pavers.
- The base and edge restraints. Water that ponds at the driveway edge finds its way under the pavers. Repeated saturation weakens the base compaction.
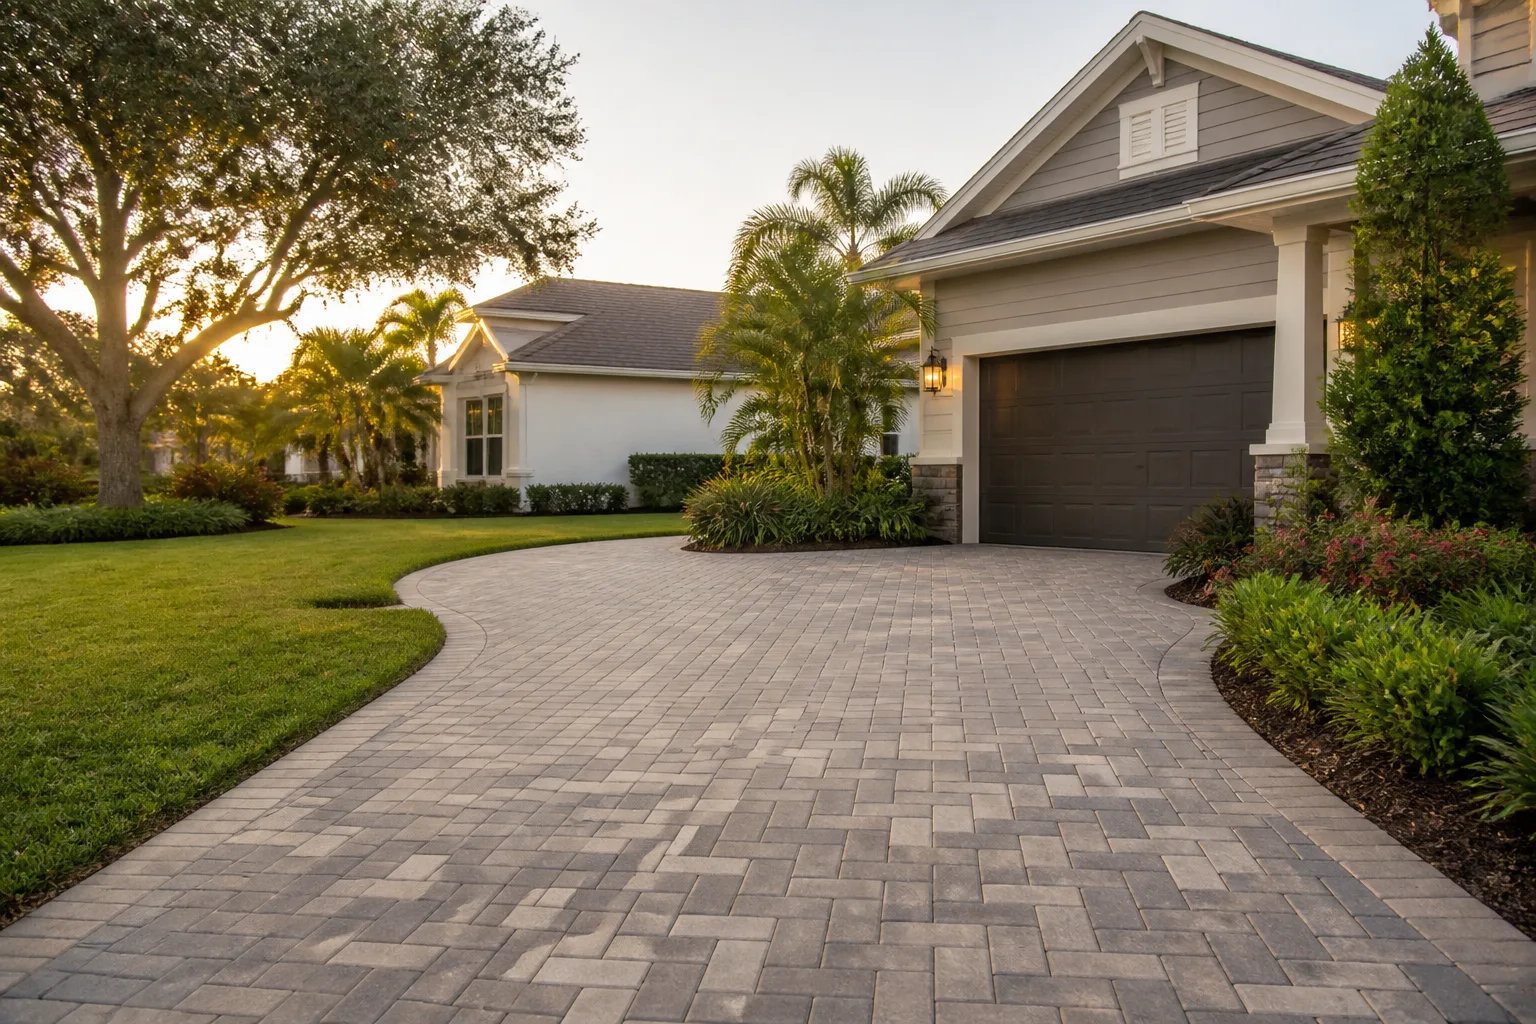
In our experience across Westchester neighborhoods – from the older driveways near the downtown blocks to newer construction out toward State Road 7 – the homeowners whose pavers still look sharp at five years are the ones who re-sand on time and don’t skip the pre-season inspection. The ones who call us for repairs are almost always dealing with a joint problem they didn’t see until it became a base problem. If your driveway is past the point of maintenance and needs a rebuild or replacement, our team handles full-scope Driveway & Pavers in Westchester work and can walk your property before anything gets ripped out.
The Re-Sanding and Sealing Schedule That Matches Our Rainy Season
The single most important timing rule for Westchester pavers: do your joint sand refill and any sealing in late April or May, before the June rainy season starts. Sealer applied in the middle of July won’t cure properly, because the pavers have to be bone-dry for 24 to 48 hours before and after application. With daily afternoon storms, that window doesn’t exist reliably from June through October.
Here’s the schedule we recommend for a typical Westchester paver driveway:
- Late April to mid-May: re-sand the joints. Sweep new joint sand into any low or washed-out areas, compact it, and top off. This is your last clean shot before the rains.
- Mid-May, once joints are full and pavers are dry: apply sealer if it’s due. Every 18 to 24 months is realistic for a Westchester driveway that sees full sun and regular storm runoff.
- October, after the rainy season tapers off: inspect and touch up. This is when you see what the season did. Refill any joints that washed out, spot-check edge restraints.
- December through March: the clean, dry maintenance window. This is when sealing actually cures right. If you missed the spring window, do it now rather than in summer.
Why not just seal whenever the sealer is on sale and the weather looks okay for a week? Because a penetrating sealer – the type that soaks into the paver and repels water without forming a plastic film – needs dry pavers to bond correctly. Water trapped under a failed sealer turns a cosmetic job into a correction job. On a typical 20 by 40 foot Westchester driveway, professional re-sanding and sealing runs somewhere in the range of $1,200 to $2,200 depending on condition, paver size, and how much joint correction is needed. A seal failure from bad timing costs more to strip and redo than the original job.
And if your driveway is a candidate for replacement rather than maintenance, the same climate logic applies to whether pavers are even the right choice for your lot. We talk through that with Westchester homeowners during free estimates so nobody spends money sealing a driveway that’s already past saving.
How to Catch Joint Washout Before It Shifts Your Pavers
Joint washout is the failure that hides in plain sight. Sand washes out of the gaps between pavers gradually, and because the sand is only a quarter-inch wide, most homeowners don’t notice until a paver rocks when they step on it – and by then the base underneath has already started to loosen. The repair cost multiplies fast once that happens.
Here are the visual cues to check for every few weeks during the wet season. Walk your Westchester driveway with a hose running or right after a heavy rain:
- Visible sand piles at the driveway edge. If you see fine sand collecting at the street or the low end of your driveway after rain, that sand came out of your joints. It’s the clearest early signal.
- Joint gaps that look deeper or wider in one section. Compare the joints near the garage to the ones near the street. Uneven sand depth means uneven water flow.
- Slight rocking underfoot. Step across the driveway in a grid pattern. Any paver that moves even a fraction is a joint washout that’s progressed.
- Water lines or staining on the paver edges. Standing water that drains slowly through a joint leaves a sediment line. Those are the joints most at risk.
- Weed growth in the joints. If sand is gone, organic matter fills the void. Weeds mean the joint has lost its filled seal.
The proactive move: check joints every three or four weeks from June through October. Keep a small bag of matching polymeric sand on hand for spot fills – it’s a cheap fix when the void is a half-inch deep and a very expensive one when it’s a shifted paver. In our experience in Westchester, the driveways on the low side of the street, where storm flow runs across them, need the most frequent joint checks. Those are the ones that give first.
If you’re also thinking about the overall property – a new fence to match the driveway finish, a gate that changes how water drains off your lot – the same storm-flow logic applies. Fence and drainage work can shift how your driveway handles water, so plan the layout before installation. Our Fence Installation in Westchester team coordinates with pavers and grading to keep the water moving away from your hardscape instead of across it.
Efflorescence vs. Mold: Telling Them Apart Before You Treat
Both look like white or gray-white haze on paver surfaces. Only one of them should be treated with acid – the other should never be. Get this wrong and you can permanently etch the surface of your pavers. Here’s the difference.
Efflorescence is a mineral deposit. Water carries dissolved salts from the base material up through the paver, and when the water evaporates, the salts deposit on the surface. It usually shows up as a powdery white or grayish-white bloom, most often on the shady side of the driveway or after a wet stretch, and it can appear and disappear on its own as the weather changes. Wipe a bit with your finger and it’s chalky and comes off dry. That’s efflorescence.
Mold and mildew are living growth. They appear dark gray, green, or black, often in patchy patterns, and they don’t wash away with plain water. They grow in the joints and in the shaded, damp areas – the north side of a house, under a tree line, where the morning sun doesn’t reach. Wipe it with a damp cloth and it smears; it doesn’t dissolve into dry powder.
Treatment direction:
- Efflorescence: treat with a diluted efflorescence remover or a mild acidic cleaner made for pavers. Wait for a dry spell. Sometimes the right move is patience – some efflorescence runs its course in a few weeks as the salts wash away. Don’t overdo the cleaner.
- Mold and mildew: treat with an oxygen bleach or a bleach-based outdoor cleaner. Scrub the joints. Let it dry completely before you reseal.
Why does Westchester see so much efflorescence? The sandy limestone base and high water table mean there’s plenty of mineral content under the pavers and plenty of moisture pulling it up. If your driveway faces the shaded side of your home, expect efflorescence to return every few years. That’s normal and manageable – not a reason to replace good pavers. It’s also why a breathable sealer, not a film sealer, matters here. Breathable sealers let vapor escape so efflorescence can’t build up under the film.
Heat Expansion Gaps and Spacing Tolerances in South Florida
Paver installation specs are typically written for a temperature range that goes from freezing to moderate heat. Westchester’s range is narrower but shifts faster: cool enough in December and January to contract, brutally hot by May, and back again. Those swings move the pavers more than the manufacturer’s spacing tolerance assumes.
For Westchester specifically, the joints need slightly more width tolerance around perimeter edges and near fixed objects – the garage slab, the curb, any concrete apron – than a spec sheet designed for Ohio will tell you. If a driveway was installed tight to a fixed edge with no room to move, that edge is where you’ll see popping or spalling after a couple of hot summers. It’s also where the pavers lift when the whole field expands.
What to check for:
- Paver-to-garage transitions. Look for the pavers closest to the garage slab lifting or tipping. That’s an expansion bind.
- Driveway-to-curb edges. If the edge pavers are pushing against the curb, the field is expanding with nowhere to go.
- Joint width changes. If joints near the edges look tighter than the joints in the middle, the tolerance is too tight at the perimeter.
The fix for a bound edge is to pull a row and re-set with the correct expansion joint material – not to force a paver back in with a mallet. If you’re remodeling or planning an addition, expansion tolerance needs to be designed in from the start, not corrected afterward. That’s part of what we look at during the design phase on Home Additions & ADU in Westchester projects, where new structures often share edges with existing hardscape and grade. Getting the transitions right the first time is much cheaper than cutting into finished pavers later.
The Annual Maintenance Checklist, Month by Month
Here’s the sequence we recommend for a Westchester paver driveway. Note that the wet-season months are mainly inspection and spot repair. The heavy work happens in the dry window on either side.
- March. Full walk-through inspection. Check every joint, every edge, and every transition. Note any efflorescence and any low-spot ponding. Identify repairs to schedule.
- April. Order joint sand and sealer. Schedule correction work so it’s finished before the rainy season. Re-sand any washed-out joints and compact.
- May. Apply sealer once the pavers are dry. Confirm the sealer is breathable. Wait the full cure window before vehicle traffic.
- June through September. Weekly inspection of joints and edge restraints. Spot-fill any joint that has washed out. Check for ponding after each major rain event. Catch weeds early.
- October. Post-season inspection. Re-sand any joints that lost material during the wet season. Recheck edge pavers.
- November. Clean the surface with an appropriate paver cleaner. Address any mold or mildew while conditions allow. Touch up any efflorescence.
- December through February. The dry window. Do any deep work: strip and reseal if the previous coating failed, correct any edge bind, re-set any rocking pavers.
The point of tying the checklist to months is to stop guessing. “Check for damage” is not a checklist item – “check the edge joints near the street for sand loss after any storm with more than an inch of rain” is a task you can actually schedule. If you’re working with a contractor on maintenance, this is the kind of sequence they should be able to write out for you.
Biannual and Deep-Cycle Tasks That Go Beyond the Basics
Annual maintenance keeps a driveway healthy. Two-year cycle tasks keep it going long term. Here’s the difference between what you do every year and what you do every couple of years.
Annual: re-sand joints (April), surface inspect, spot-fill washouts, clean surface (November), check edge restraints and expansion gaps. That’s the baseline.
Biannual (every two years or so):
- Strip and reseal. Even a breathable sealer has a lifespan. When water stops beading on the surface, the sealer is finished. Don’t stack new sealer on top.
- Deep-clean with pressure washing. Use the right nozzle and pressure, and be careful – a too-aggressive pressure wash lifts joint sand and etches the surface. This is the one place a pro can save you thousands by not doing a job wrong.
- Edge restraint inspection. Look at the concrete or plastic edge restraint at the perimeter. If it’s cracked or heaved, the pavers behind it will spread. This is a structural fix, not a cosmetic one.
- Base saturation test. After a heavy rain, watch how fast a specific low spot drains. If it takes longer than it did two years ago, the base is compacting or draining slower. A pro can tell you whether the fix is re-leveling, base correction, or new drainage.
One thing not to skip: the driveway is part of a broader stormwater picture on your lot. Gutters that discharge near the driveway edge, an old fence footing blocking drainage, or a grading change from a recent addition all affect how your pavers perform. If you’re looking at pavers, a fence, or an addition on the same property, it’s worth thinking about them as one system. Groundwork Construction Co. of Westchester handles the full scope, from foundation to finish line, and you can see the full service lineup on our Groundwork Construction Co. of Westchester home page.
Common Mistakes to Avoid
- Sealing during the rainy season. In Westchester, this is the single most expensive mistake. A sealer applied to damp pavers will peel or cloud, and you’ll pay to strip it. Wait for the dry window.
- Treating efflorescence and mold the same way. These are opposite problems. Acid cleaners are for efflorescence; they’ll etch your pavers and make mold worse. Bleach is for mold; it won’t dissolve mineral deposits. Get the diagnosis right before you treat.
- Using a film-forming sealer in a humid climate. Film-formers designed for dry climates trap moisture under the film, and in Westchester’s humidity that moisture has nowhere to go. Breathable penetrating sealer is the right spec here.
- Refilling joints with sand without checking the cause. If a joint washed out once, you’re refilling a hole water is actively moving through. Find out where the water is coming from before you re-sand – the low spot or the edge restraint is usually the real problem.
- Power-washing at full pressure. The pressure needed to clean a Westchester driveway is much lower than the pressure that lifts joint sand. Every year we see driveways where a homeowner’s pressure washer removed years of sand in a single afternoon.
- Ignoring expansion gaps at edges. If a paver pops loose at the garage edge, it’s usually an expansion bind, not just a loose paver. Hammering it back in without addressing the edge is a temporary fix that fails in the next heat cycle.
- Skipping the three-month post-season inspection. The wet season does its damage slowly, and the October inspection is when you catch small joint loss before it becomes a base repair.
When to Call a Professional
Some failures look like maintenance problems and turn out to be base or drainage problems, and those are the ones worth a professional look before you spend money on sealant. Call a pro if any of the following is true: several pavers in one area are rocking or have sunk noticeably; a paver has cracked across the middle (not just chipped at a corner); water is ponding and not draining within a few hours after rain; you see edge restraint cracking, heaving, or paver spread at the perimeter; your expansion gap to the garage or curb has closed completely; or your driveway has failed sealer that needs stripping before it can be resealed. Professionals have the equipment and the training to diagnose whether you’re looking at a joint problem or a base problem, and the two fixes are completely different.
Groundwork Construction Co. of Westchester offers free estimates on driveway inspection and repair work in Westchester – call (833) 630-4214 to schedule. Every job comes with background-checked, uniformed technicians and our 730-Day Done Right Promise. If it’s not done right, we make it right.
Frequently Asked Questions
Once a year, in late April or early May, right before the rainy season. Spot-fill individual joints during the wet season whenever you see sand loss, and do a full re-sand every two to three years even if the surface looks okay. Sand degrades; you can’t always see the loss until it’s caused a problem.
Before, in May, or after the rains in December through February. Never seal in June through October. Sealer needs pavers that are bone-dry for 24 to 48 hours before and after application, and that window doesn’t exist in a South Florida summer.
Wipe a small sample with a dry finger. Chalky, dry, and powdery is efflorescence – a mineral deposit. Damp, smeary, or dark green-gray is mold or mildew. Efflorescence is treated with a mild acidic paver cleaner; mold is treated with an oxygen- or bleach-based cleaner. Never acid-wash mold – it etches the paver and doesn’t fix the growth. Call (833) 630-4214 if you’re not sure which one you have; a free estimate will tell you.
Usually an expansion bind. The pavers are pressed tight against the garage slab with no room to move, and when the field expands in the summer heat, the edge pavers lift and tip. The fix is to re-set the edge pavers with proper expansion joint material. If the gap is fully closed in Westchester, that’s a professional correction, not a do-it-yourself fix.
For a typical 20 by 40 foot driveway, professional re-sanding runs $400 to $800, sealing runs $700 to $1,400, and a combined re-sand and seal services around $1,200 to $2,200 depending on condition and paver size. Full re-leveling or base repair runs significantly more. Call (833) 630-4214 for an exact quote – estimates are free. Groundwork Construction Co. of Westchester offers upfront pricing with no surprises.
Yes, in many cases. Mild efflorescence clears on its own with a few weeks of dry weather, or with a gentle acid cleaner once conditions are dry. If it keeps returning, it’s a sign your sealer is failing (too permeable) or the base has excess moisture. The diagnosis matters more than the cleaning product – call (833) 630-4214 to have it checked. Groundwork Construction Co. of Westchester delivers upfront pricing and the 730-Day Done Right Promise on every job.
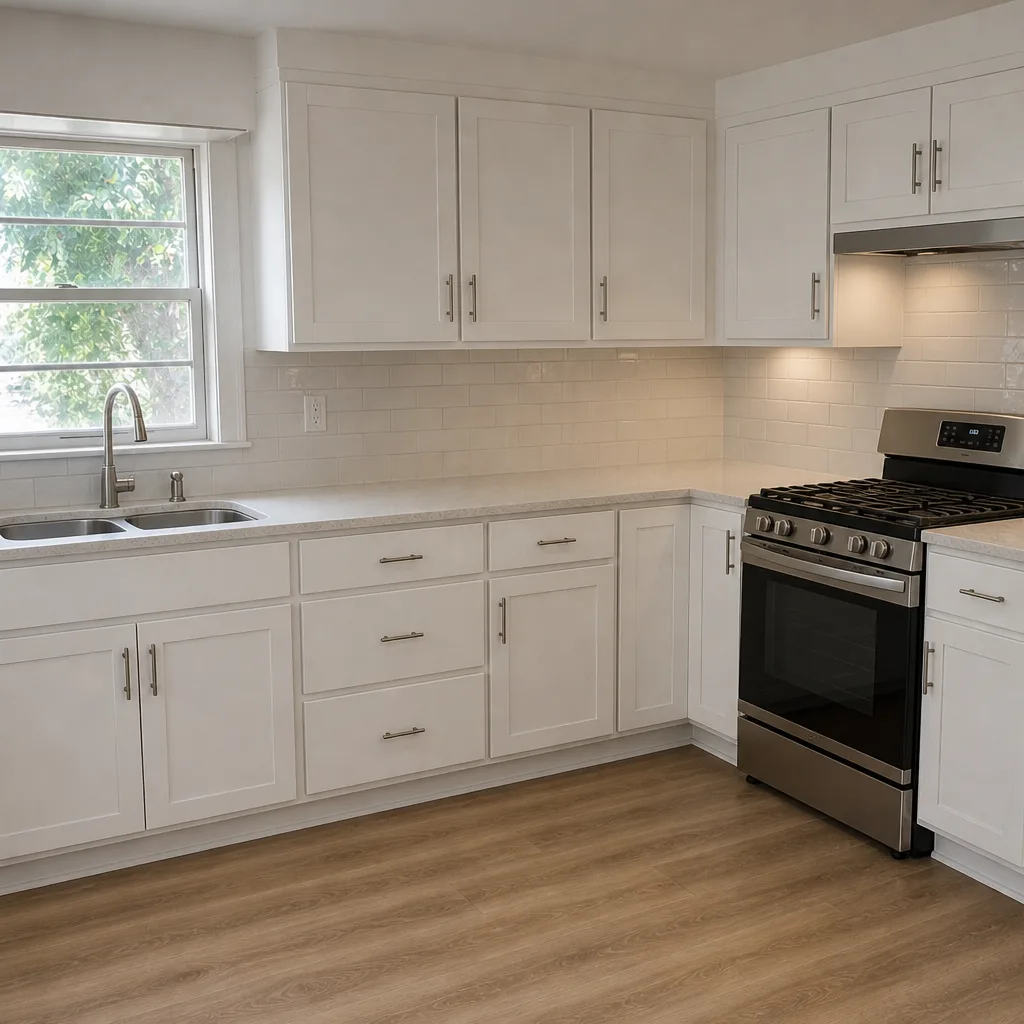
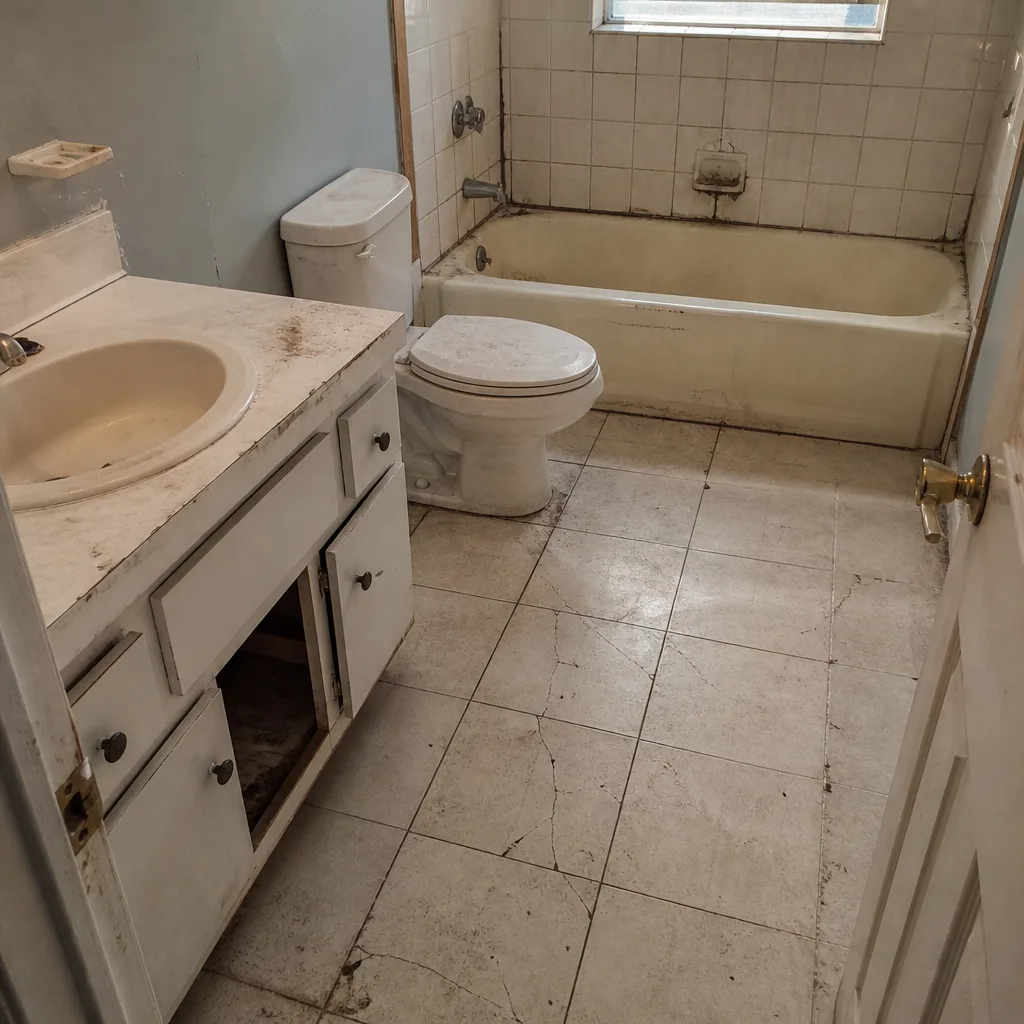
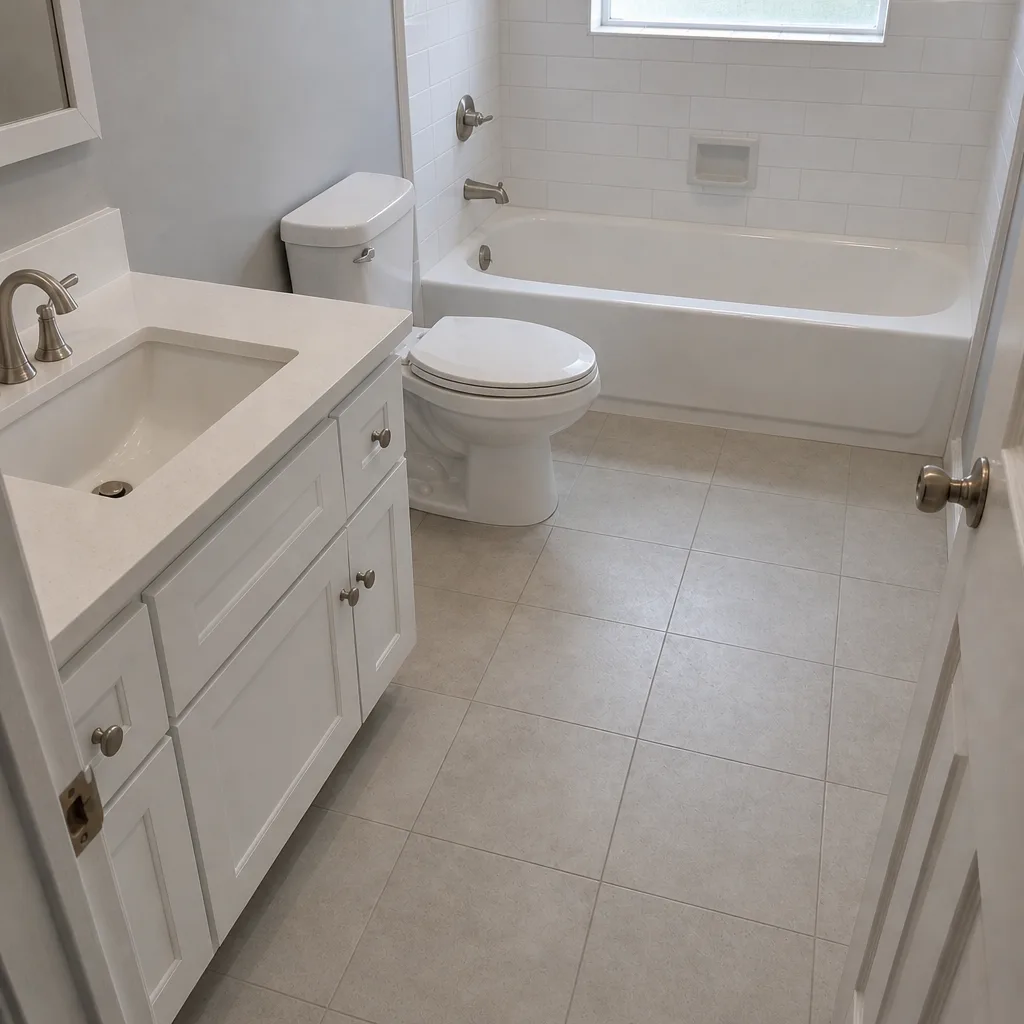
See the difference
 Before
 After
 Before
 After
 Before
 After
The Bottom Line
Paver failure in Westchester is almost always a timing problem, not a materials problem. Re-sand in April, seal in May or in the dry winter window, and inspect the joints every few weeks during the rainy season. Get the efflorescence-versus-mold diagnosis right before you treat. Watch for expansion binds at the garage and curb edges. Do the annual checklist, add the biannual deep-clean and edge inspection, and your driveway keeps its looks for decades instead of showing its wear in two seasons. If it’s already past maintenance, that’s the moment for a professional evaluation, not another round of sealer.
Contact Groundwork Construction Co. of Westchester
Call Groundwork Construction Co. of Westchester at (833) 630-4214 to schedule your free estimate. We walk your driveway, tell you exactly what’s failing and what it costs to fix, and quote it in writing before anything starts. Calls are answered live, 24/7. Every project includes background-checked, uniformed technicians, upfront pricing with no surprises, the 730-Day Done Right Promise, and access to 0% financing for 18 months plus $1,000 off projects over $10,000. Built to last, backed in writing.
Written by the team at Groundwork Construction Co. of Westchester.