Last updated November 18, 2026




Free written scope consultation - allowances, timeline, and change-order rules on paper before a single trade is scheduled
Fence Installation Troubleshooting: Common Problems and How to Fix Them
A gate that won’t latch after two years isn’t a hardware problem. It’s telling you the post it hangs on has moved, and in South Florida’s soil, that movement doesn’t stop on its own. That diagnosis gap is why so many homeowners in Westchester replace the same fence section twice in five years – the visible board gets swapped, the root cause stays buried. This guide walks through the failures we see most often, how to trace each one back to its source, and which repairs you can honestly handle yourself versus which ones need the post and footing reset. You’ll learn the difference between a soil problem and a hardware problem, how to test a footing without digging, and where a proper installation prevents the issue entirely.
Quick Answer
The most common fence installation failure is post movement caused by shallow footings and South Florida’s saturating rain-and-drain cycle – not hinge wear, not bad lumber. A leaning post, a sagging gate, or a cupping board is almost always a symptom of an installation decision (depth, concrete volume, drainage, fastener choice) made months or years earlier. Fixing the symptom without correcting the footing is how you spend the money twice.
Styles & brands we work with
- Kitchen remodeling
- Bathroom remodeling
- Home additions & ADU
- Roofing
- Windows & doors
- Driveway & pavers
- Fence
Table of Contents
- How to Diagnose a Leaning Fence Post
- Why Gates Sag and Drift (and How to Tell Which Cause)
- Why Fence Boards Warp and Cup in Florida Humidity
- How to Test a Failing Concrete Footing Without Excavating
- Which Repairs You Can Do Yourself vs. Need a Professional
- The Installation Decisions That Prevent Most Failures
- Westchester-Specific Fence Concerns
- When to Call a Professional
How to Diagnose a Leaning Fence Post
A post that has tilted out of plumb is the number one call we get in Westchester, and the cause matters more than the lean itself. There are three genuinely different reasons a post moves, and they require different fixes. Treating a soil-saturation problem like an installation-depth problem wastes concrete and time, and the post will lean again after the next wet season.
Here’s how to trace it back:
- Check the clock. Did the lean appear suddenly after a heavy rain, a storm, or a recent irrigation change? That points to soil saturation – water loosening the soil column around a footing that was never deep enough or never had the right graveness beneath it. If the lean has crept gradually over seasons, suspect an installation-depth failure.
- Test with a level and a two-by-four. Hold a level against the post on two perpendicular faces. Note the direction and degree of lean. If the post leans in the same direction as a nearby slope, driveway runoff, or downspout, drainage is the likely source.
- Feel the soil at the base. Push a screwdriver 6 inches into the soil about a foot from the post. If it sinks easily and feels spongy, that section is holding water – a drainage problem. If it’s rock-hard clay that crumbles dry, that’s a different soil issue and tells you the ground is expanding and contracting with moisture.
- Look at the post-to-rail connection. If the rails are tight and level but the post is out of plumb, the post itself moved. If the rails are also sagging or separated, the post may be splitting above the footing – a different failure.
- Frost heave is rare here but worth ruling out. In Westchester and most of South Florida, the freeze line sits essentially at grade. Genuine frost heave is uncommon, which is a useful diagnostic – if a contractor blames frost heave on a Florida fence, that’s a clue they’ve misdiagnosed.
The short version: sudden lean equals soil and water. Gradual lean equals depth. Rails separating equals a failing connection. Each has a different repair.
Why Gates Sag and Drift (and How to Tell Which Cause)
Gate sag is where homeowners most often misdiagnose and buy new hinges when they should be resetting a post or rebuilding the gate frame. Three independent problems produce the same symptom – the gate not latching, dragging at the bottom, or twisting out of square. They don’t share a fix.
Cause 1: Post Movement
The gate hangs on the hinge post, and that post takes more load than any other in the fence line. Every swing cycles the load; every rain softens the soil. If the hinge post has tipped or twisted, the gate swings out of alignment and the latch no longer meets the receiver cleanly. The tell: the gate is only off-latch at the far edge, and the hinge post is out of plumb while the far post isn’t.
Cause 2: Hinge Failure
Hinges wear, especially on gates wider than 4 feet. If the hinges show visible slop, the gate lifts slightly when you try to close it, and the post itself is plumb, hardware is the culprit. This is a genuine screwdriver-and-wrench job.
Cause 3: Improper Frame Construction
A sagging gate can also indicate the frame was built without an anti-sag brace (a diagonal member across the gate frame) or with a brace facing the wrong direction. Wide gates built with a single top and bottom rail and no diagonal will sag under their own weight regardless of how good the hinges are. This one is a rebuild, not an adjustment.
We’ve torn out gates in Westchester that had been re-hung three times with new hardware when the real issue was a hinge post set 18 inches deep in sandy soil with no concrete collar. The gate hardware was fine the entire time. The post was the problem. If you’re planning a replacement project and want to get the whole fence line right in one go, start with our Fence Installation in Westchester page for how a proper build is scoped.
Why Fence Boards Warp and Cup in Florida Humidity
Westchester sits in one of the most aggressive wood-movement climates in the country. The cycle is brutal: summer rain saturates the boards, then the sun dries them hard within hours. Wood that wasn’t properly dried, cut, and fastened before installation will cup (curve across the width) and bow (curve along the length). Once a board cups badly, it can be replaced – but the fence will cup again unless the moisture cycle is managed.
Here’s what separates fixable warping from replacement:
- Cupping up to about 3/16 of an inch across a 5.5-inch board is often tightened by swapping fasteners or re-fastening with two fasteners per rail instead of one. This is a maintenance repair.
- Cupping deeper than a quarter inch means the board has taken on a permanent new shape. Re-fastening won’t pull it flat. Replacing the board, and correcting the moisture issue, is the answer.
- Bowing away from the rails usually means the fasteners are pulling out. That’s a sign of a fastener choice problem – ring-shank nails for cedar, or stainless steel for treated lumber in salt-air zones, last much longer than plain nails.
- Boards cupping consistently in the same direction across a long span often means the boards were all cut from the same green-lumber batch and installed before they dried. Wet framing lumber shrinks toward the side it was oriented to during drying.
For homeowners who want the material decision right the first time, we typically steer toward options that resist this cycle: cedar with an oil finish, or vinyl and composite systems rated for Florida sun exposure. A proper install from a company trusted with material selection matters here, and brand choices like premium cedar or composite systems sourced through established supply partners give the fence a fighting chance. Re-wrap with a quality post cap and apply a penetrant every 12-18 months and you’ll get a decade out of a wood fence that would otherwise be trash in six years.
How to Test a Failing Concrete Footing Without Excavating
The footing is the concrete collar around a post’s buried end, and it’s the most common root cause of failure. It’s also the hardest thing to inspect because it’s underground. You don’t have to excavate to know whether it’s failing.
Here’s a five-test sequence that gets you a real answer in under an hour:
- Push test. Stand square to the post and push steady, not sharp, pressure at shoulder height in both directions. A sound post and footing will hold. A moving post with visible soil movement at the base tells you the footing has lost its grip.
- Water test. Pour a gallon of water slowly at the base of the post, 4 inches out. Watch for the water to pool rather than drain. A footing that has separated from the surrounding soil will hold water in a ring around the post – a strong sign of failed drainage.
- Wiggle test with a rail. Grab the horizontal rail nearest the base and shake gently. If the rail moves more than the post, the rail connection is failing. If the whole assembly moves as one, the footing is loose.
- Probe with a steel rod. Push a piece of rebar or a garden stake 10-12 inches into the soil next to the post. Sudden resistance means you hit the concrete collar. If the rod goes down 12 inches or more without resistance, the footing is likely too shallow or absent.
- Visual inspection of the post base. Look for soil mounded up on one side of the post and depressed on the other. That asymmetry means the post has tipped, and the footing has moved with it – though it may not have failed yet.
If three or more of those tests come back positive, the footing needs to be reset. On older fences in Westchester where a post was set in stacked concrete blocks rather than poured concrete, the tests will almost always return positive, because stacked blocks don’t bond to sandy soil at all. That’s an installation failure from day one.
Which Repairs You Can Do Yourself vs. Need a Professional
We believe in straight talk about the division of labor. There are fence repairs a careful homeowner can tackle correctly, and there are repairs that will fail again in two years if done wrong. Here’s the honest split for the scope of this guide.
Repairs you can do yourself
- Hinge replacement on a plumb gate. Wrenches and a couple of hours. Straightforward.
- Re-fastening a single warped board or a loose rail. Screwdriver or drill and the right fasteners. Check that the board isn’t cupping worse than a quarter inch before you bother.
- Tightening loose lag bolts on gate hardware. Ten minutes. Worth doing before you call anyone.
- Clearing soil and debris away from a post base and adding drainage gravel. Genuine homeowner maintenance.
- Applying a sealing or oil finish to wood boards. This is maintenance, not repair, and it’s the single highest-value thing you can do to slow humidity damage.
Repairs that need a professional
- Resetting a leaning post and footing. The post has to come out, the hole has to be dug to the right depth (24-36 inches in Florida sandy soil with the right gravel base), and new concrete has to be poured and cured correctly. Doing this by hand with a post hole digger and a bag of Quikrete or Sakrete concrete is physically doable but rarely done to spec without a crew – too shallow, too little concrete, or the wrong mix. The post leans again.
- Replacing a gate frame. Requires measuring square, building a rigid diagonal brace, and re-hanging the gate on a proper set of hinges. Getting it wrong means a sagging gate inside a season.
- Replacing a footing when the surrounding soil has shifted. If multiple posts in a section are leaning, you’re looking at a soil or drainage correction, not a post fix. That’s a scope decision best made with someone who knows the local soil profile.
- Replacing a run of cupped or rotted boards beyond a couple of pieces. The failure rate climbs fast, and the underlying moisture or fastener problem needs to be addressed.
For a full replacement rather than a repair, our Driveway & Pavers in Westchester page covers how we coordinate fence and hardscape projects that share a property line, since the two jobs often overlap at a gate or corner post.
The Installation Decisions That Prevent Most Failures
Every problem covered in this guide traces back to a decision made on installation day. Understanding what a proper installation looks like is the most efficient way to know whether a quote is realistic or cheap-for-a-reason. We want our customers to read bids with a builder’s eye, so here are the decisions that actually separate a fence that lasts 15 years from one that lasts four.
Our Groundwork Construction Co. of Westchester home page covers the full scope of how we approach every category, but fence-specific choices are worth naming here:
- Footer depth and diameter. Posts in Florida soil need to go 24-36 inches deep, with a concrete collar 8-10 inches in diameter around the base of the post. A 12-inch hole is not deep enough in South Florida regardless of what the fence line cost.
- Concrete mix and cure time. Fast-set mixes save a day on install and last half as long in clay or sandy soil. A proper install lets the concrete cure 24-48 hours before gate hardware is loaded. Learn this before a crew starts and you’ll know why we quote the schedule we do.
- Fastener choice. Stainless steel in coastal salt-air zones. Ring-shank nails or coated deck screws for wood. Bare nails are a false economy in Westchester and the board movement is visible within a year.
- Board dryness before install. Boards should be laid out and allowed to acclimate for a couple of days. If a bidder installs fresh green lumber straight from the truck, expect cupping.
- Anti-sag bracing on gates. A diagonal brace is not optional on gates wider than 4 feet. It’s the whole reason a gate holds its square.
- Drainage path. Where does water go when it hits the fence line? A fence installed along a drainage swale without a gravel base will share the swale’s wet-season saturation with every post. We often adjust the fence line out of the swale rather than fight it.
The overall backup is our 730-Day Done Right Promise: if the fence fails on a workmanship issue inside that window, we make it right. That’s one of the longest workmanship guarantees in the residential construction space, and it’s the reason we care about footings, cure time, and moisture the way we do – the guarantee is only as good as the installation that precedes it.
Westchester-Specific Fence Concerns
Westchester has a set of fence problems that don’t show up in a generic national guide. The climate is aggressive: high humid summers that soak into wood, a rainy season that saturates soil repeatedly between May and October, and hurricane season that loads any fence line tall enough to catch the wind. If you’re replacing a shared fence between neighboring properties, or planning a fence as part of a larger site build, our Home Additions & ADU in Westchester page covers how we handle site and property-line logistics during a big project.
Soil and Drainage
Much of Westchester sits on sandy and clay-mixed soil that drains unevenly. Sandy sections lose their footing under post-collar weight after heavy rain. Clay sections swell and hold water against post bases and shorten their life. A proper install accounts for both by digging to depth, using gravel base fill, and sizing the concrete to the soil under the post. Neighboring Westchester communities along the same soil profile see identical failures, and a good conversation with a contractor familiar with the area will get you the right answer fast.
Hurricane Season Load
Fence panels in Westchester need to shed wind rather than catch it. Small gaps between boards, panels oriented to the prevailing wind, and posts anchored to code depth are the three decisions that matter most. Panels that are solid-fill without wind relief become sails in a tropical storm; the panel may survive, but the posts don’t. If you’ve noticed fence panels that ripple in moderate wind, that’s a warning sign on the next storm.
Salt-Air Influence
Even a few miles inland, Westchester‘s proximity to the coast means fastener and metal hardware corrosion is a live concern. Stainless or hot-dipped galvanized fasteners last twice as long as bare steel. This is a Westchester-specific cost worth absorbing on day one.
Permits and Property Lines
Westchester and surrounding municipalities require fence permits in many cases and regulate height in front-yard setbacks and property lines. Shared fence lines with neighbors need to be verified before a post goes in the ground. We pull permits as part of the job – refusing to do so is a warning sign on any fence bid.
Common Mistakes to Avoid
- Replacing boards without addressing the moisture cycle. In Westchester‘s climate, new boards cupping inside 18 months is the norm, not the exception, if the original installation dried-out the boards wrong. Fix the material decision before you replace the wood.
- Re-hanging a gate on a moving post. If the hinge post is out of plumb, new hinges will sag again within a season. Test the post before buying hardware.
- Setting posts in sandy soil at 18 inches deep. That’s a common shortcut on discount fence bids in Westchester. It’s also the single biggest reason posts lean after one rainy season. Depth and concrete cost money; there’s no honest way around it.
- Installing on top of a drainage swale without a gravel base. Saturation will move the posts within two seasons in areas with poor drainage. Move the line, or build it to handle the water.
- Skipping the diagonal brace on wide gates. A gate wider than 4 feet with no anti-sag brace is a gate that will sag. It’s not a matter of if.
- Skipping the permit. Many Westchester neighborhoods watch fence height and setbacks. A permit-less fence can cost you a removal later, and it may void resources in a dispute with a neighbor.
- Using bare steel fasteners in coastal-adjacent zip codes. Corrosion takes hold fast, and a fence that should have lasted 15 years is trash at year eight. Ask about stainless or galvanized.
See the difference
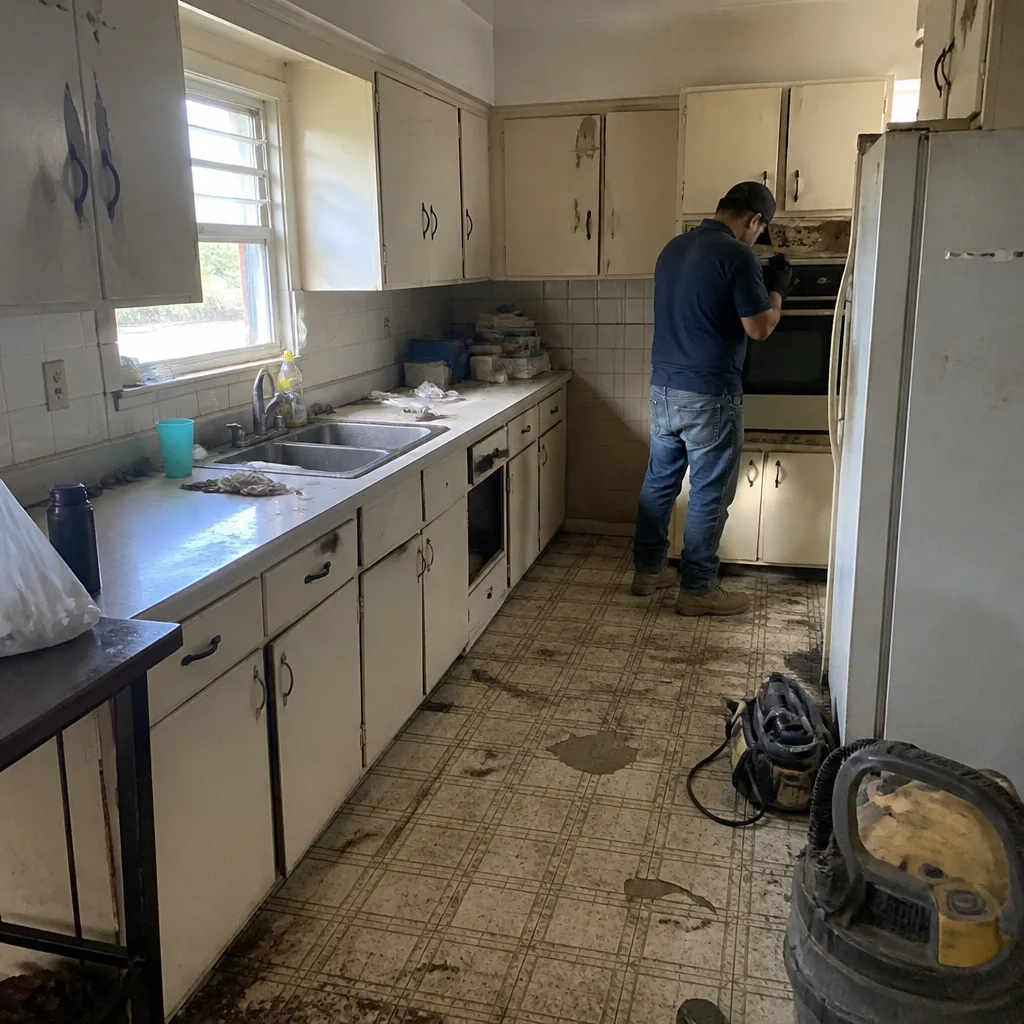 Before
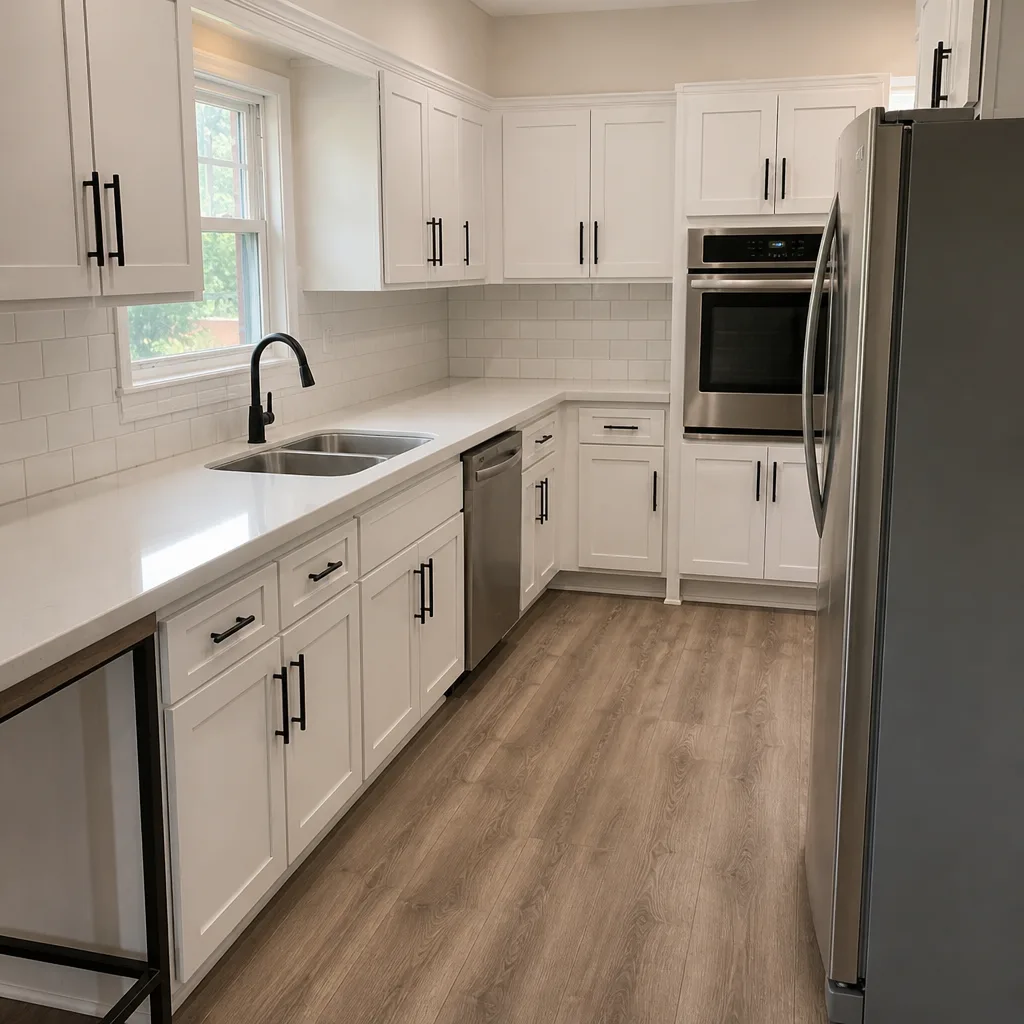 After
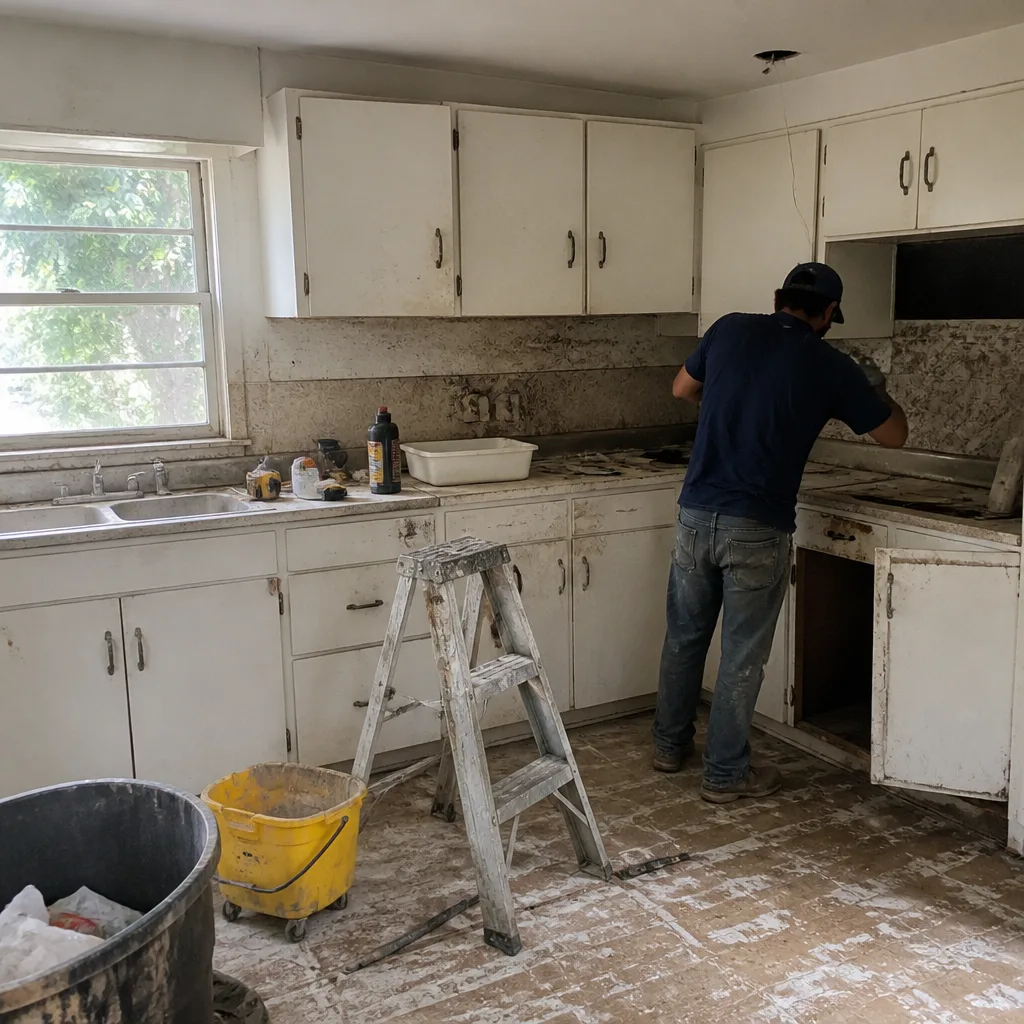 Before
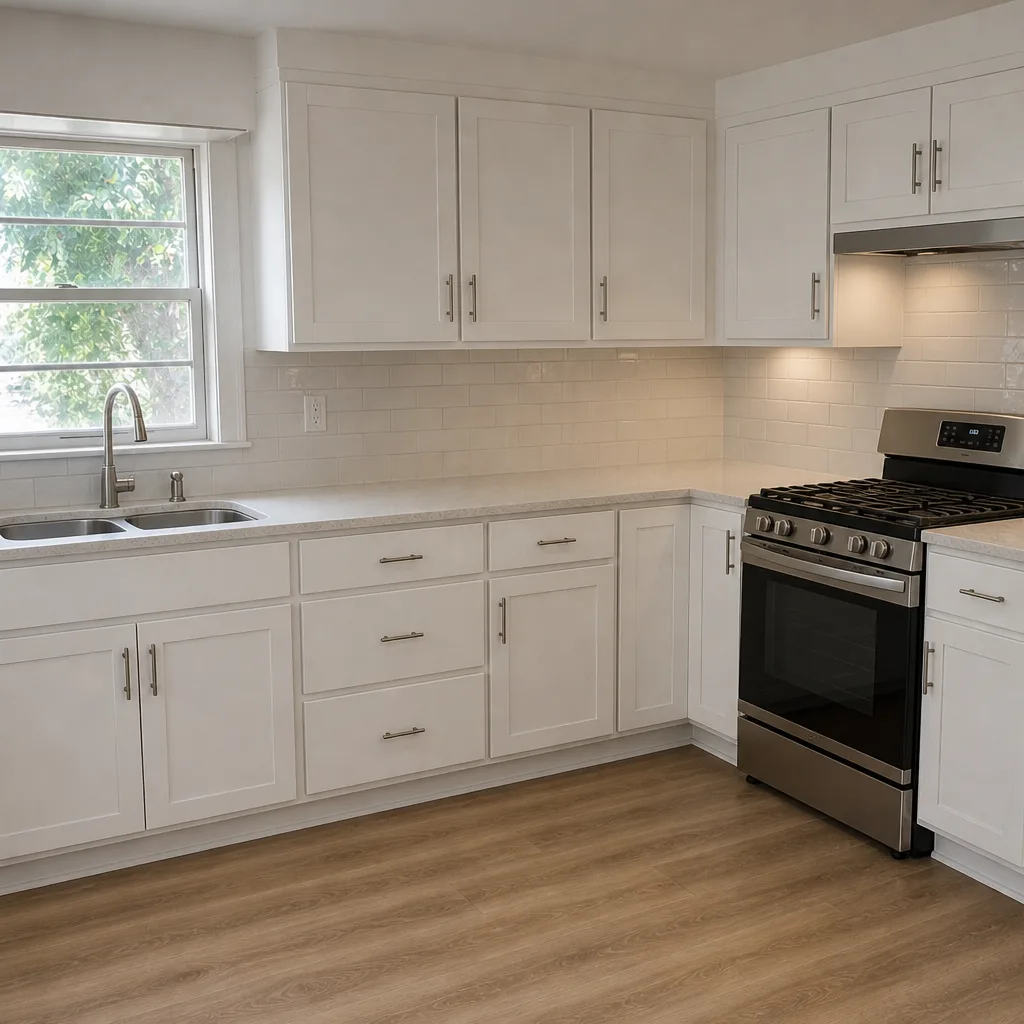 After
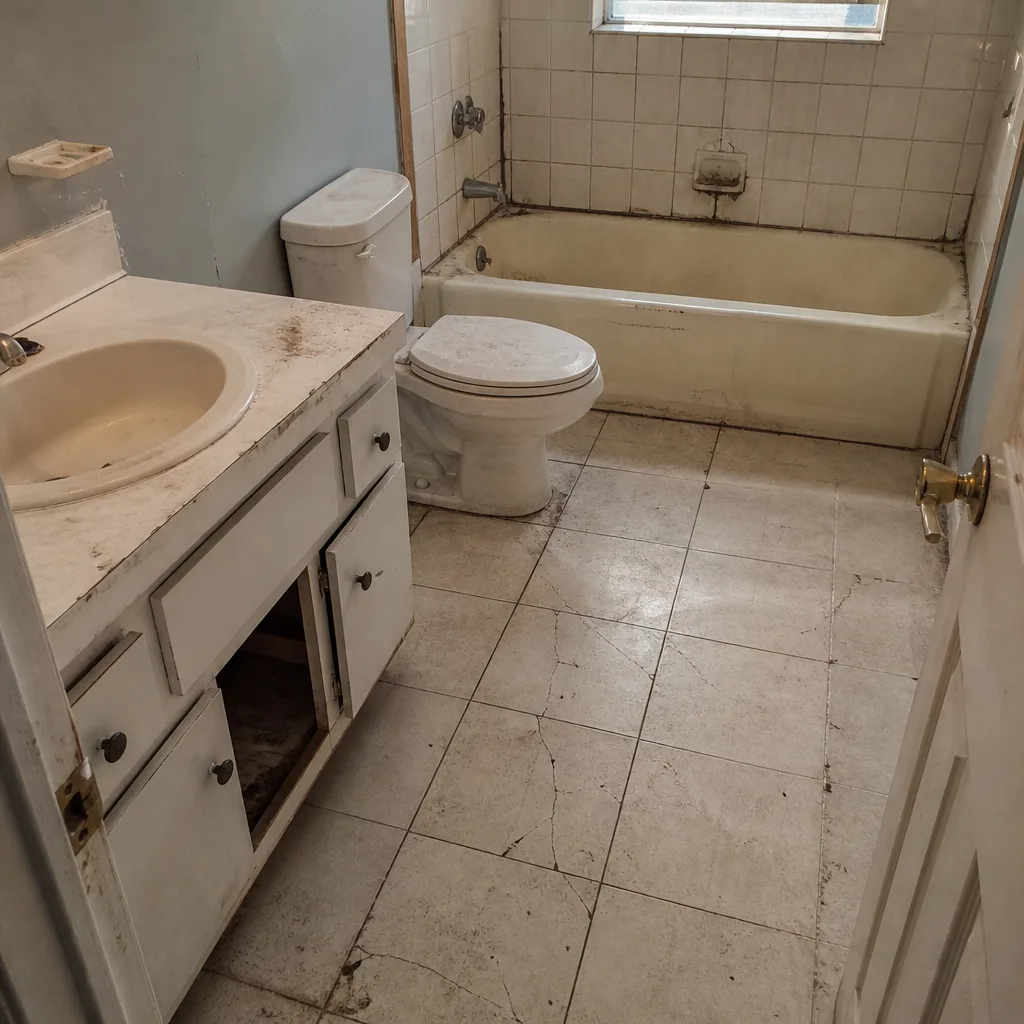 Before
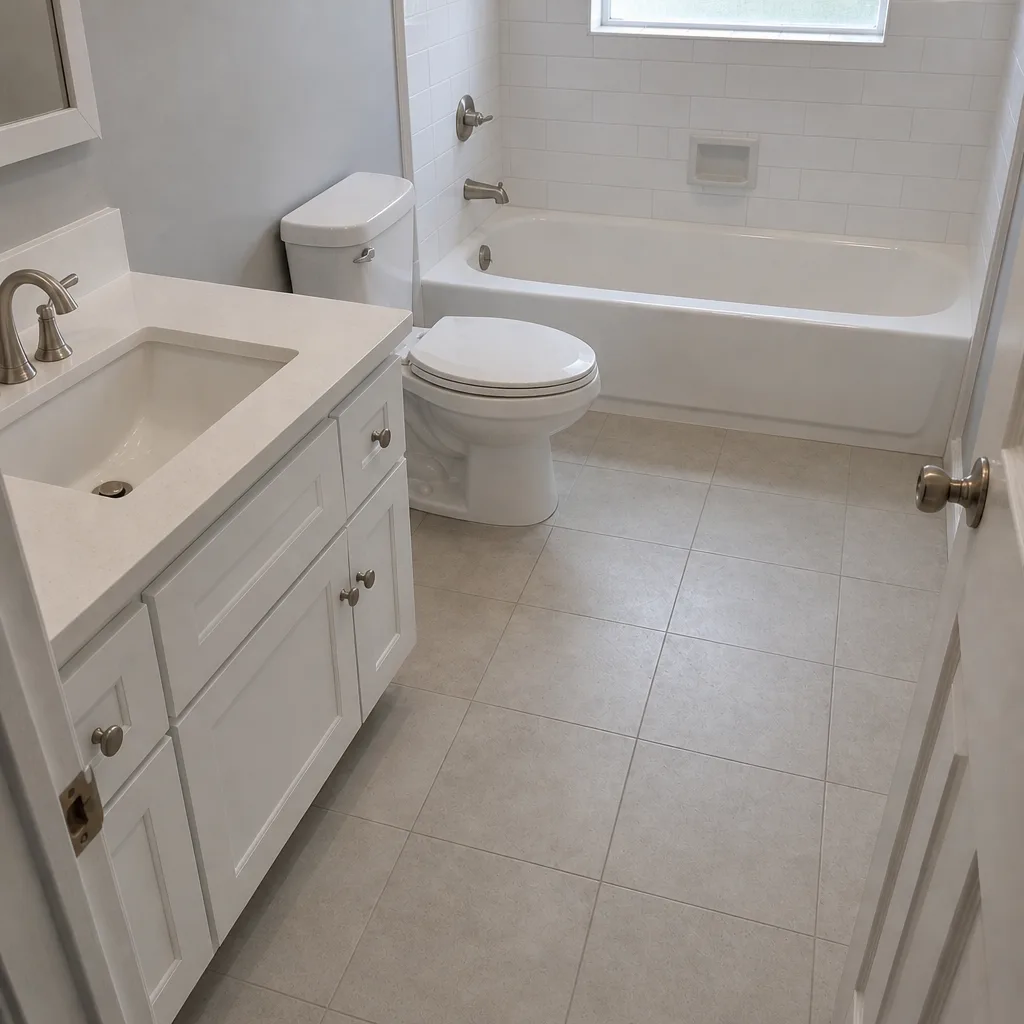 After
When to Call a Professional
Call a professional when a leaning post has moved more than about 3 inches, when more than one post in a run is failing, when the gate post is out of plumb, or when a footing test returns two or more positive results. Those are signs the problem has gone past maintenance and into resetting the post and footing – a resettable job, not a repair. A cupped board or a single worn hinge is a homeowner job. Multiple failing posts, a shared property-line issue, or any fence line showing movement across a span is professional scope. Groundwork Construction Co. of Westchester offers free estimates in Westchester – call (833) 630-4214. All work is covered by the 730-Day Done Right Promise, and our technicians bring up to 12 years of experience to every job.
Frequently Asked Questions
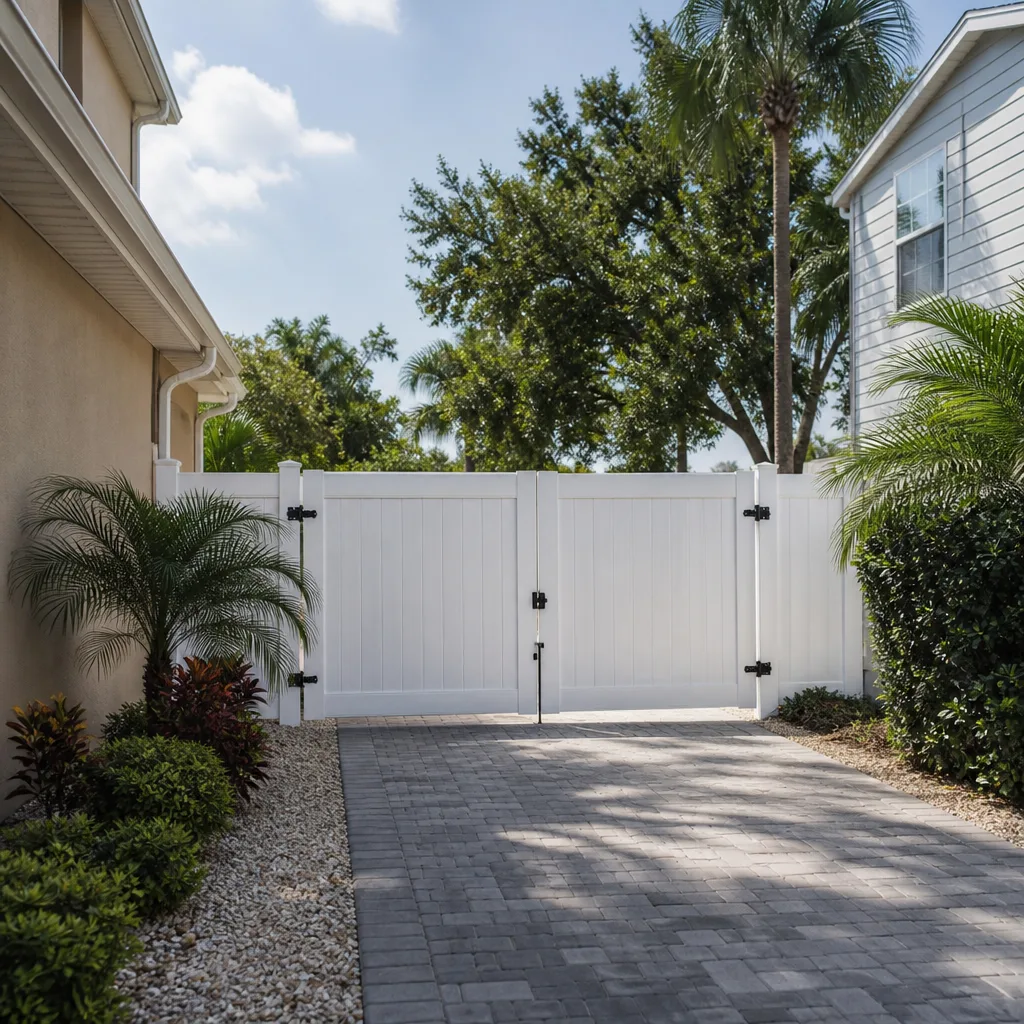
A leaning fence post repair in Westchester typically runs $150-$450 for a single post depending on depth requirements, whether concrete has to be replaced, and access. Multiple posts on the same run get cheaper per post because the crew is already on site. The real cost driver is whether the footing needs a full reset versus a top-off. Call (833) 630-4214 for an exact quote – estimates are free.
Only if the hinge post is plumb and the gate frame is square. If the hinge post has moved or the gate was built without a diagonal brace, tightening hinges is a temporary fix that fails within a season. Test the post first: hold a level against it on two faces. If it’s out of plumb by more than a quarter inch, the post is the problem, not the hardware.
Wood cups when it takes on moisture unevenly and contracts as it dries, and South Florida’s wet-dry cycle pushes that movement harder than almost anywhere else in the country. Boards installed from fresh or green lumber warp faster because they were still drying when they were cut. If cupping keeps showing up across the same span, the material was the issue, not the install method.
Push test, water test, wiggle test, rod probe, and visual inspection of the soil around the post base. If three or more of those return positive results, the footing has likely failed and needs resetting. A footing that’s still sound will hold steady under all five. If you’re unsure, a free estimate visit will confirm it in ten minutes.
Most Westchester fence installations require a permit, and some repairs do as well depending on scope and whether posts are being reset or replaced. Municipal rules govern height in front-yard setbacks and property-line shared fences, and skipping the permit can cost a removal later. We pull permits as part of the job and pass inspections before the project closes out.
Yes. Groundwork Construction Co. of Westchester pulls permits as part of every fence project and carries the 730-Day Done Right Promise – if a workmanship issue shows up inside that window, we make it right. That’s one of the longest workmanship guarantees in the residential construction space. Call (833) 630-4214 to schedule your free estimate.
The Bottom Line
Most fence failures in Westchester trace back to installation decisions, not materials and not bad luck. A leaning post means a footing depth or drainage problem. A sagging gate means post movement or frame bracing failure. Warped boards mean moisture-cycle and material choices. Failing footings show their hand through the five-test sequence long before the post falls over. The right repair only lasts when it addresses the actual root cause, and the right install prevents most of these problems from happening. Groundwork Construction Co. of Westchester builds and repairs fence lines to a standard backed in writing by the 730-Day Done Right Promise, with upfront pricing and no surprise change orders. If you’re deciding between a repair and a replacement, call (833) 630-4214 for a free estimate and a straight answer.
Written by the team at Groundwork Construction Co. of Westchester.